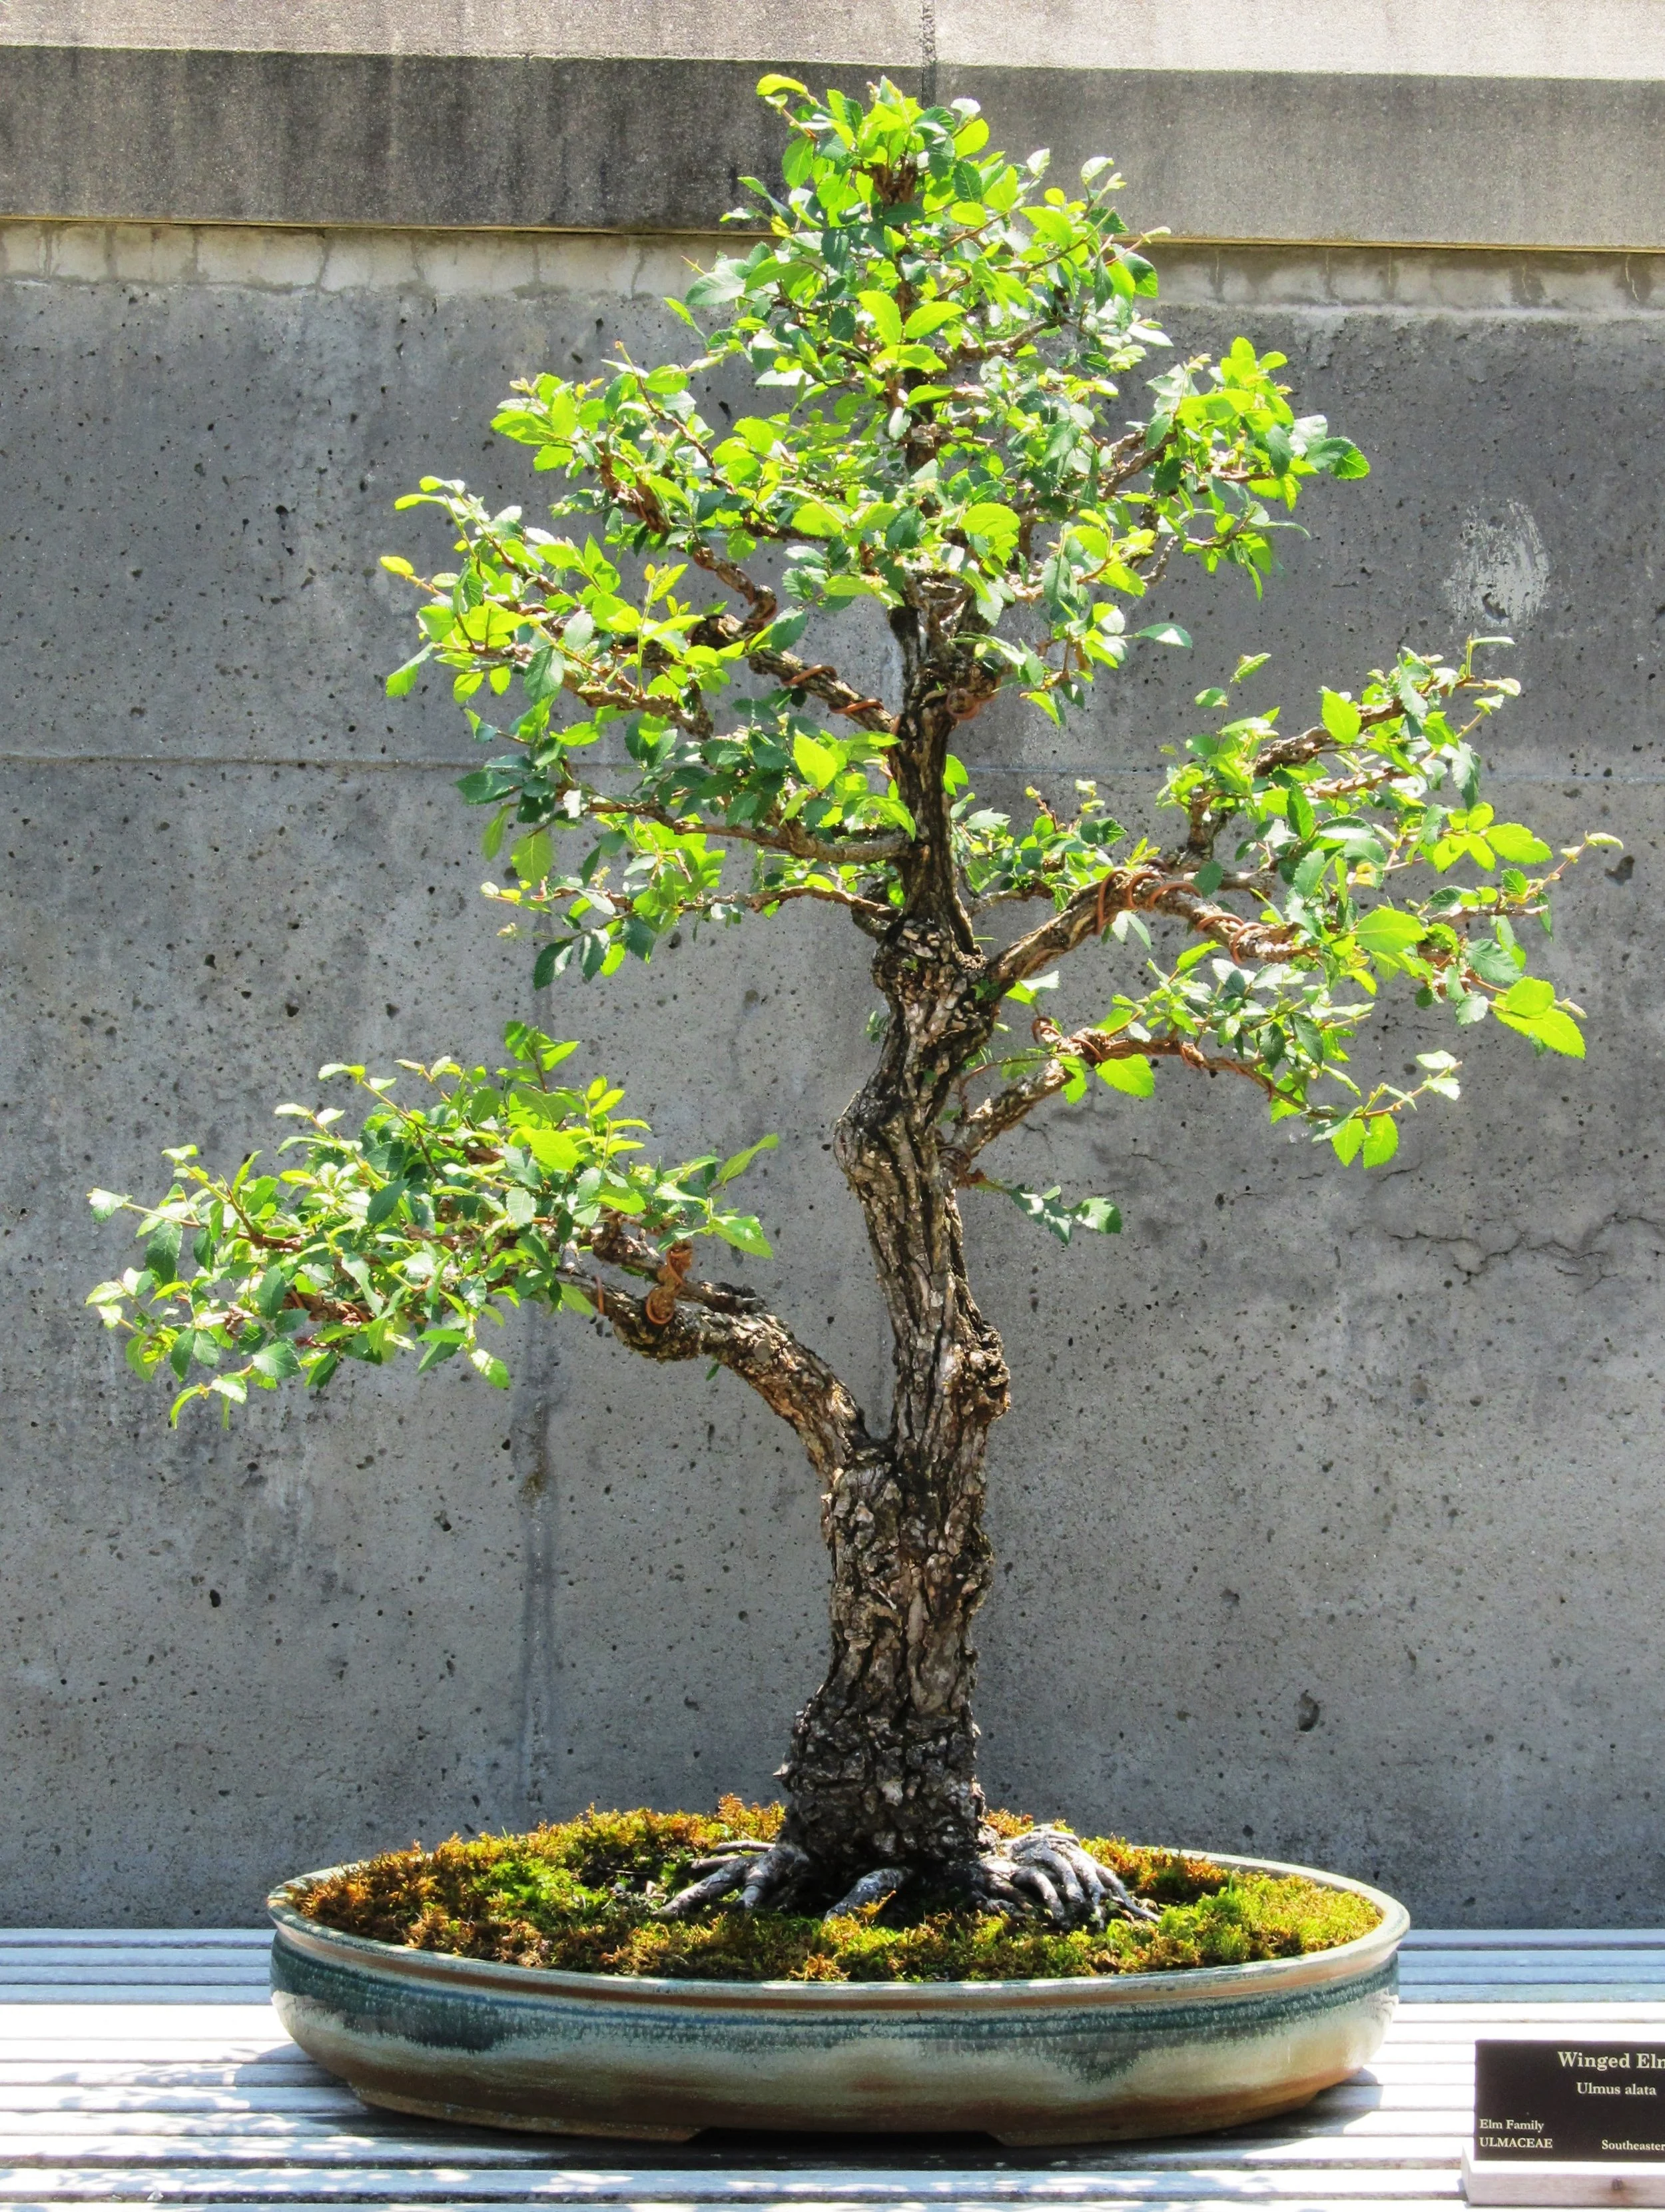
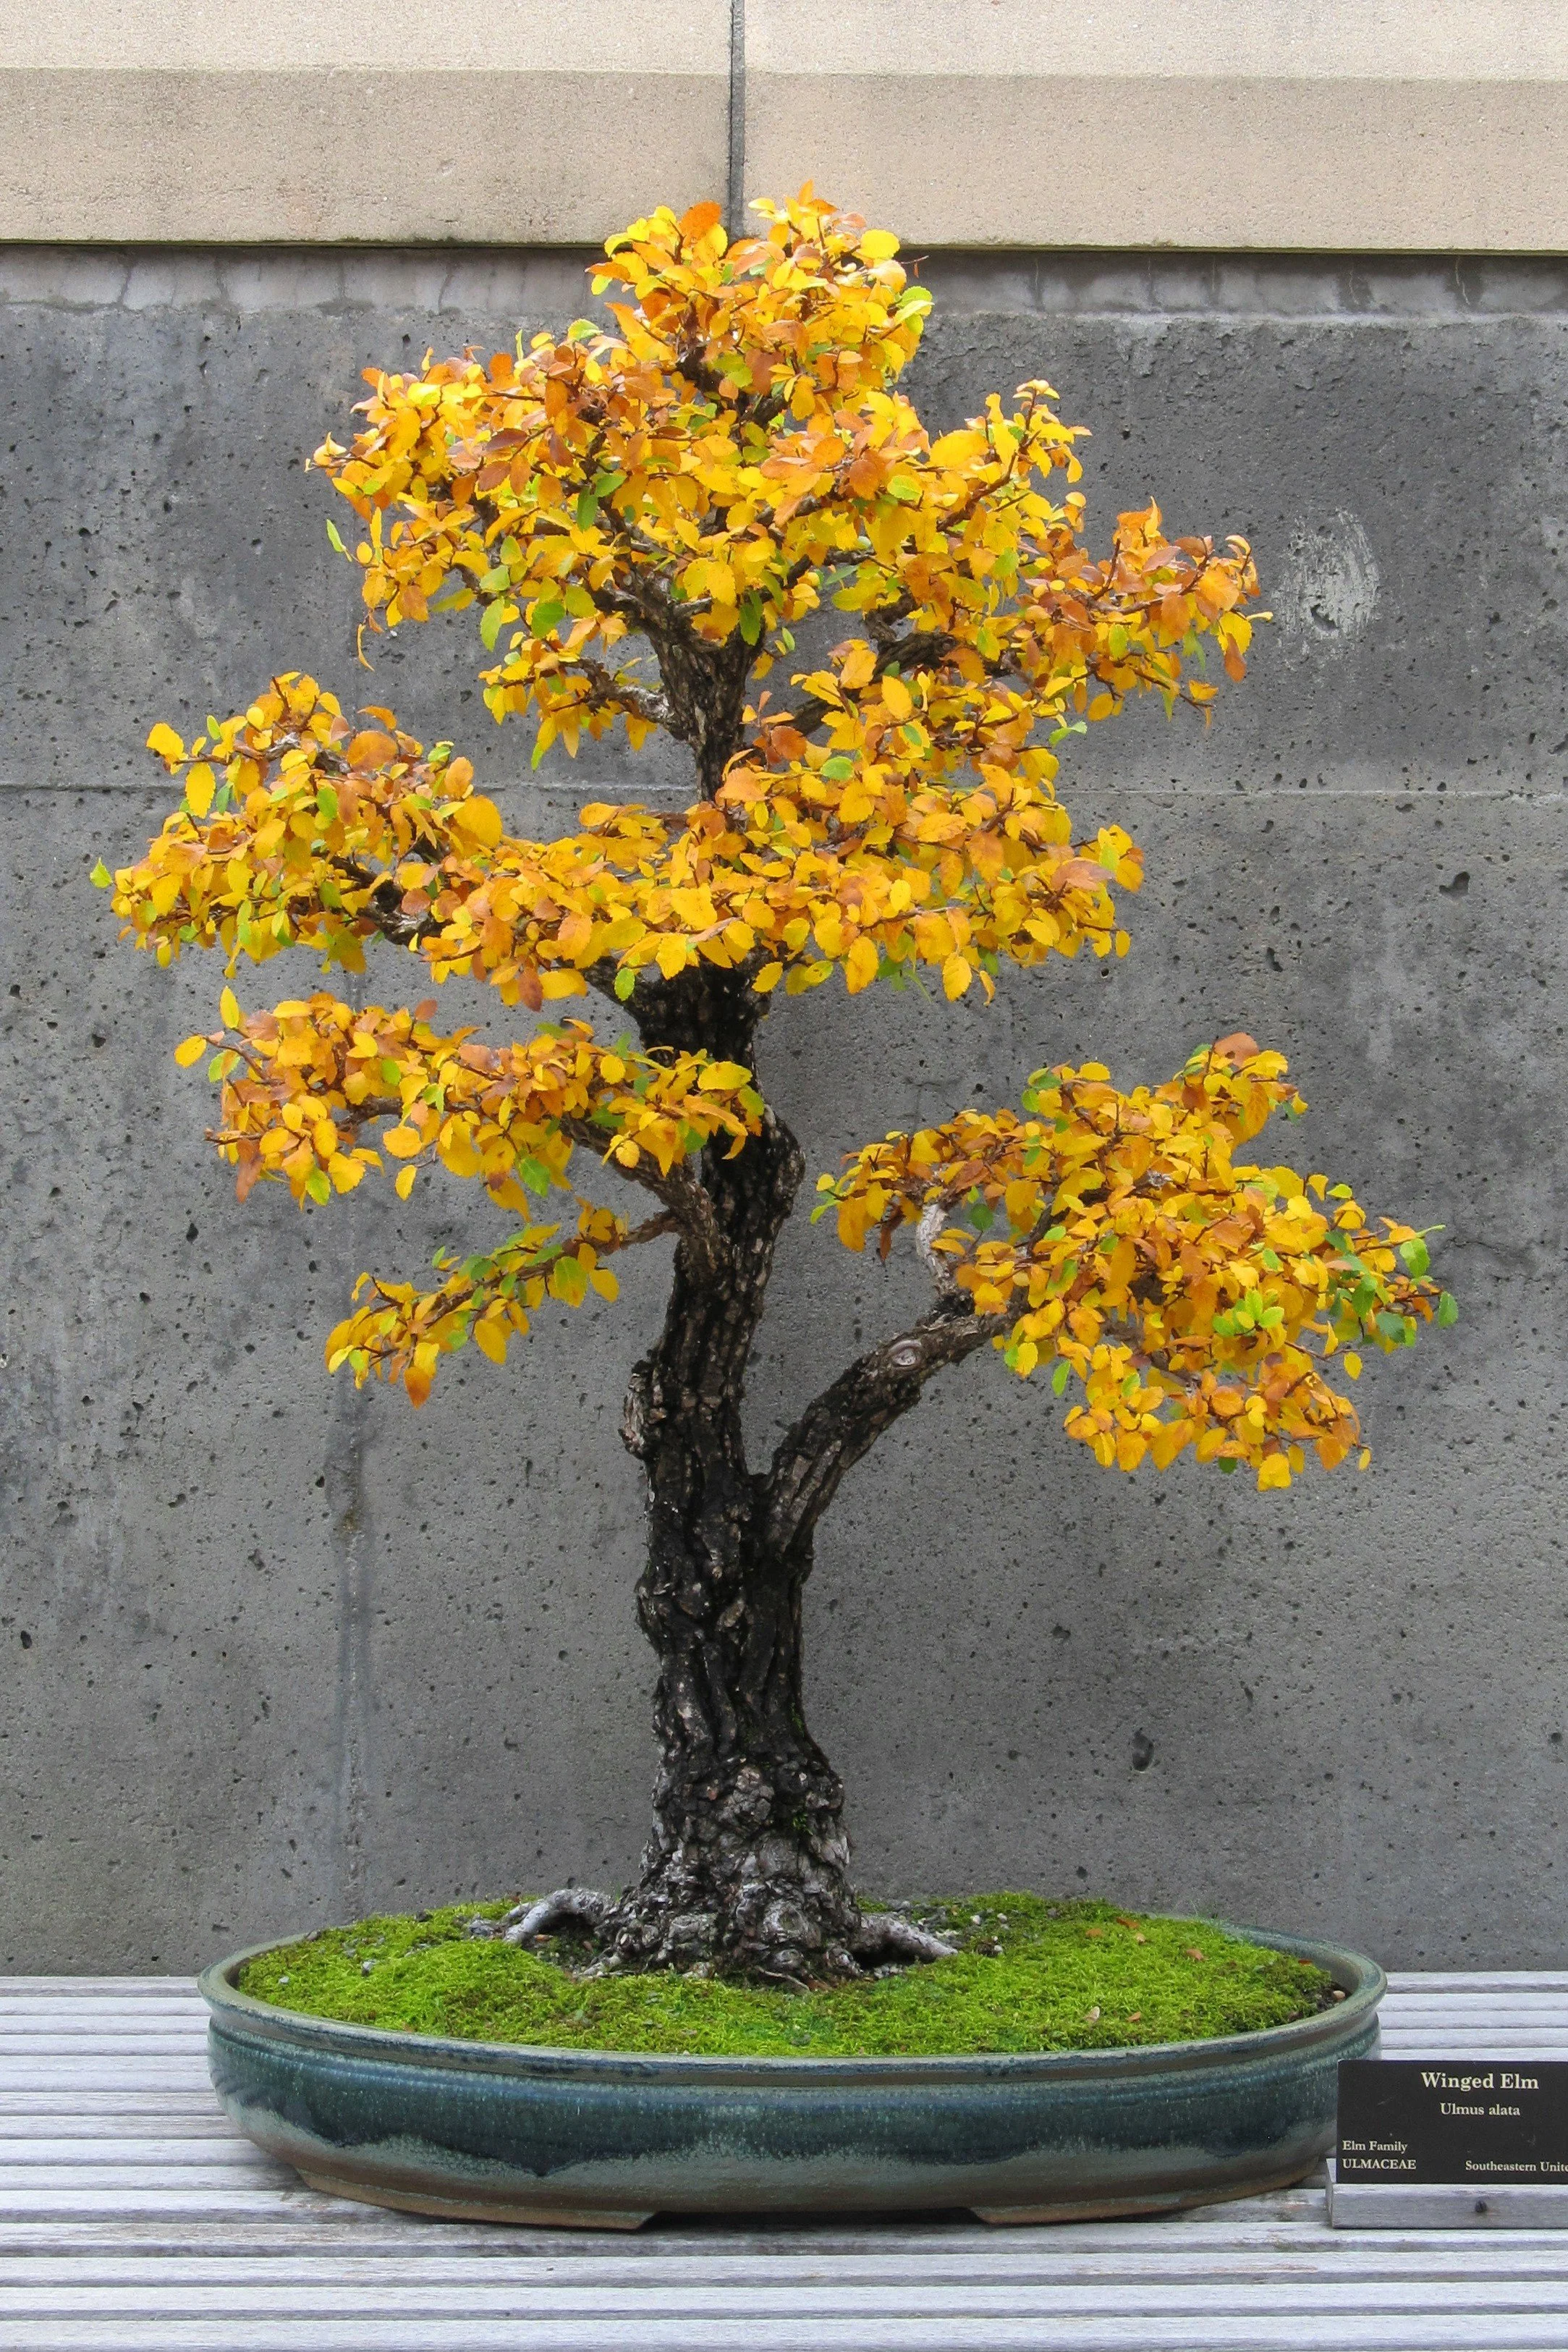
Winged Elm
Certain trees in the Arboretum’s bonsai collection are so closely associated with the person who donated the specimen that, in my own mind, I identify them that way. We have Bev’s hinoki, Bob’s white pine and Geanangel’s baldcypress, among others. This is the story of one such specimen, which I think of as Kathy’s winged elm.
The name “Kathy” refers to Kathy Walton, from Danville, Virginia. Kathy was a longtime member of the Central Virginia Bonsai Society in Lynchburg, but she would also sometimes attend meetings of the Hinoki Bonsai Society in Roanoke, Virginia. That’s where I met her. Kathy is an upbeat, vibrant woman who simply loves the art of little trees and has dedicated a great deal of time and energy in pursuit of her passion. Kathy followed the path of someone who is so dedicated to a hobby that it eventually becomes more than a hobby. For many years she operated a small bonsai business that was cleverly named “Mitrees Bonsai”, where she sold some plants and supplies. People in her area would often come to Kathy for help and advice concerning bonsai problems, or to have their trees boarded while they were out of town, or sometimes to simply pass off bonsai that proved too difficult for them to manage. That’s how Kathy came to be in possession of one particular winged elm (Ulmus alata) that provided the origin of the winged elm in the Arboretum collection.
The way Kathy told it to me was like this: A man named Harry Pritchett, who was a bonsai fancier, would drive by a farmer’s field on his regular rounds someplace in central Virginia. There in the farmer’s field, Mr. Pritchett laid eyes on a little elm tree that was being kept small by means of a non-consensual relationship with some admiring cows. Mr. Pritchett thought this little tree had bonsai potential. Unfortunately, one day he succumbed to the temptation of taking along a shovel, stopping on the roadside near the field, crossing the farmer’s fence and conducting an unauthorized collection. This was unfortunate not only because he didn’t have permission to dig up the tree, but because the farmer happened by and caught him doing it. Mr. Pritchett was then obliged to explain what he was up to, whereupon the bemused but kindhearted farmer let him have what he was after.
When Mr. Pritchett brought home his prize and went to plant it in a pot, he discovered there was a problem with the little elm that wasn’t previously apparent. The tree’s trunk extended another six inches or so below the soil line before the appearance of any rootage, and that previously hidden portion of the trunk was more narrow than the diameter of the trunk above it. In bonsai parlance this condition is referred to as reverse taper. Among bonsai growers, reverse taper is regarded as being on the order of a mortal sin. A crestfallen and no doubt repentant Mr. Pritchett brought his ill-gotten elm to Kathy and left it with her. He never came back to reclaim it.
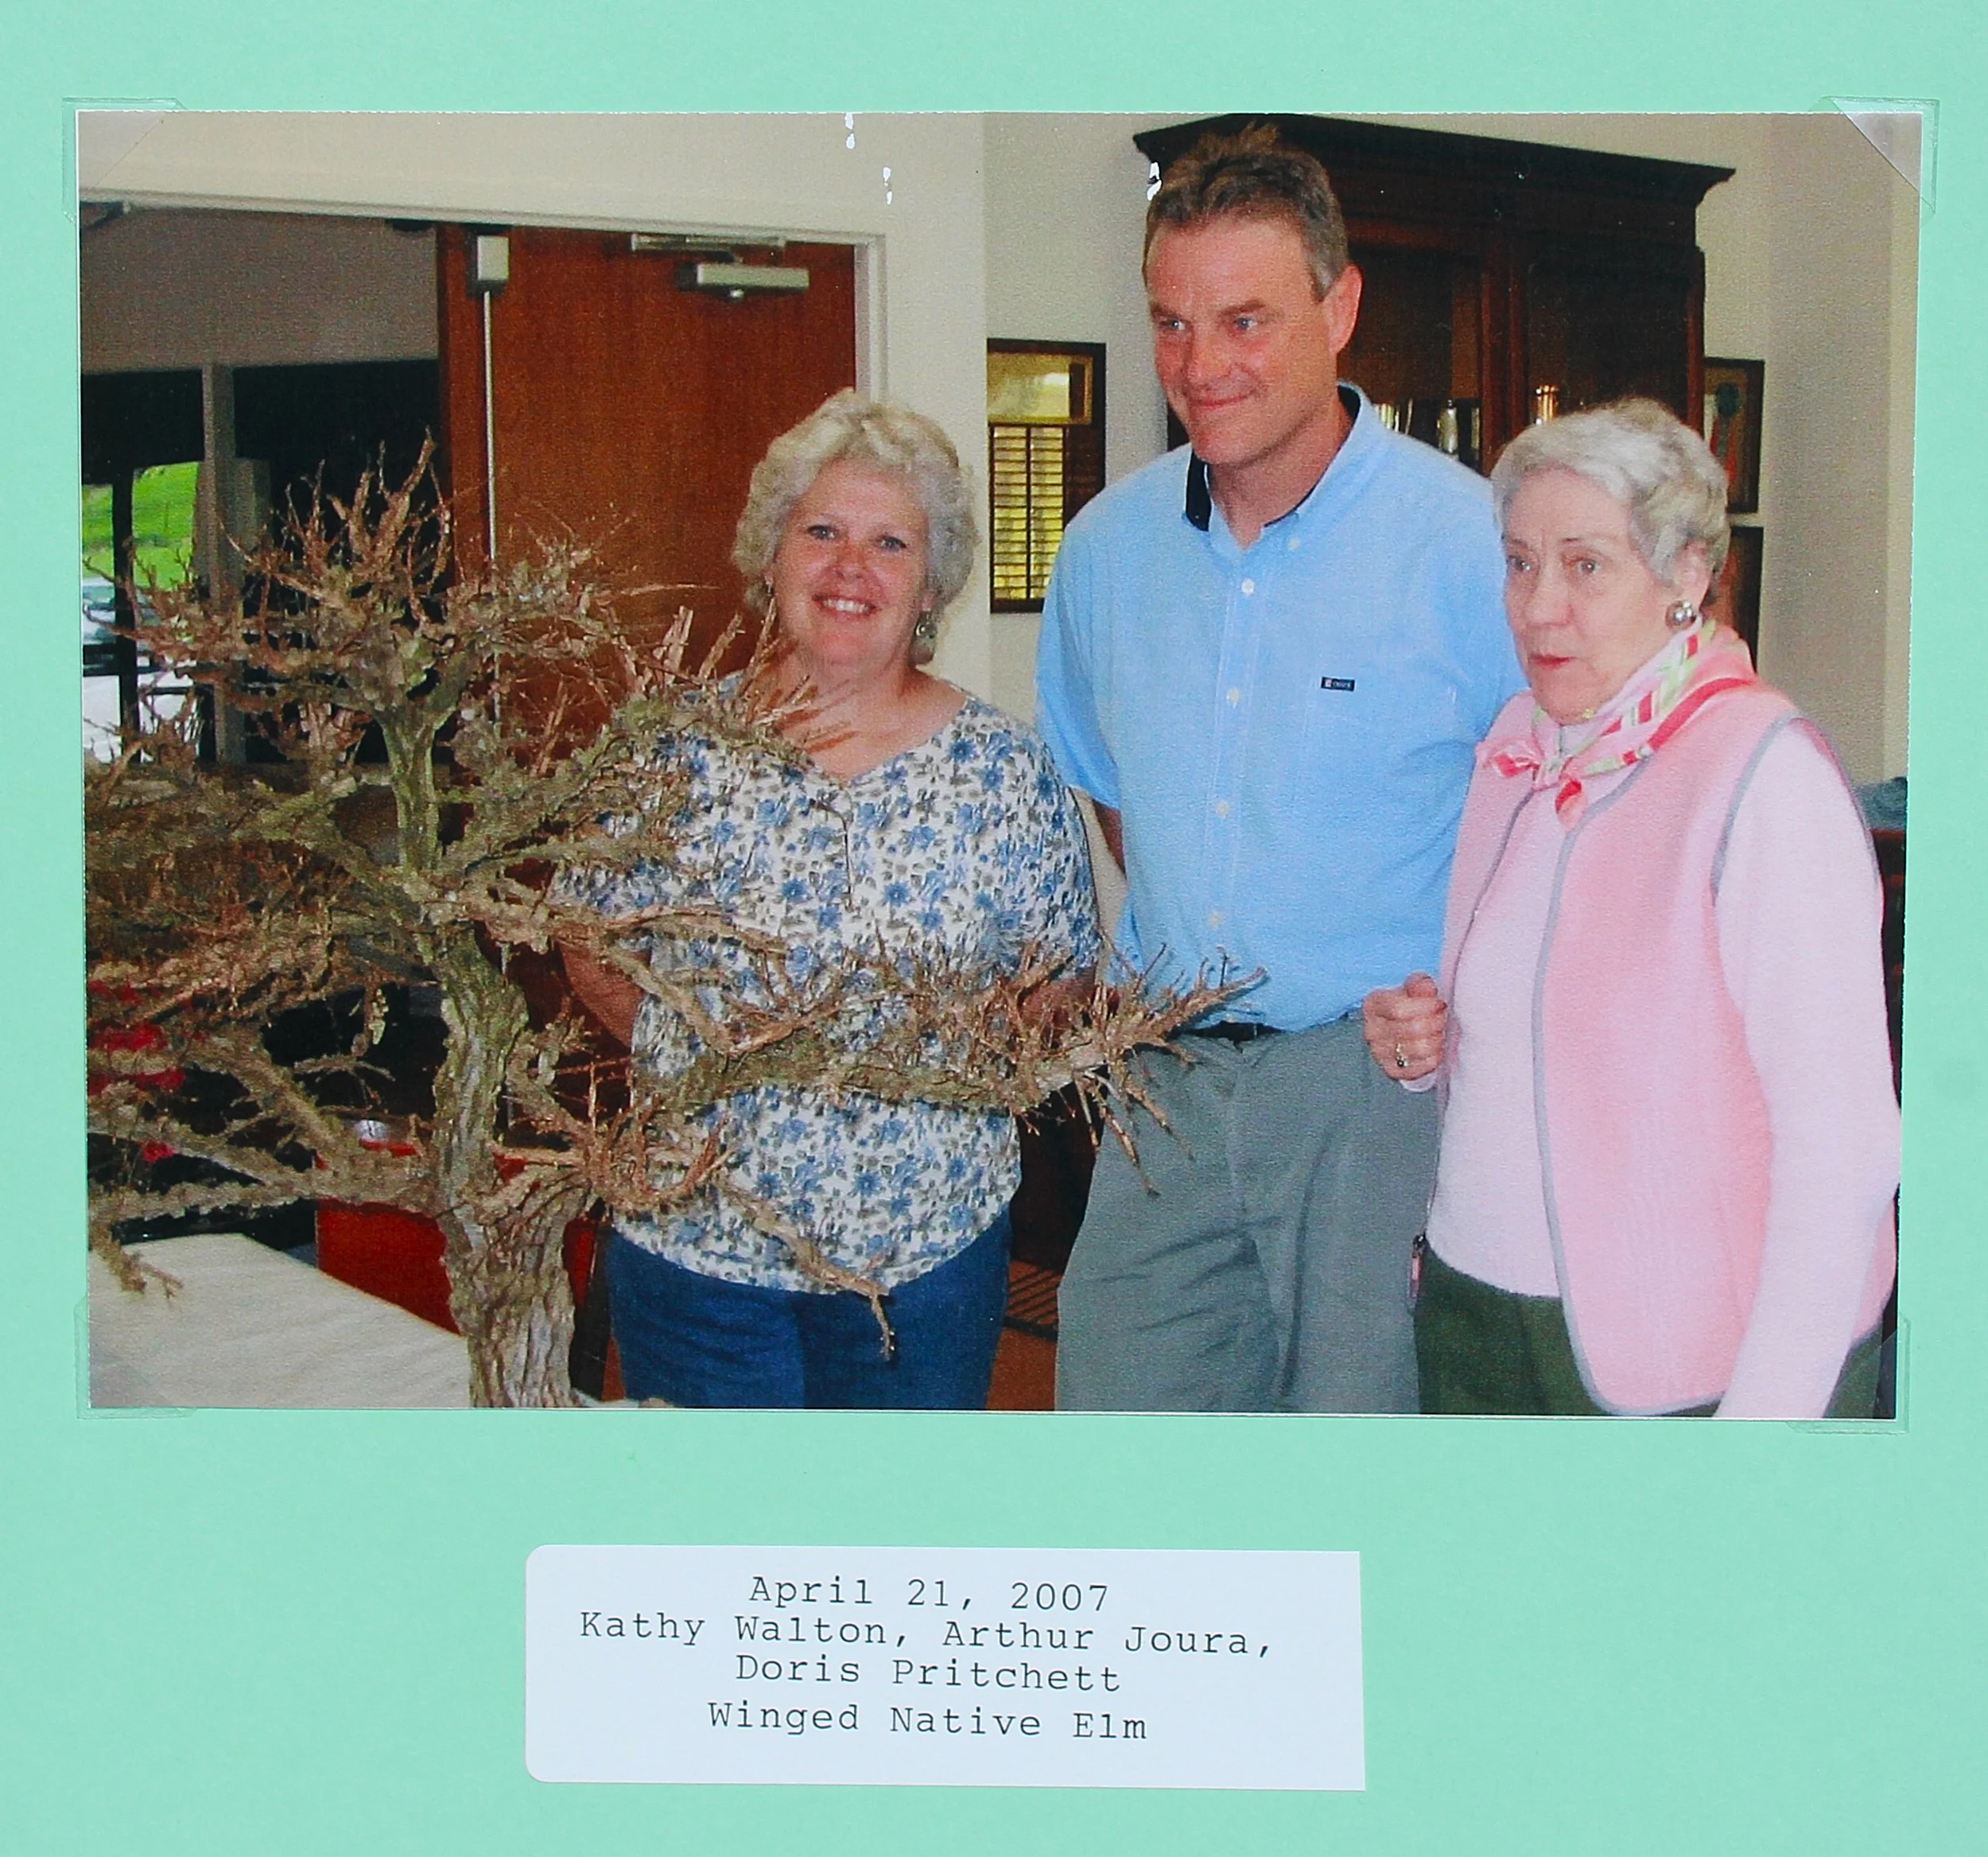
Kathy knew what to do. She selected two parts of the elm that looked promising and proceeded to air-layer them. One of the two air-layers was successful and Kathy then severed it from the parent tree and planted it in its own pot. She then began to style this new tree to give it a pleasing bonsai shape. The air-layers were made in 1996 and the successful one started its independent life in April of 1998. Nine years later, Kathy brought this winged elm to a meeting of the Hinoki Bonsai Society when I was there to do an annual program, and offered the tree as a donation to the Arboretum bonsai collection.
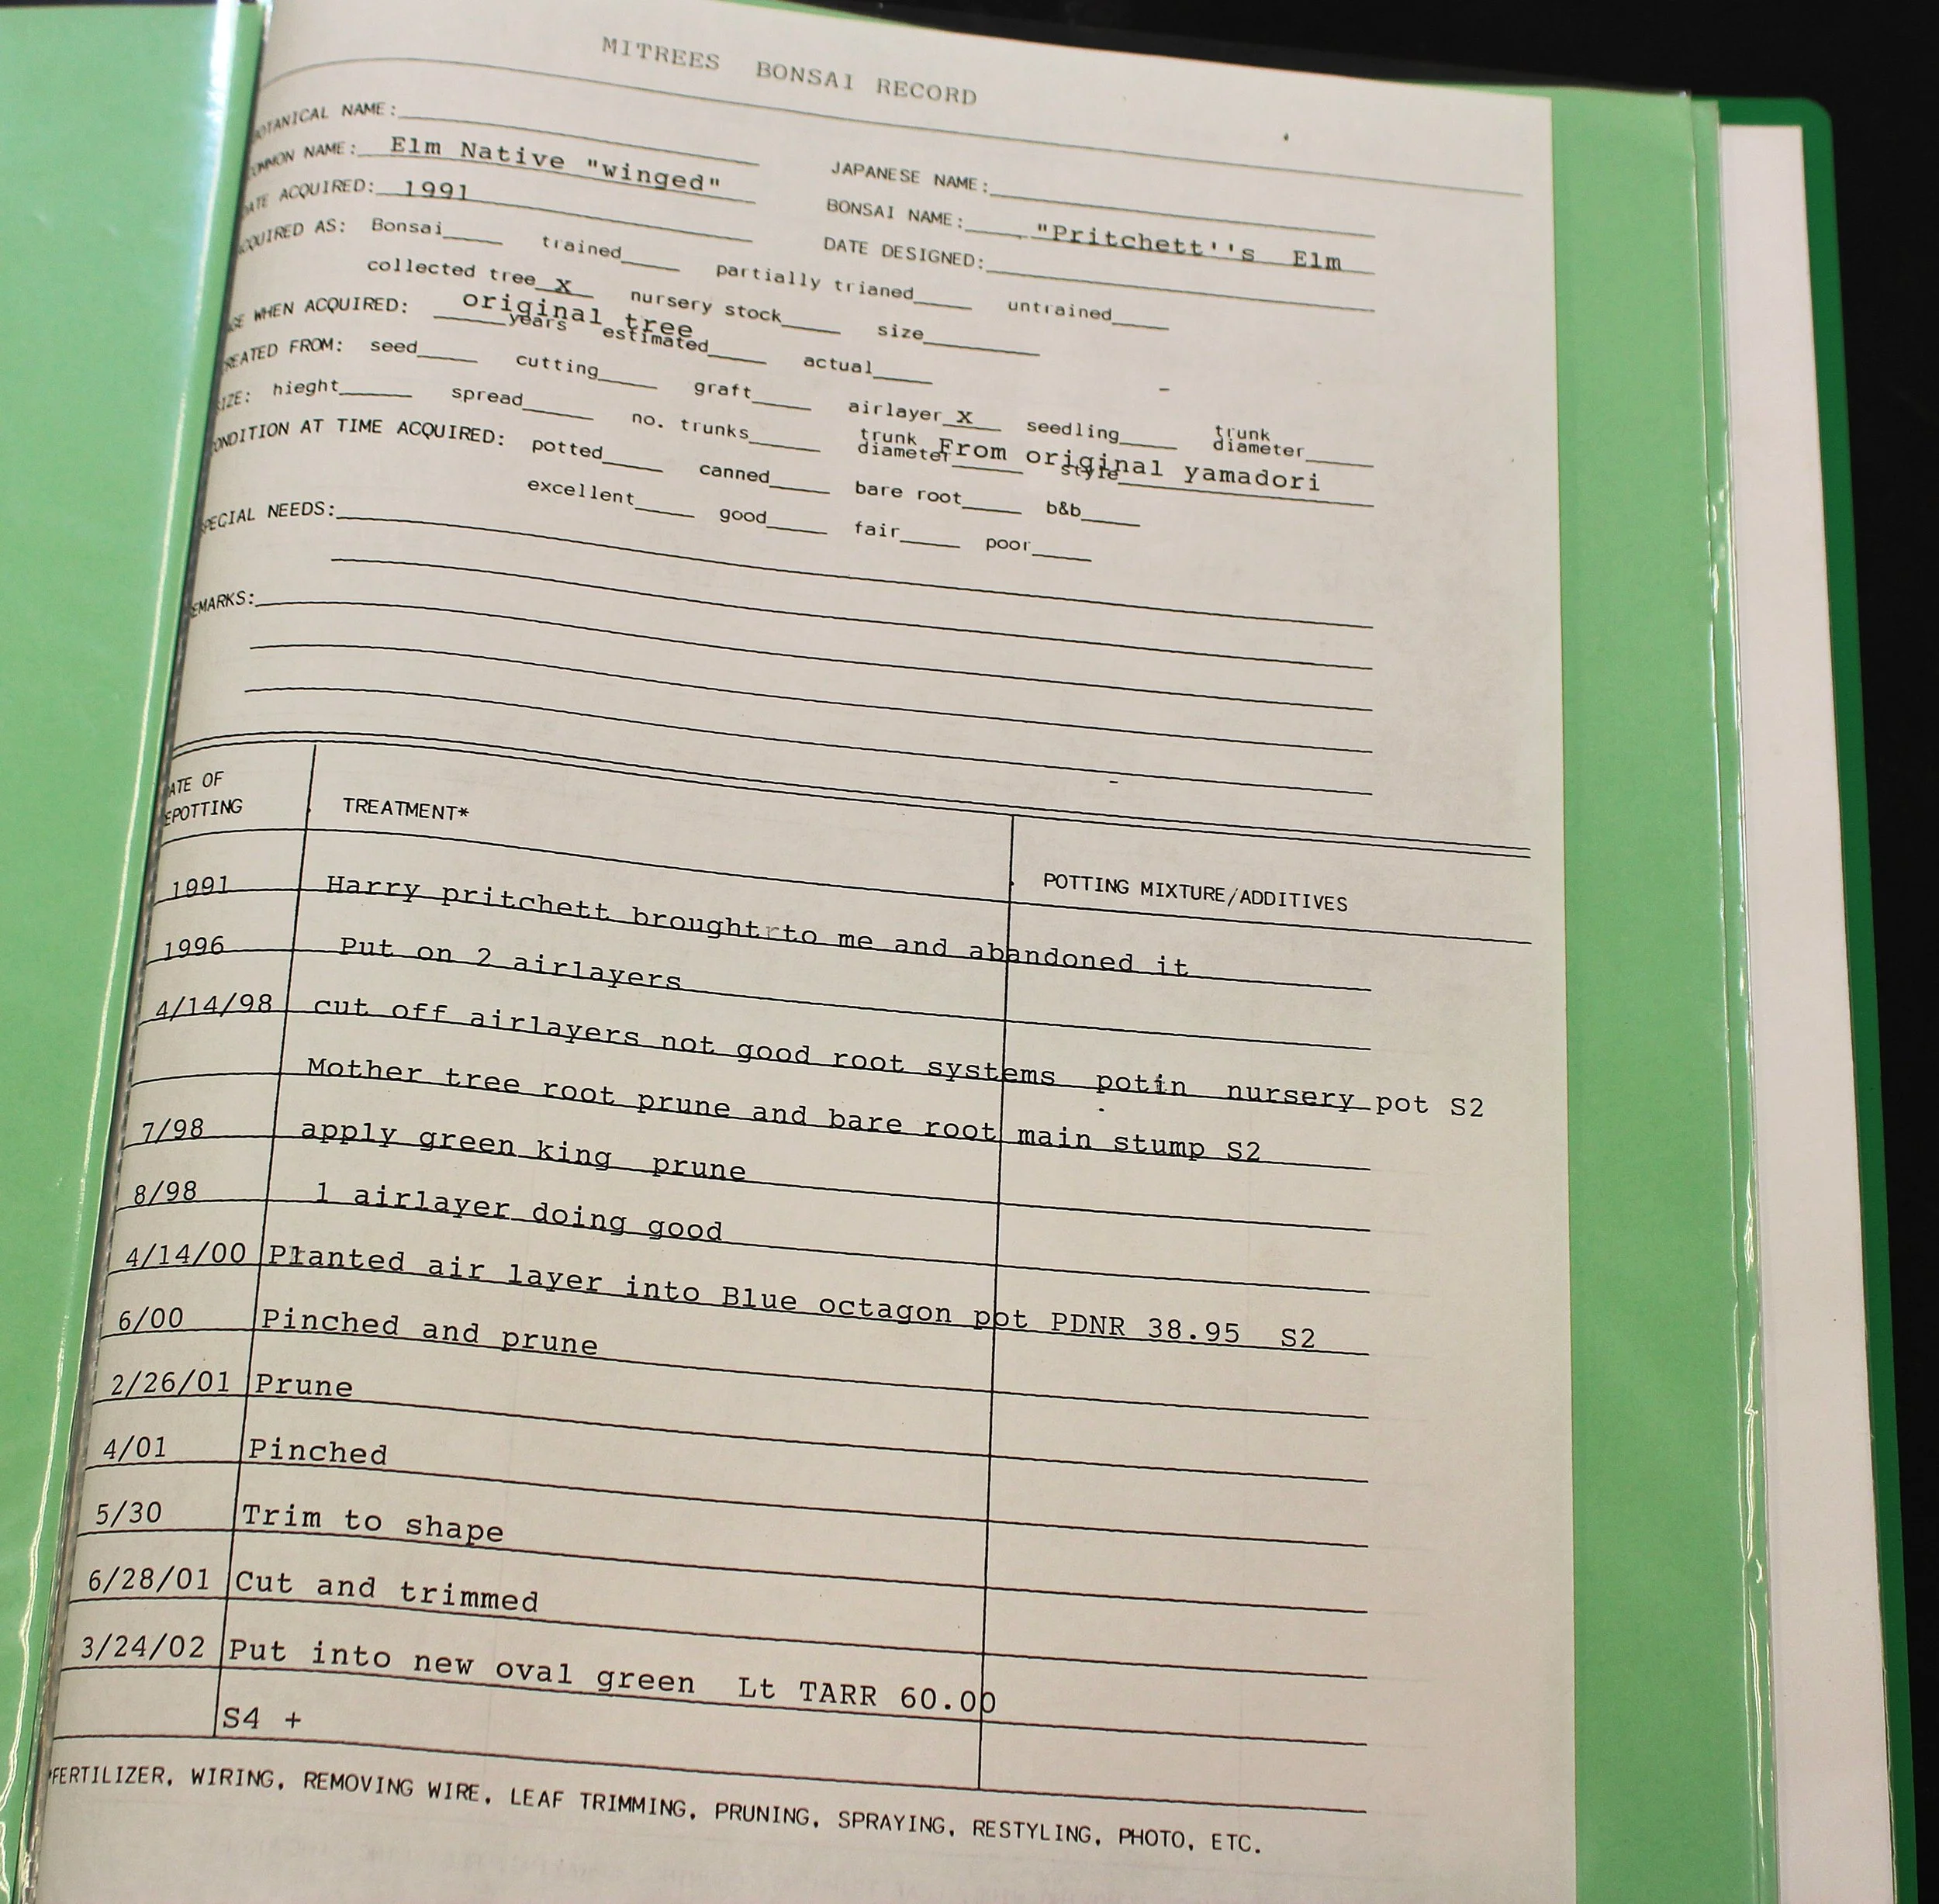
This early history of our winged elm bonsai is known because Kathy had the admirable habit of keeping records on all her trees. Not long after accepting her gift, Kathy presented the Arboretum with a little homemade booklet containing all the information she had concerning the specimen. On the cover of this booklet is a photograph made on the day Kathy brought the elm to the Hinoki club meeting, showing the tree, herself, me and the late Mr. Pritchett’s wife, Doris:
The booklet also included the Mitrees information record for the specimen:
Much of the information Kathy kept on the elm took the form of photographs she made of the tree’s developmental progress. The first shows the air-layering while still attached to the parent tree:
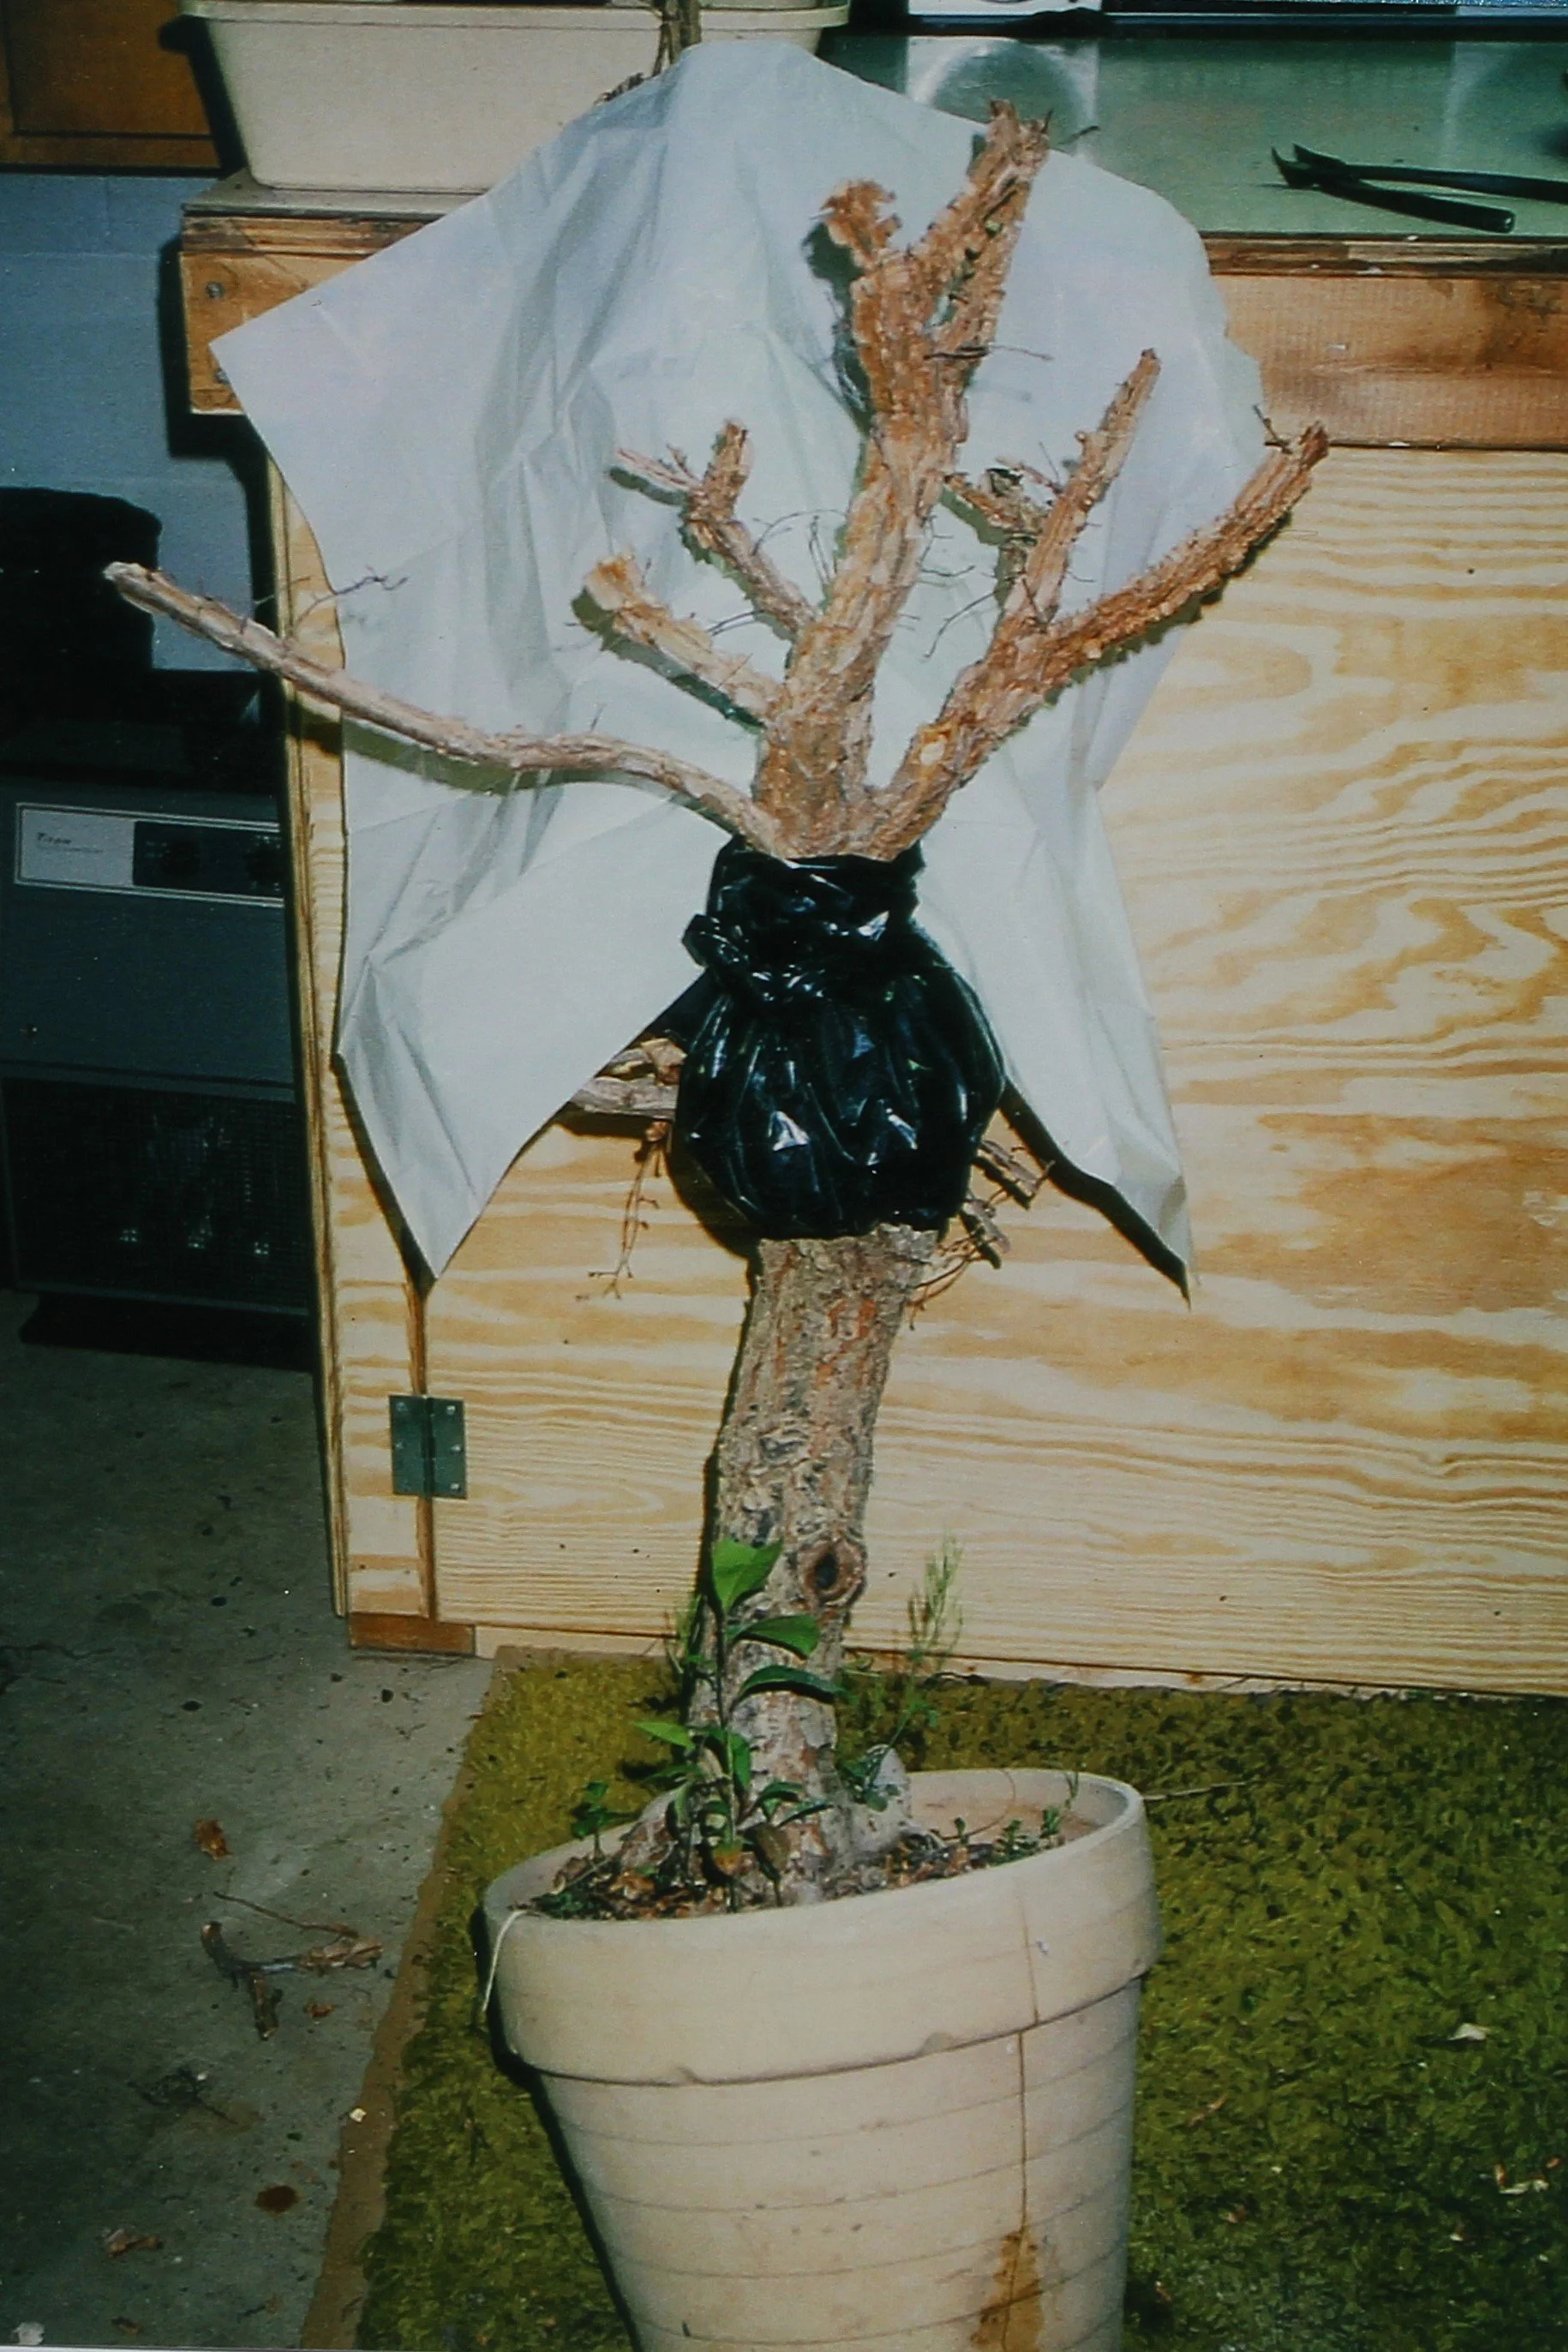
March 1995 (Photo by Kathy Walton)
The next two photos show the elm after it was severed from the parent tree and growing on its own roots. In the first image the tree is in a plastic pot, with rocks stacked around its base for stability. The second image depicts the elm planted in its first proper bonsai container, two years later:
July 1998 (Photo by Kathy Walton)
March 2000 (Photo by Kathy Walton)
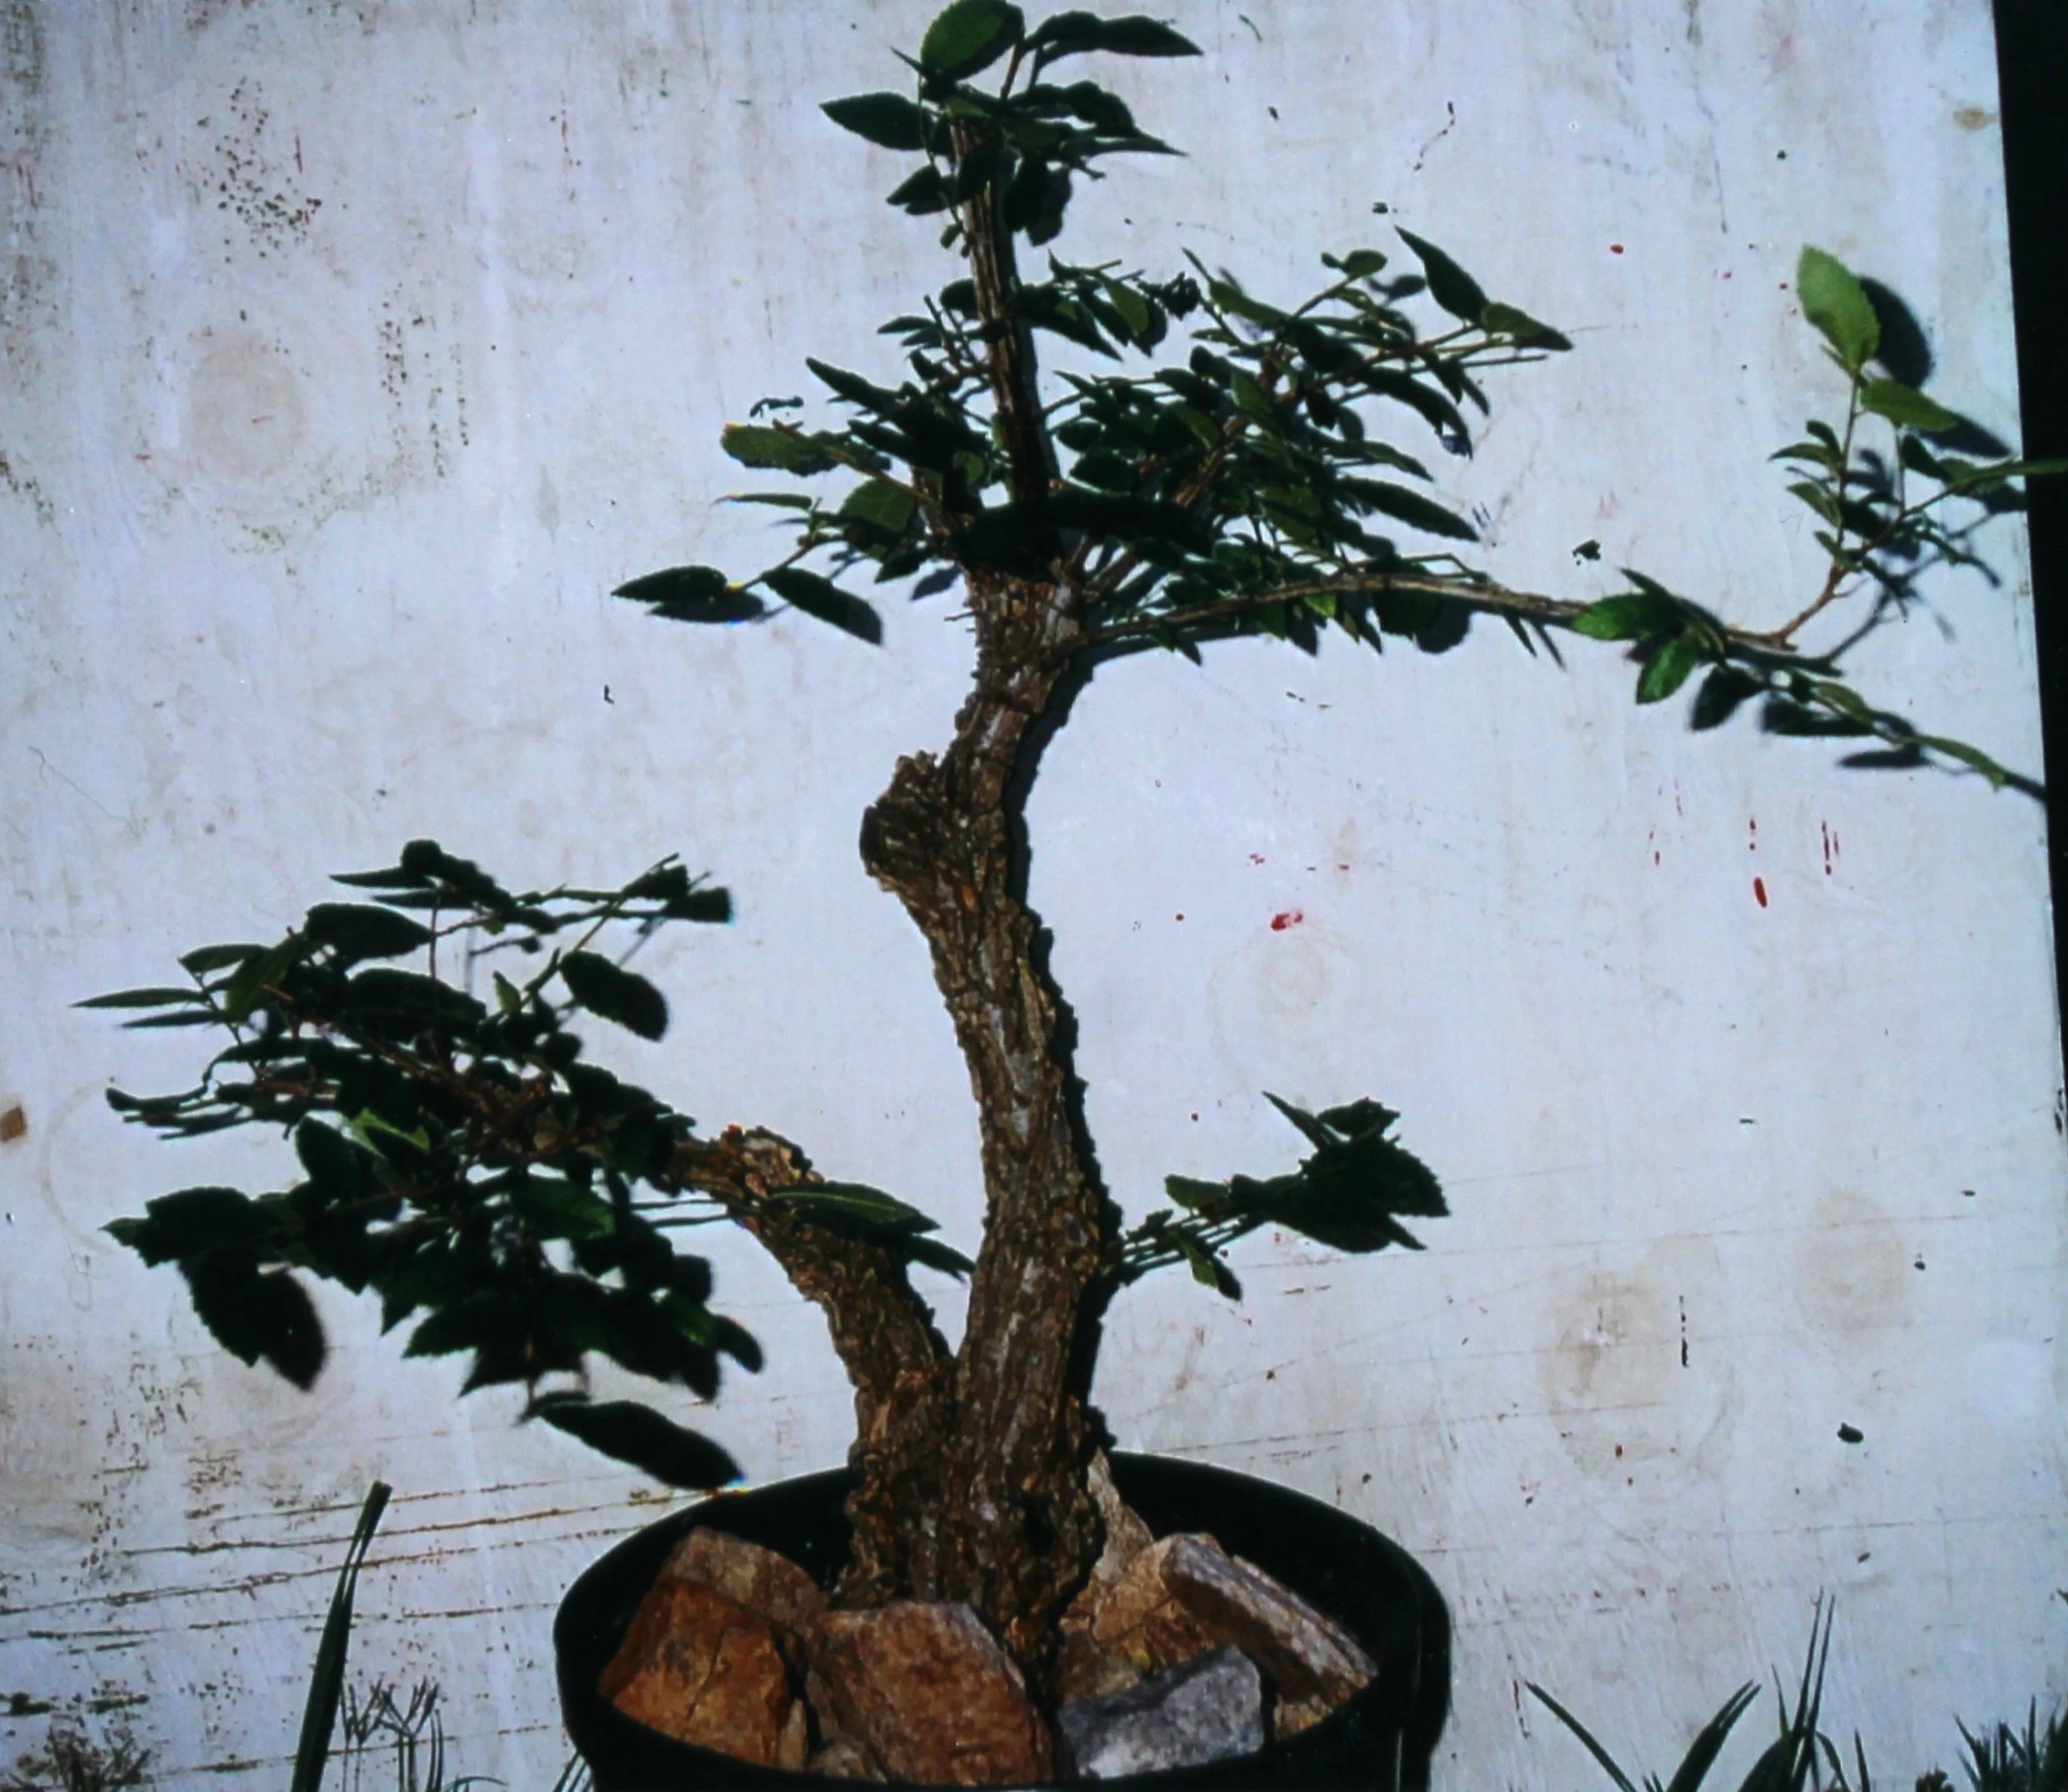
The next image shows the elm (foreground, in blue pot) on display in the Mitrees bonsai garden:
July 2001 (Photo by Kathy Walton)
The next images show the branch structure that was being developed. In the first photo, note how heavy the upper branches look — nearly as thick in appearance as the trunk of the tree:
February 2002 (Photo by Kathy Walton)
July 2002 (Photo by Kathy Walton)
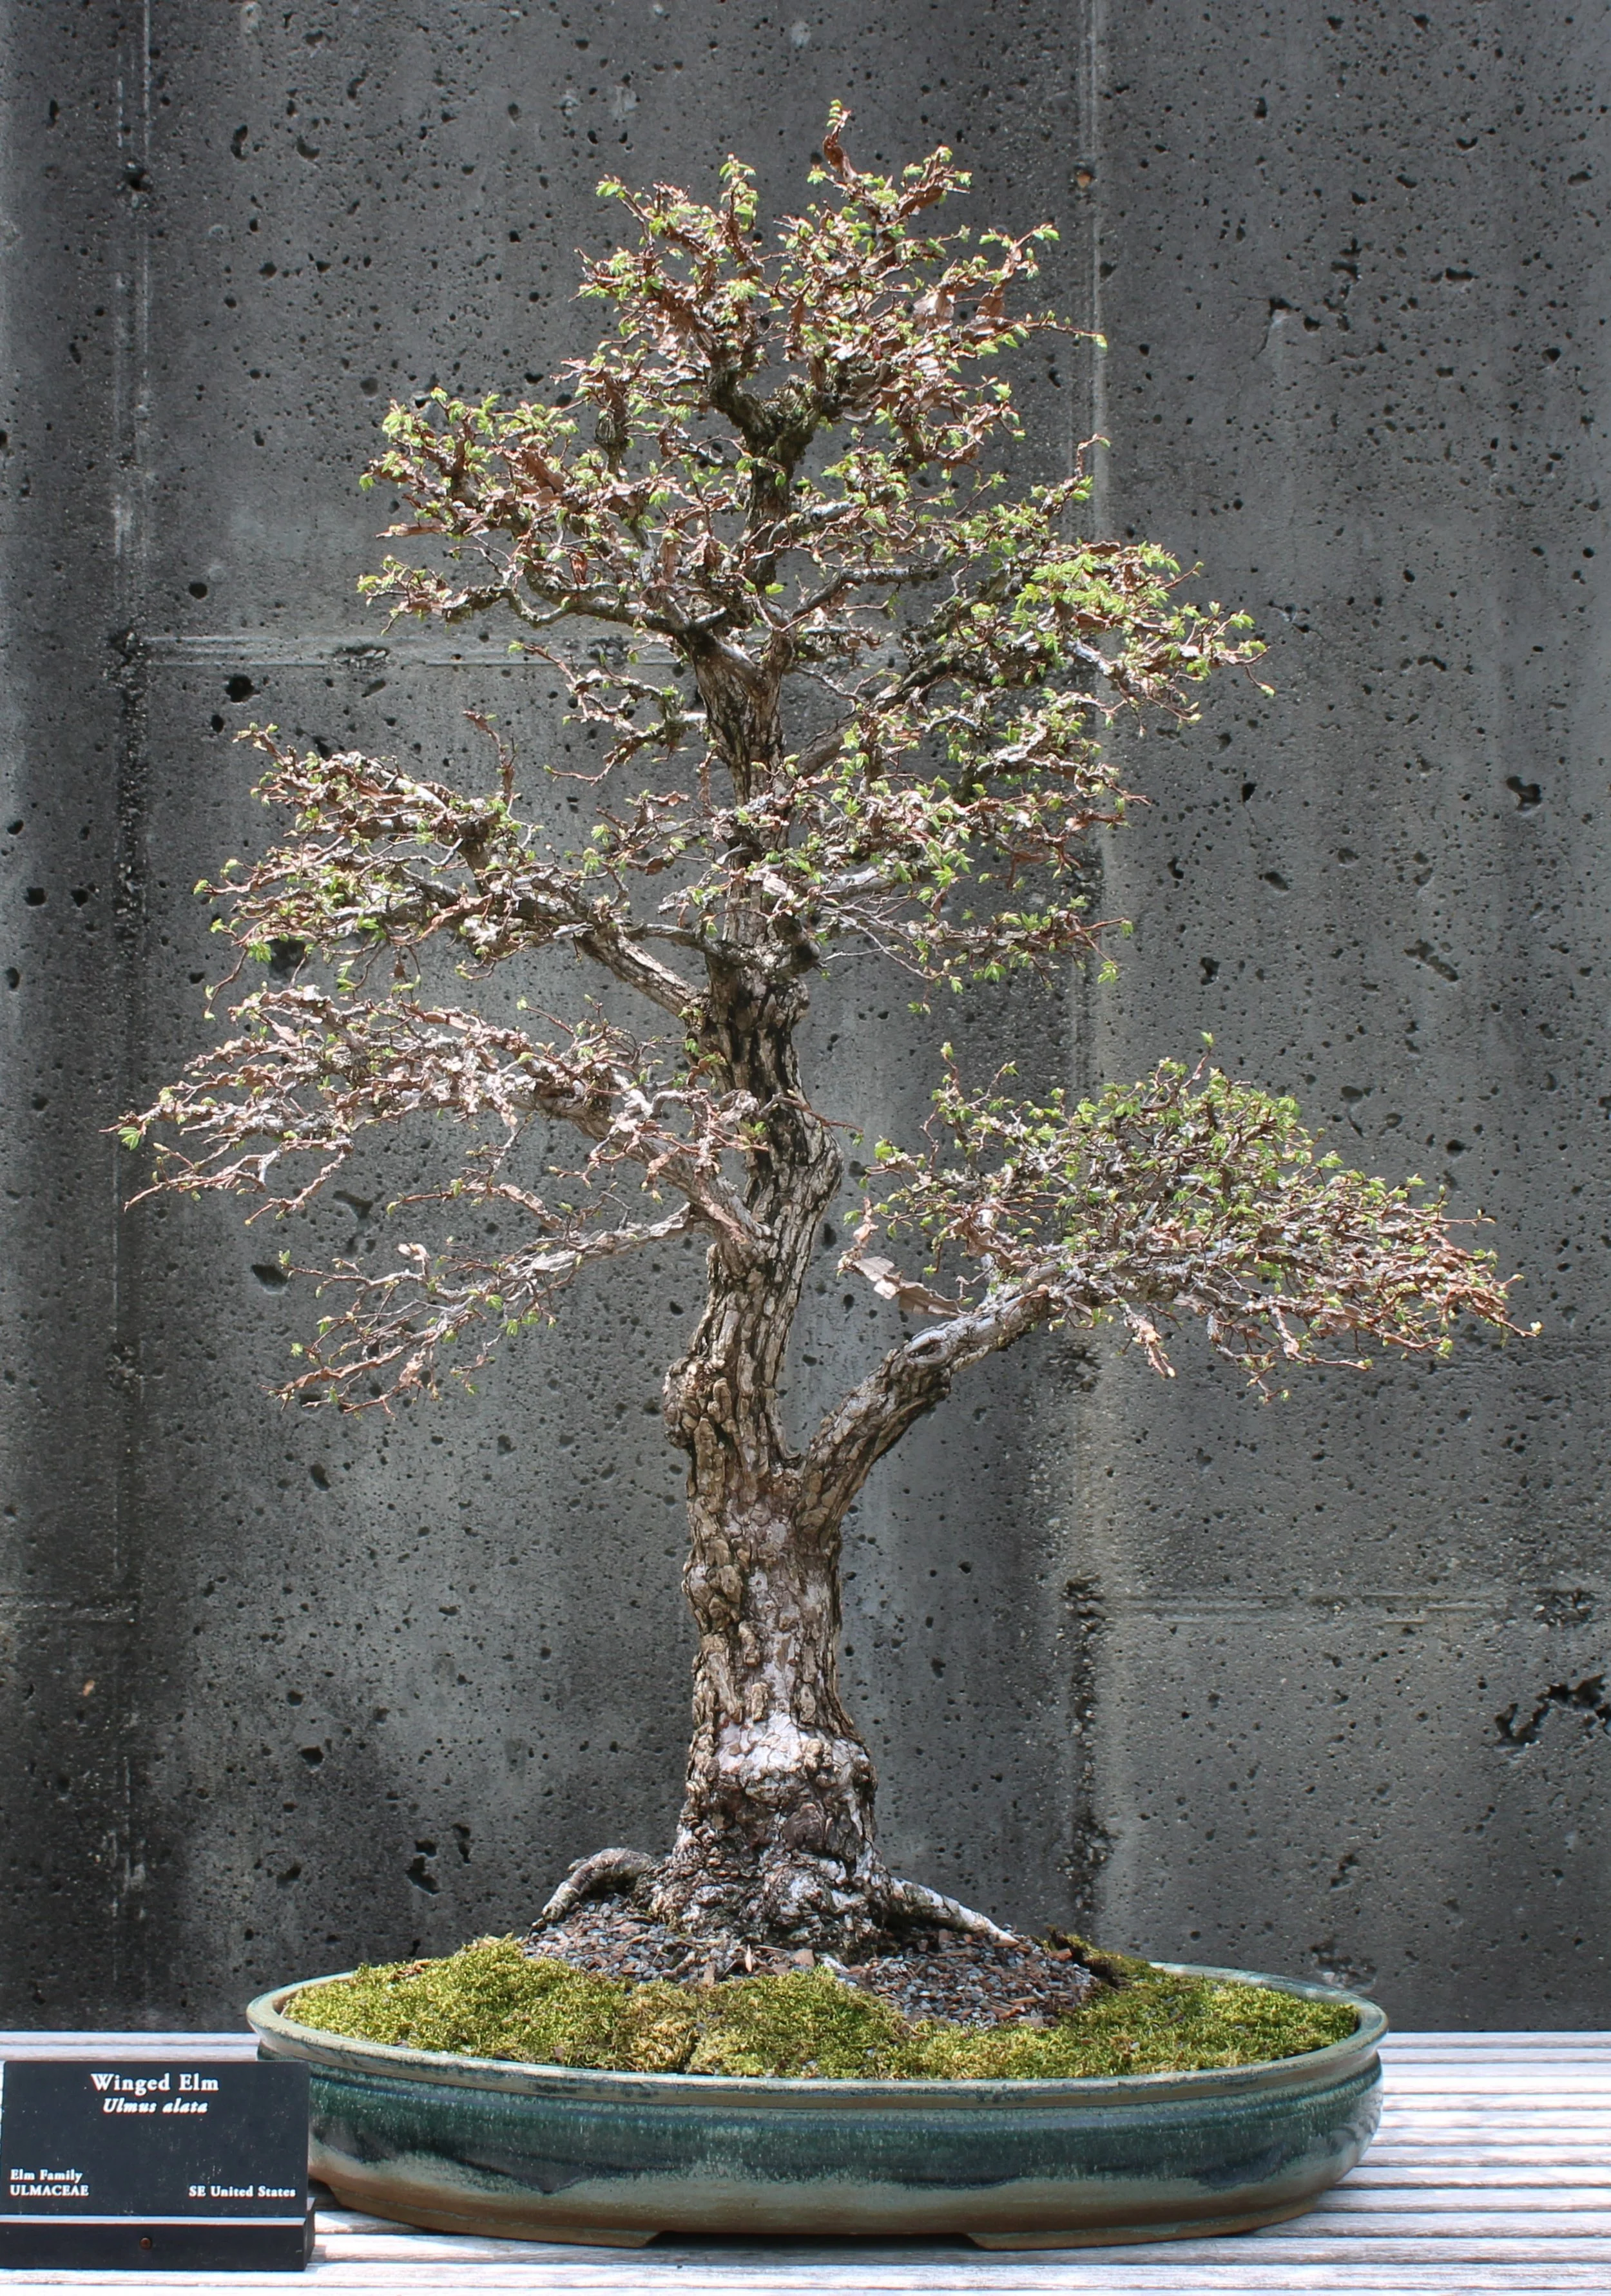
The bare branches look so thick in the above image because they exhibit the feature that gives this species of elm its “winged” name. The wings are corky flanges that grow on the stems of certain woody plants, such as burning bush (Euonymous alatus) and some sweetgums (Liquidamber styraciflua). The twigs bearing these wings are normal sized but appear much larger because the flat flanges stick outward.
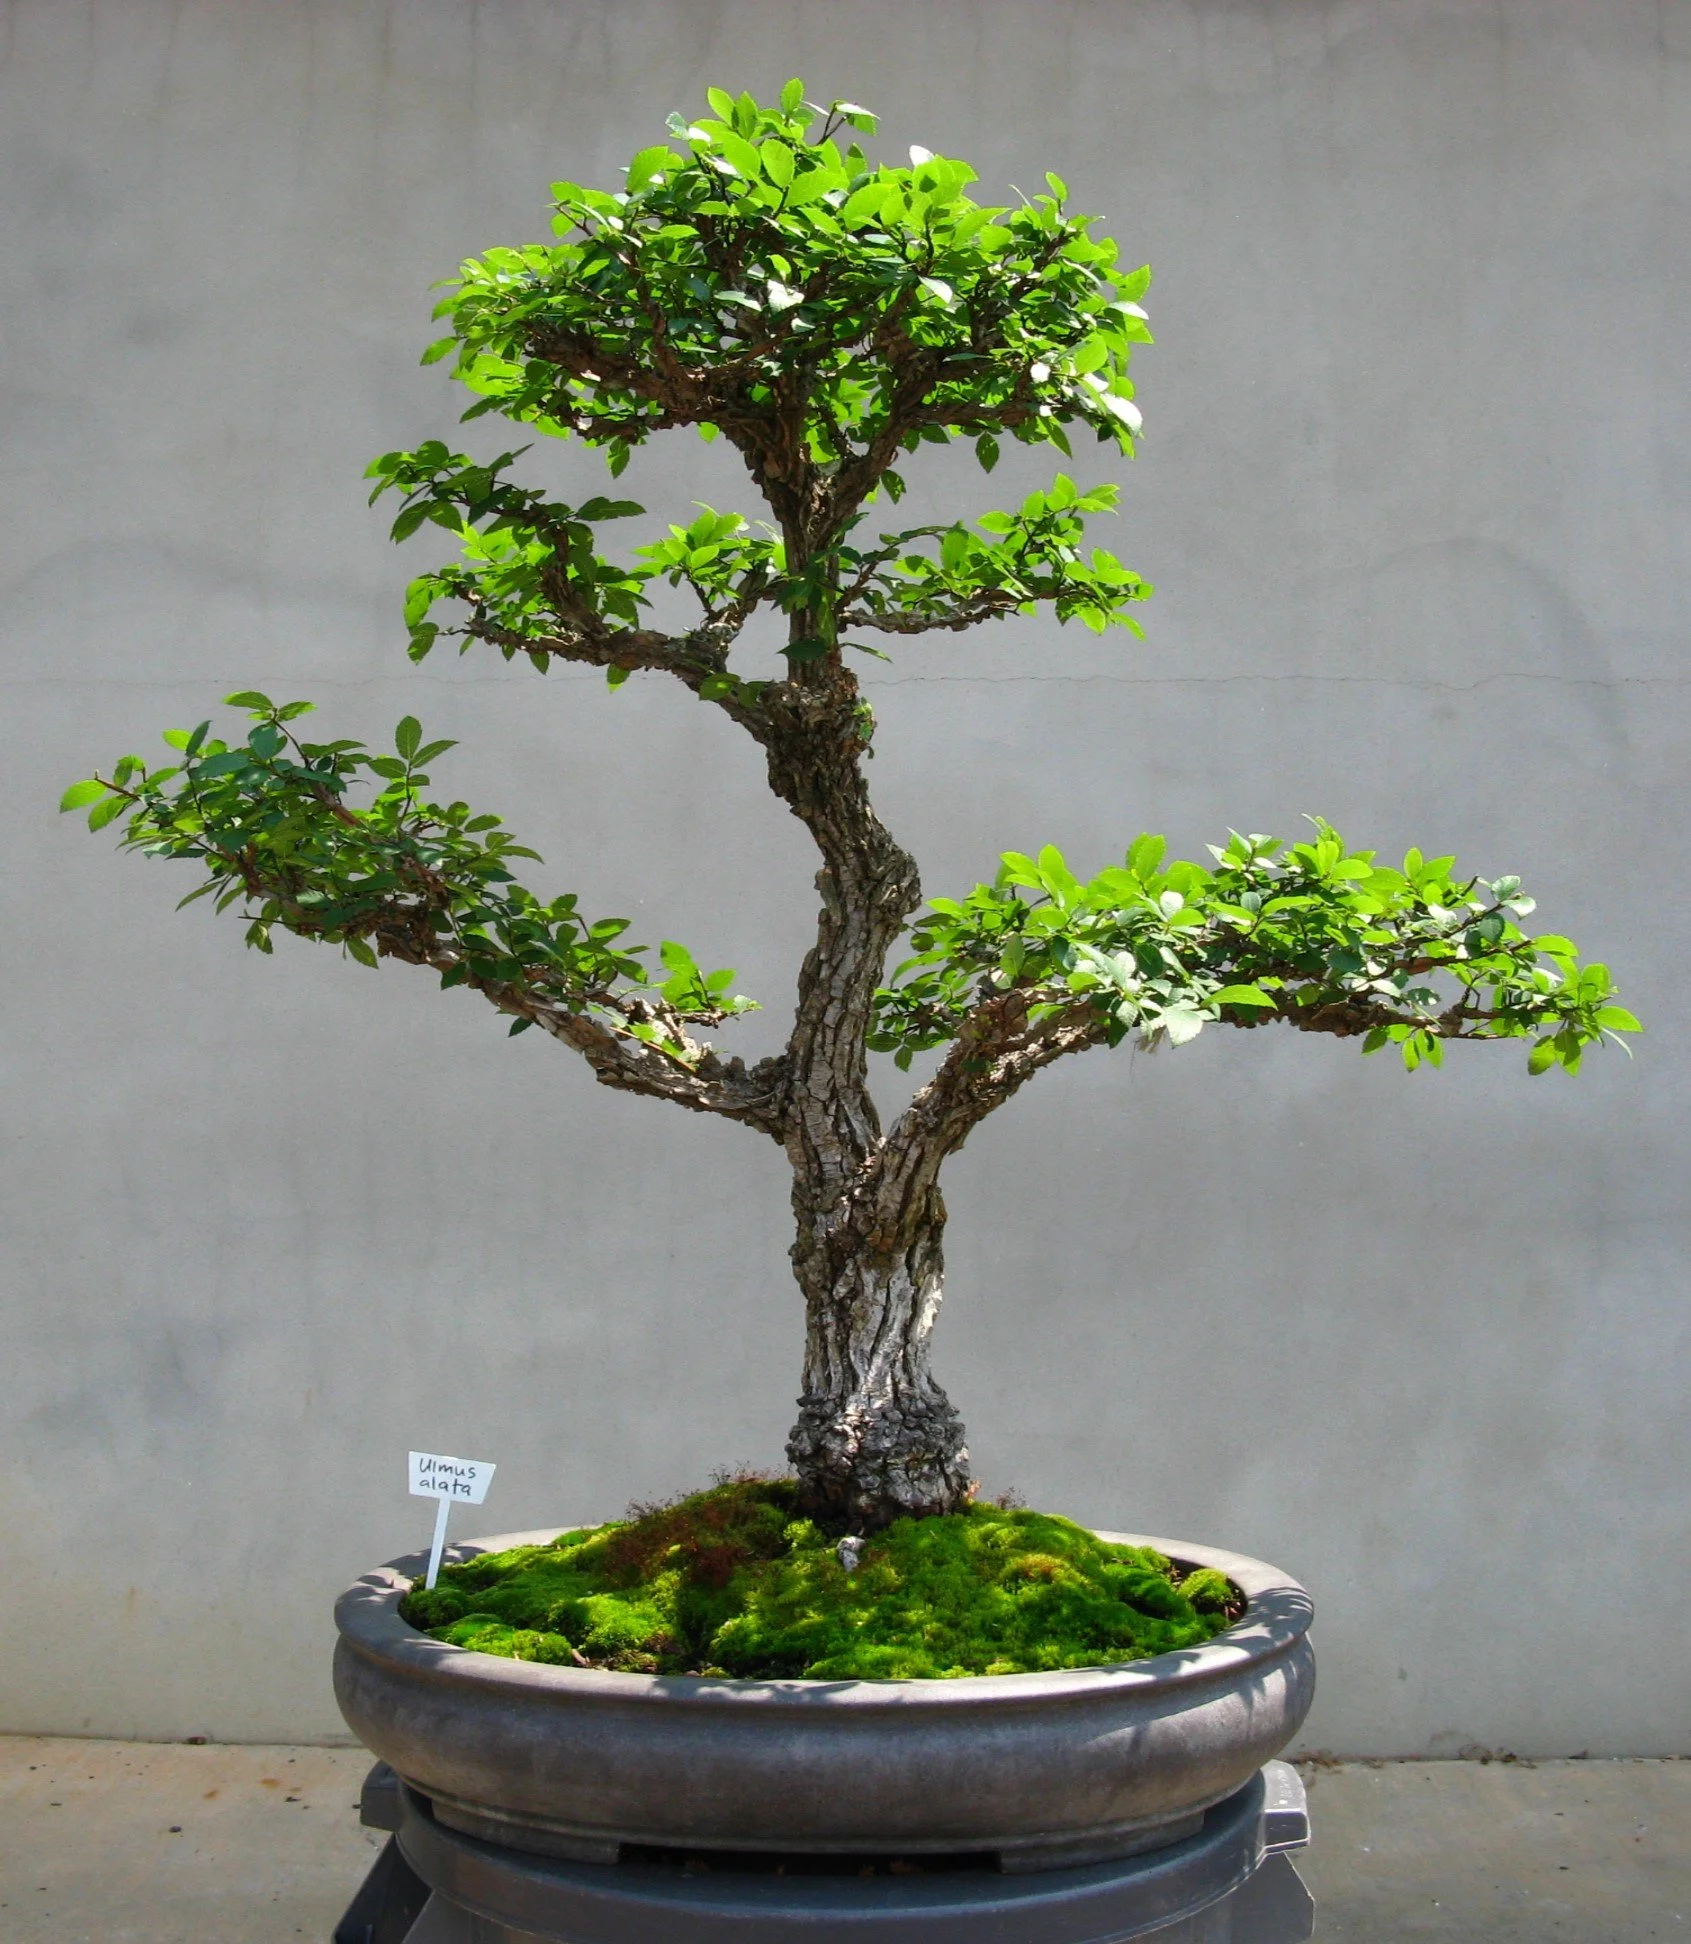
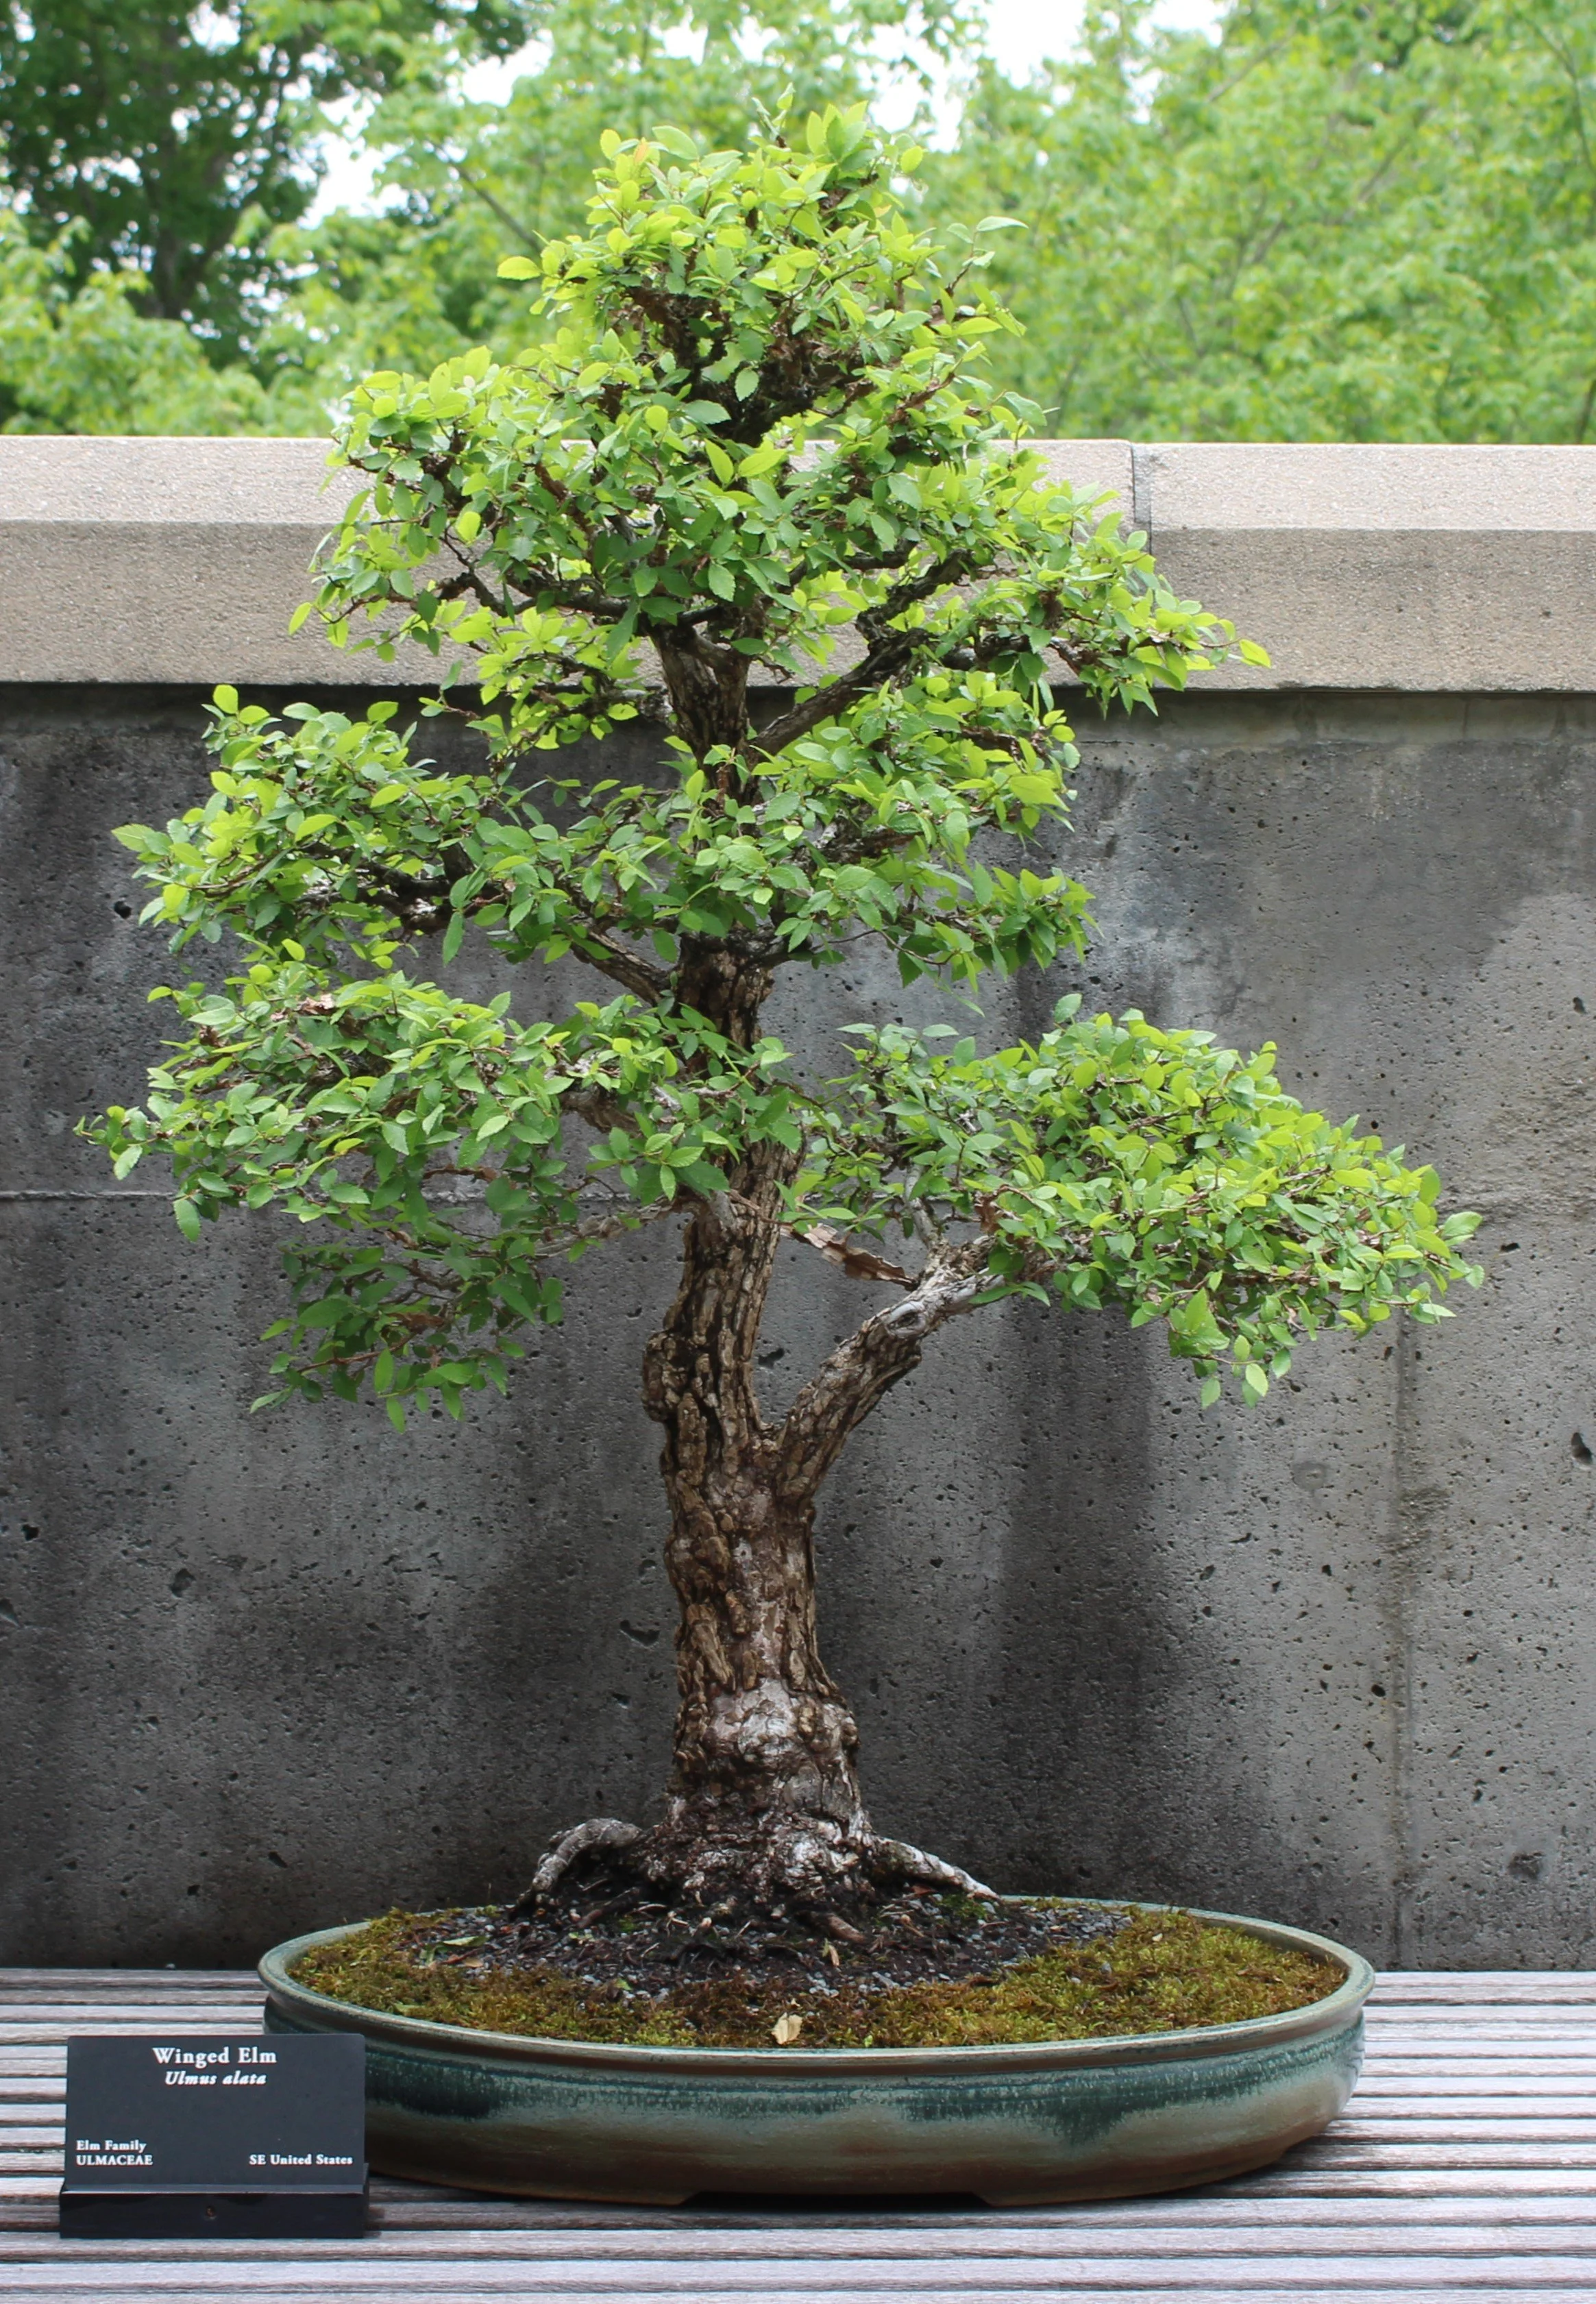
The careful documentation of this tree’s evolving appearance that Kathy had begun in 1995 continued after she donated the winged elm to the Arboretum. This photo was made later in the same year we received the gift, and shows the specimen more or less how it came to us:
November 2007
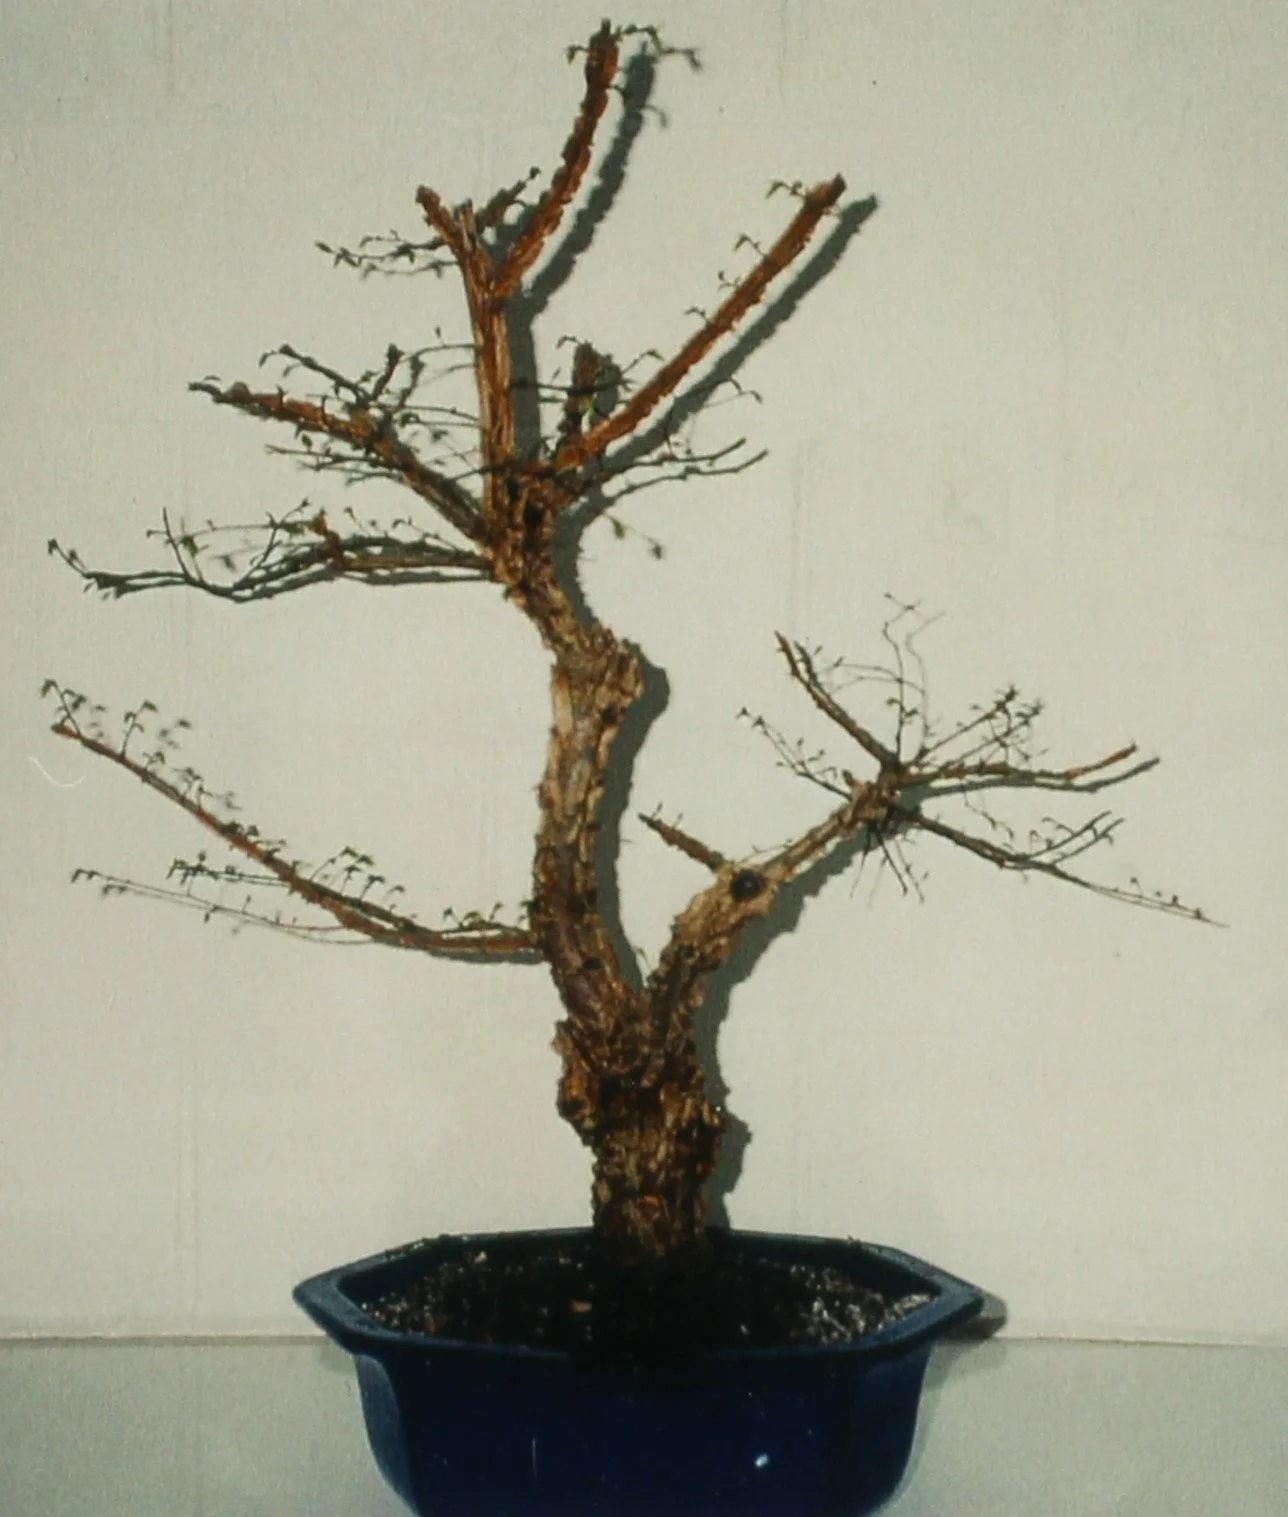
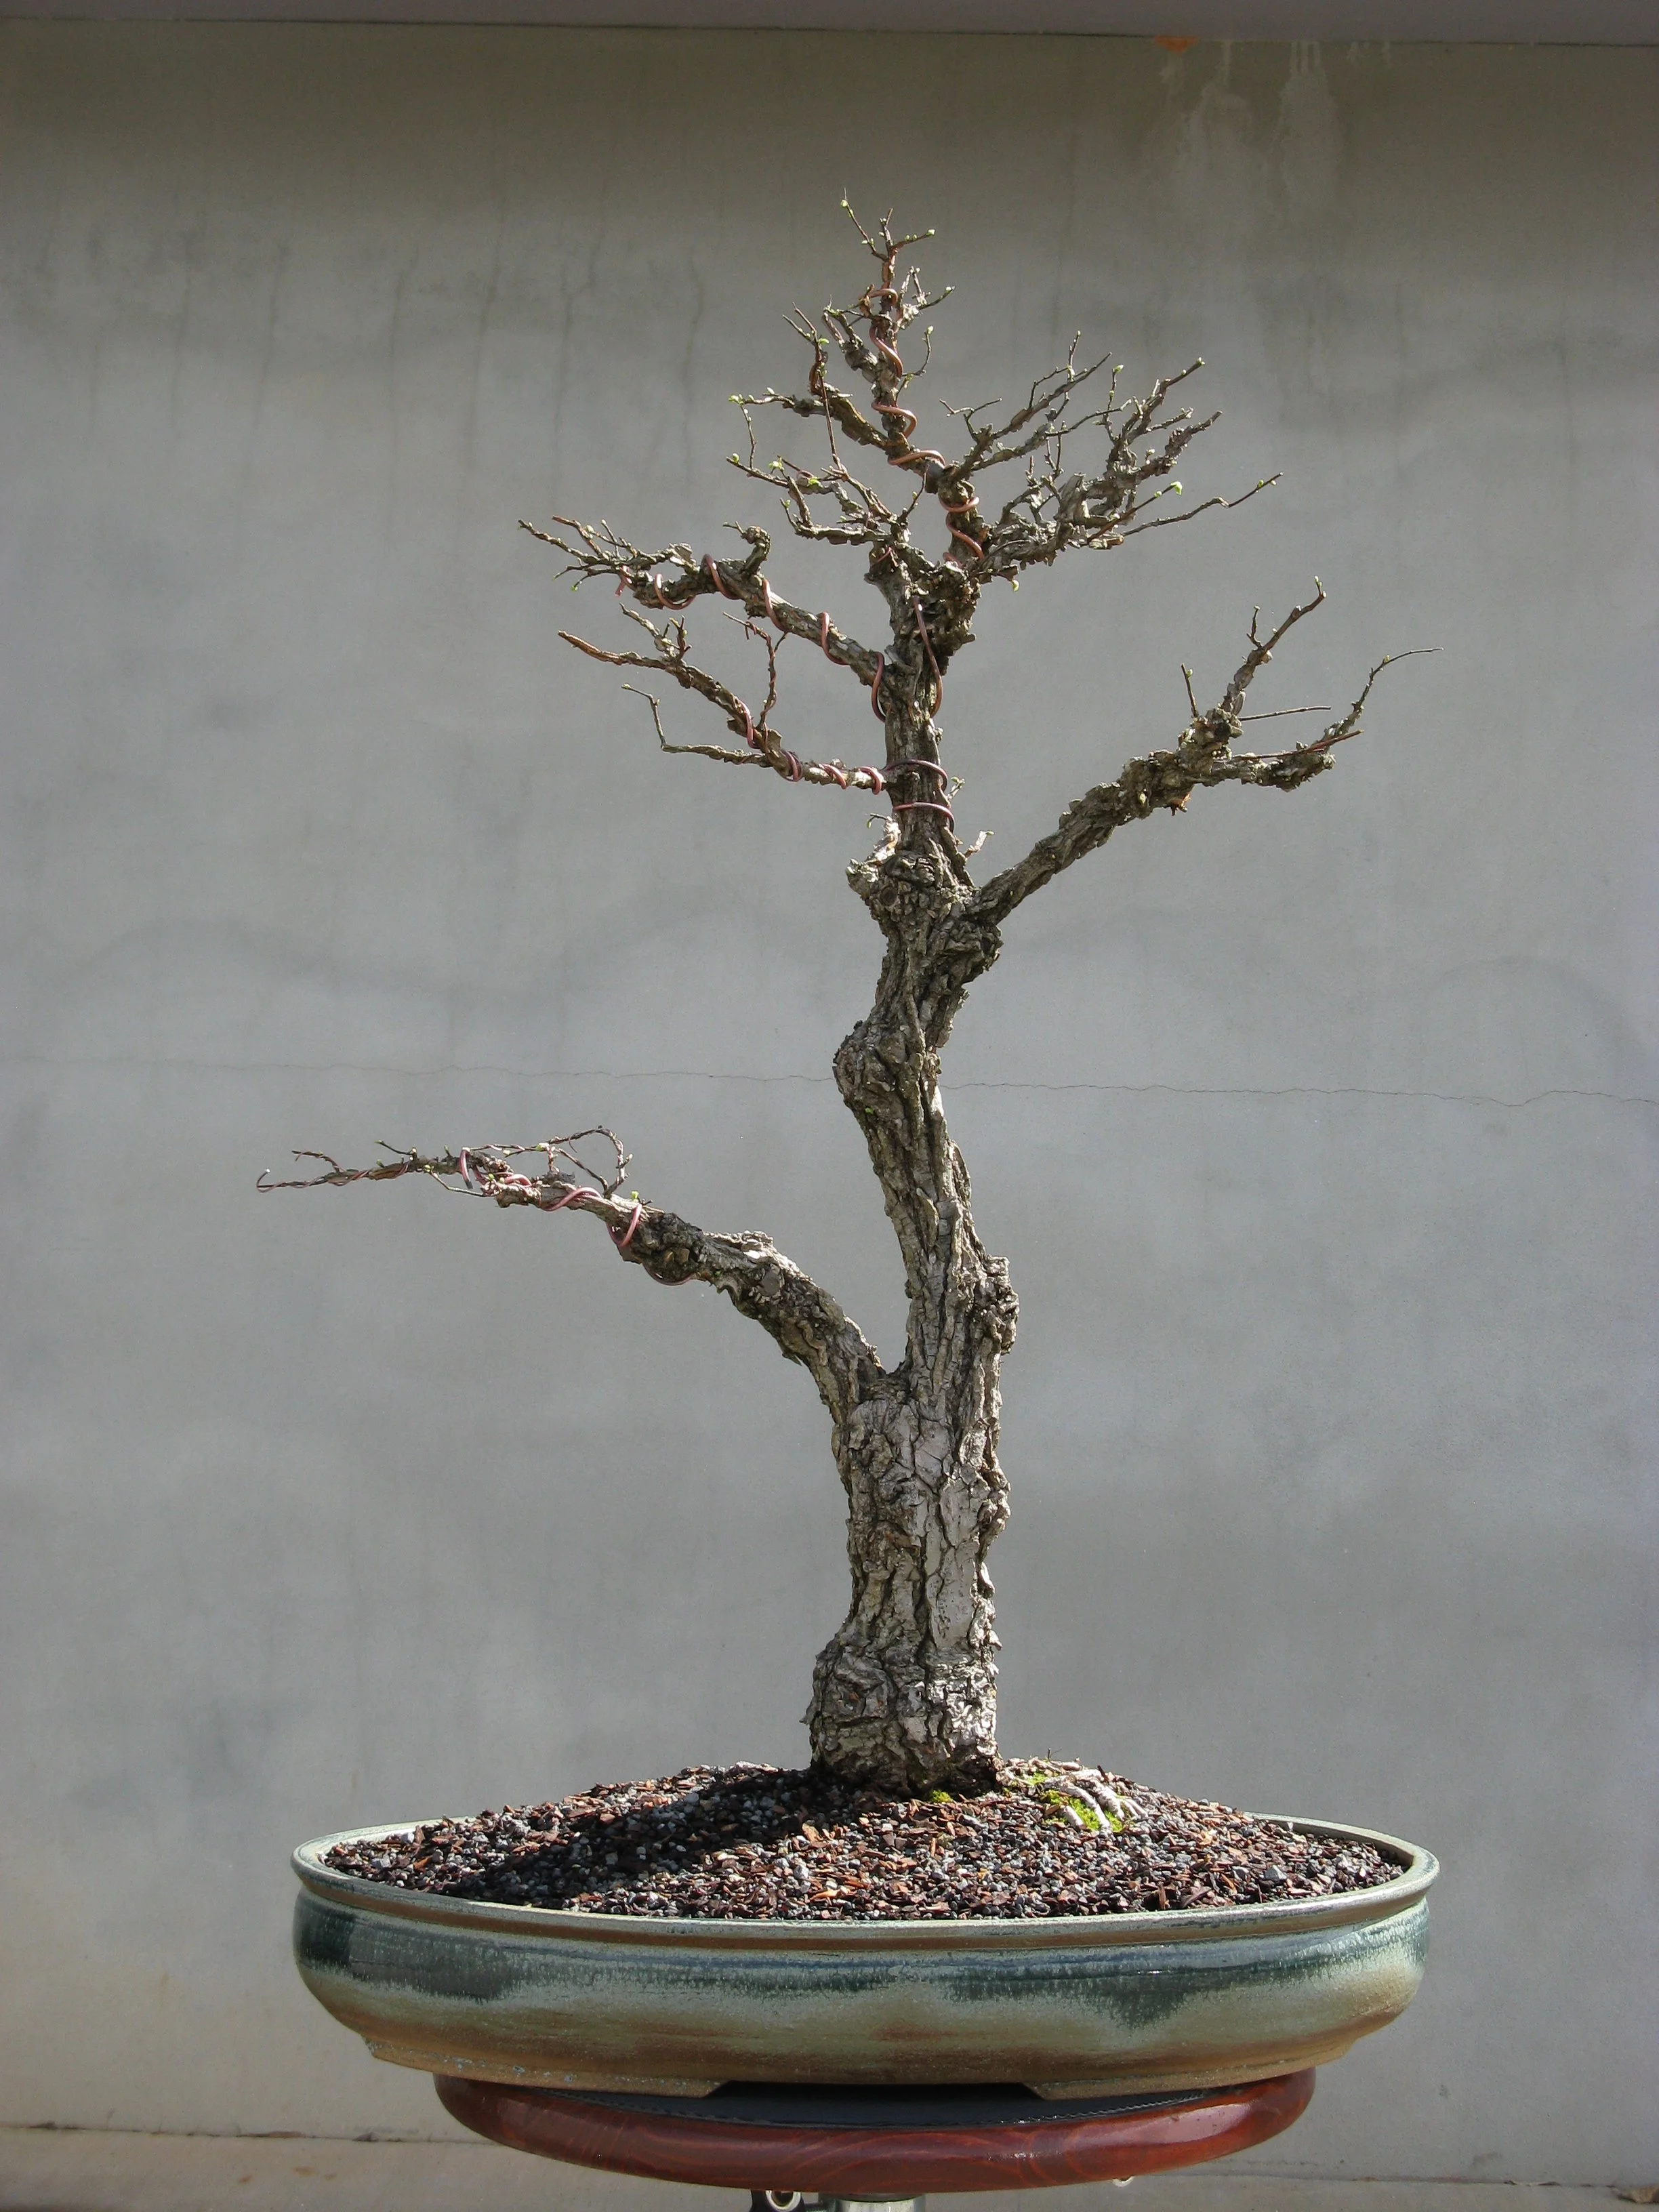
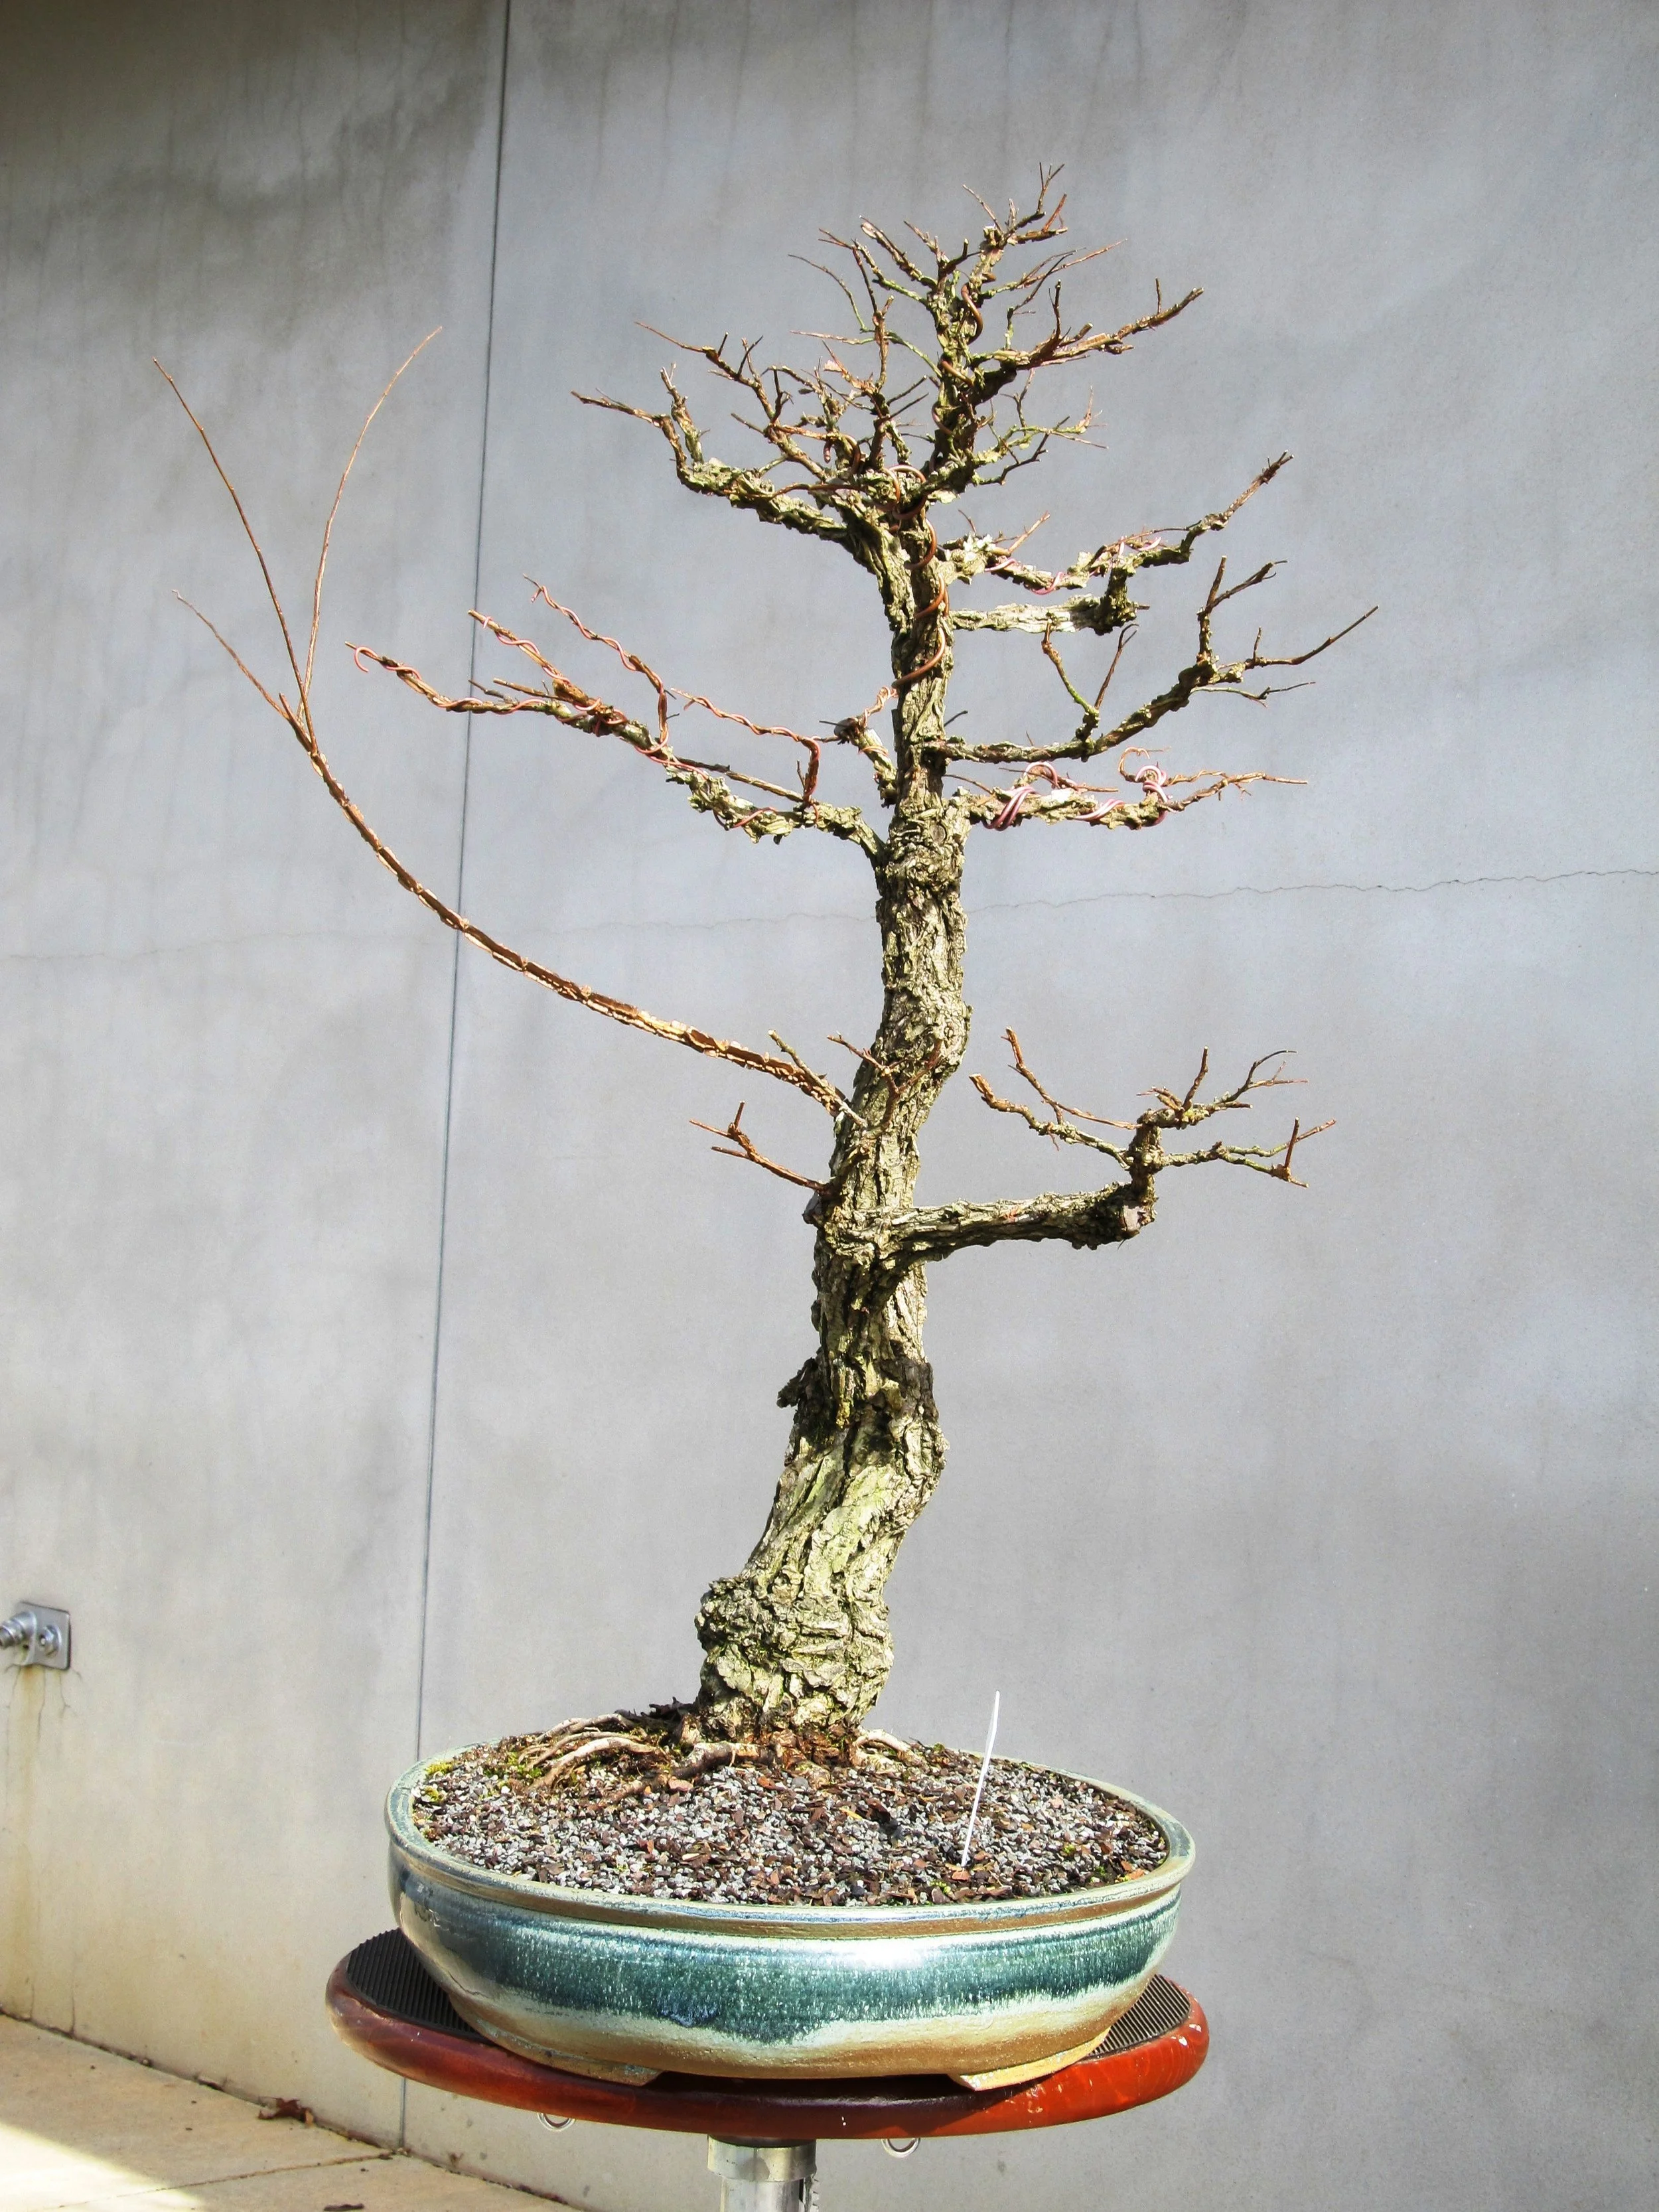
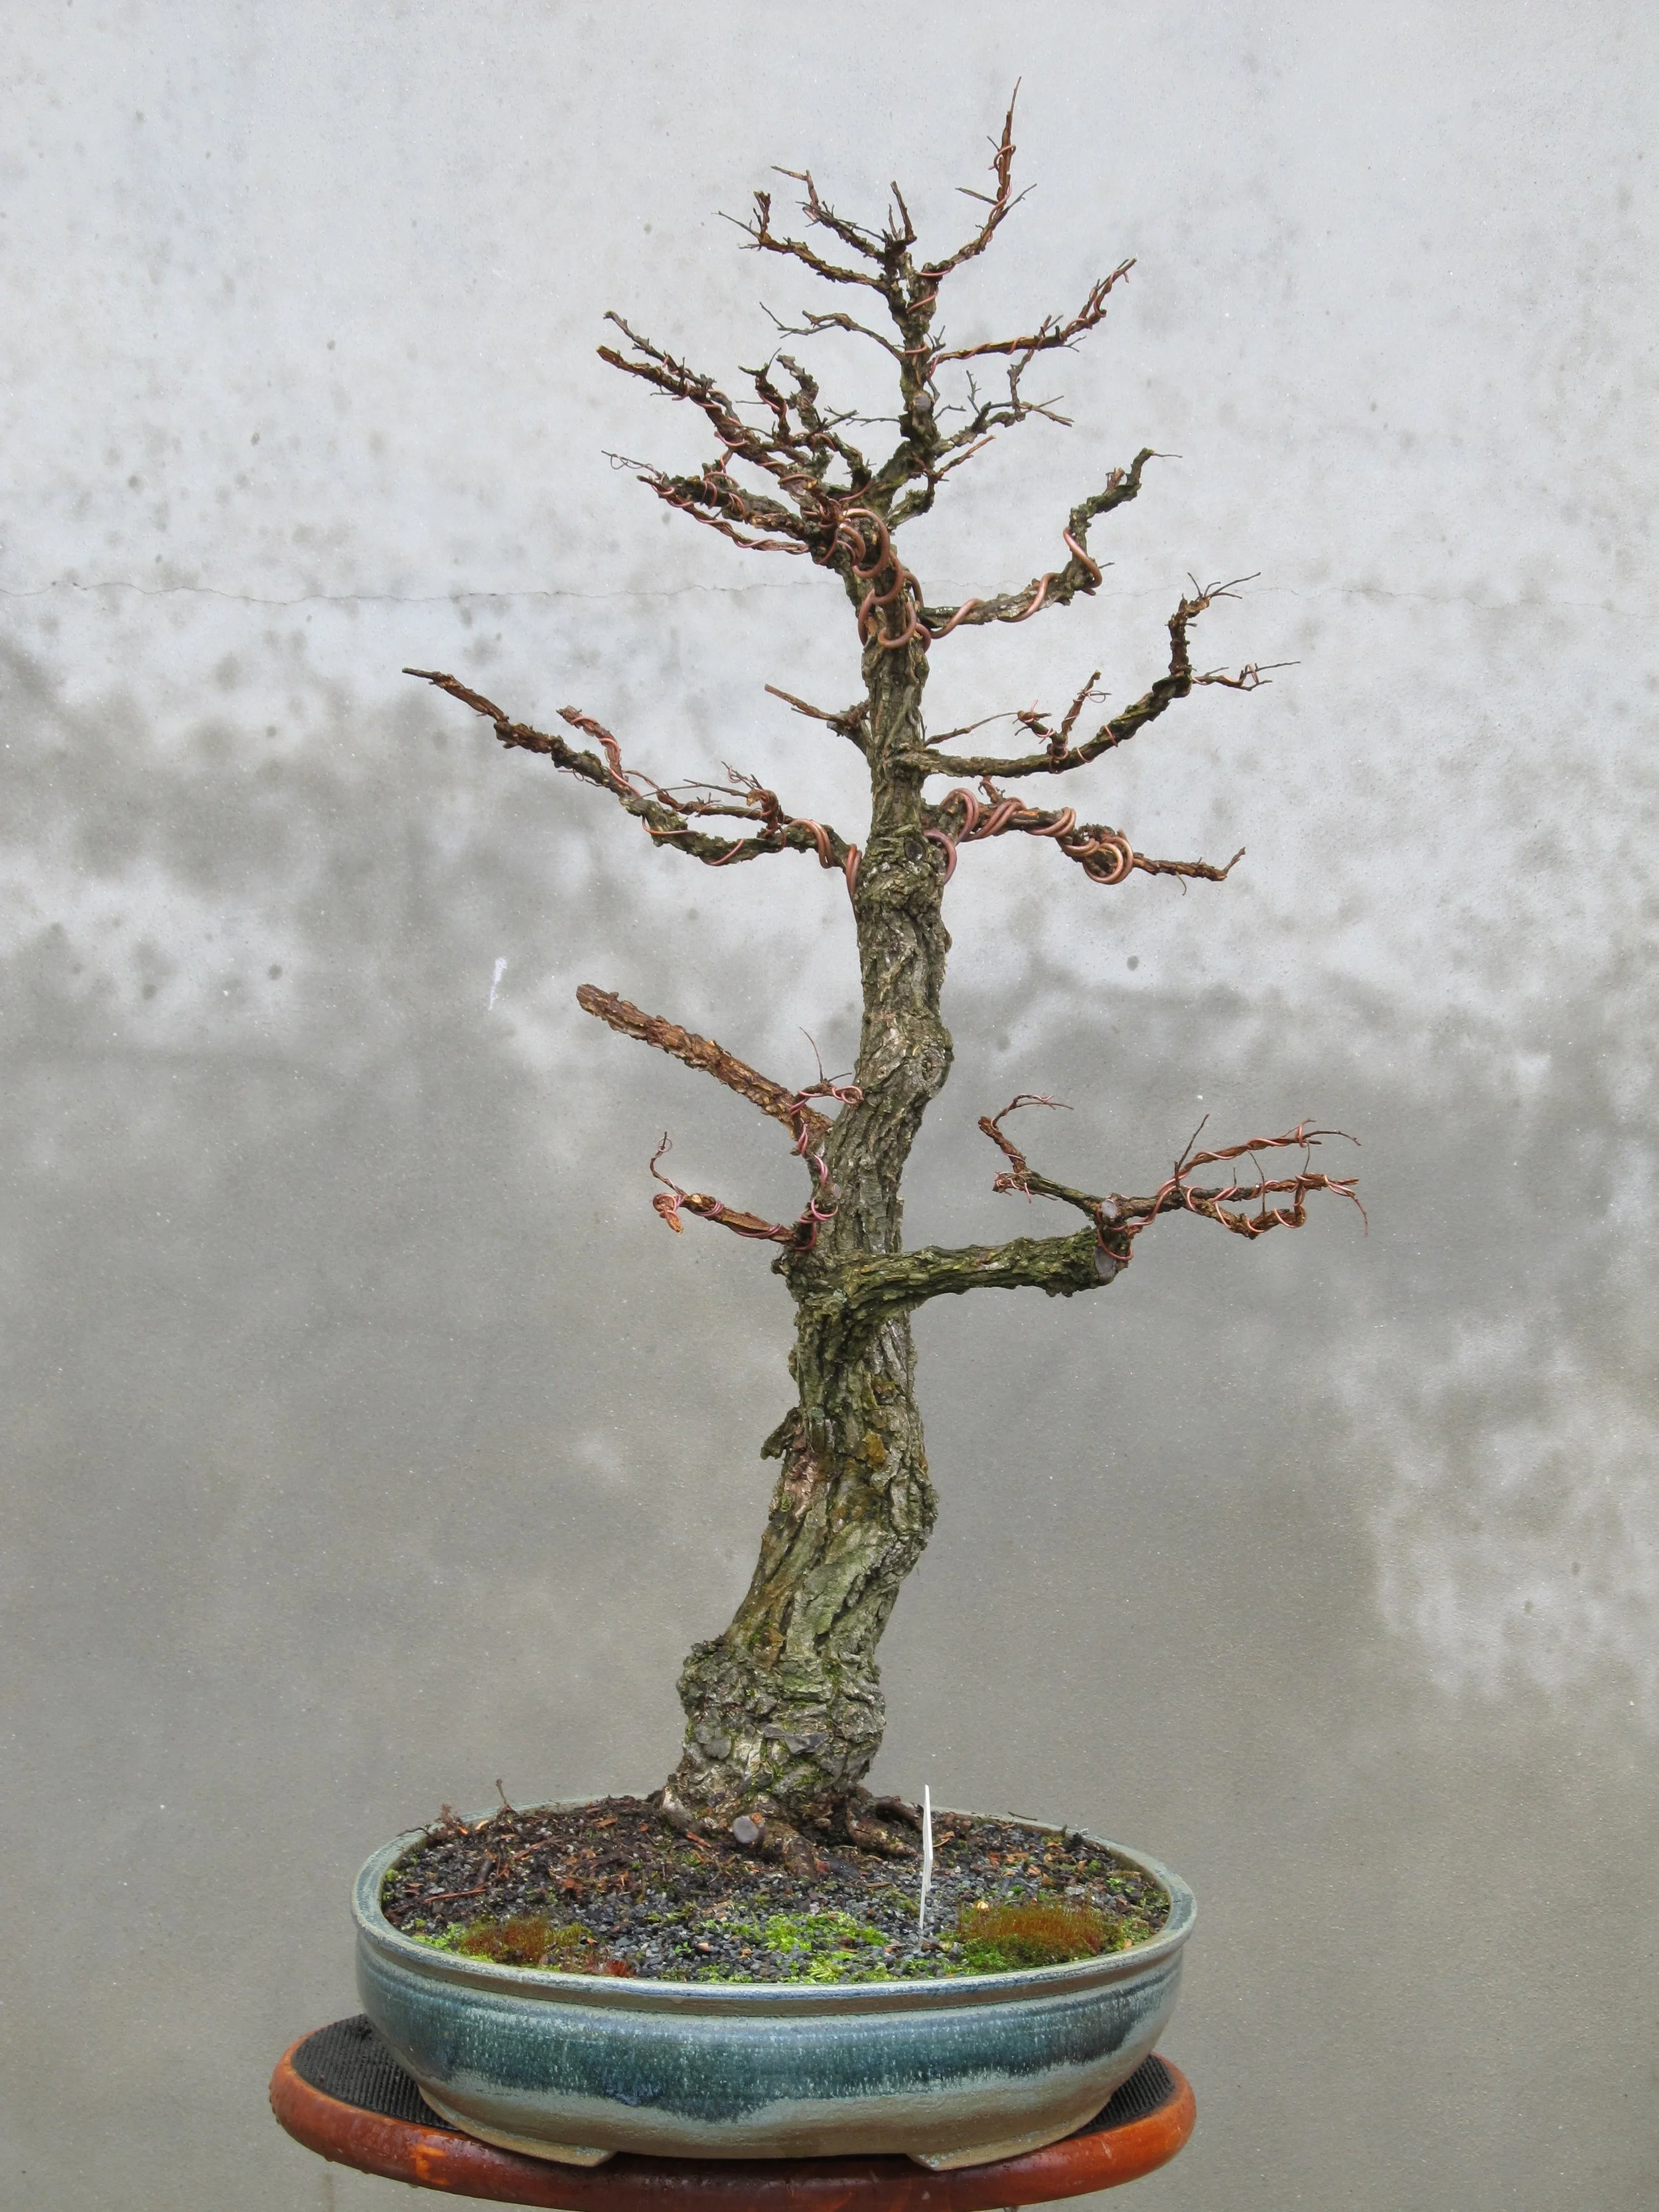
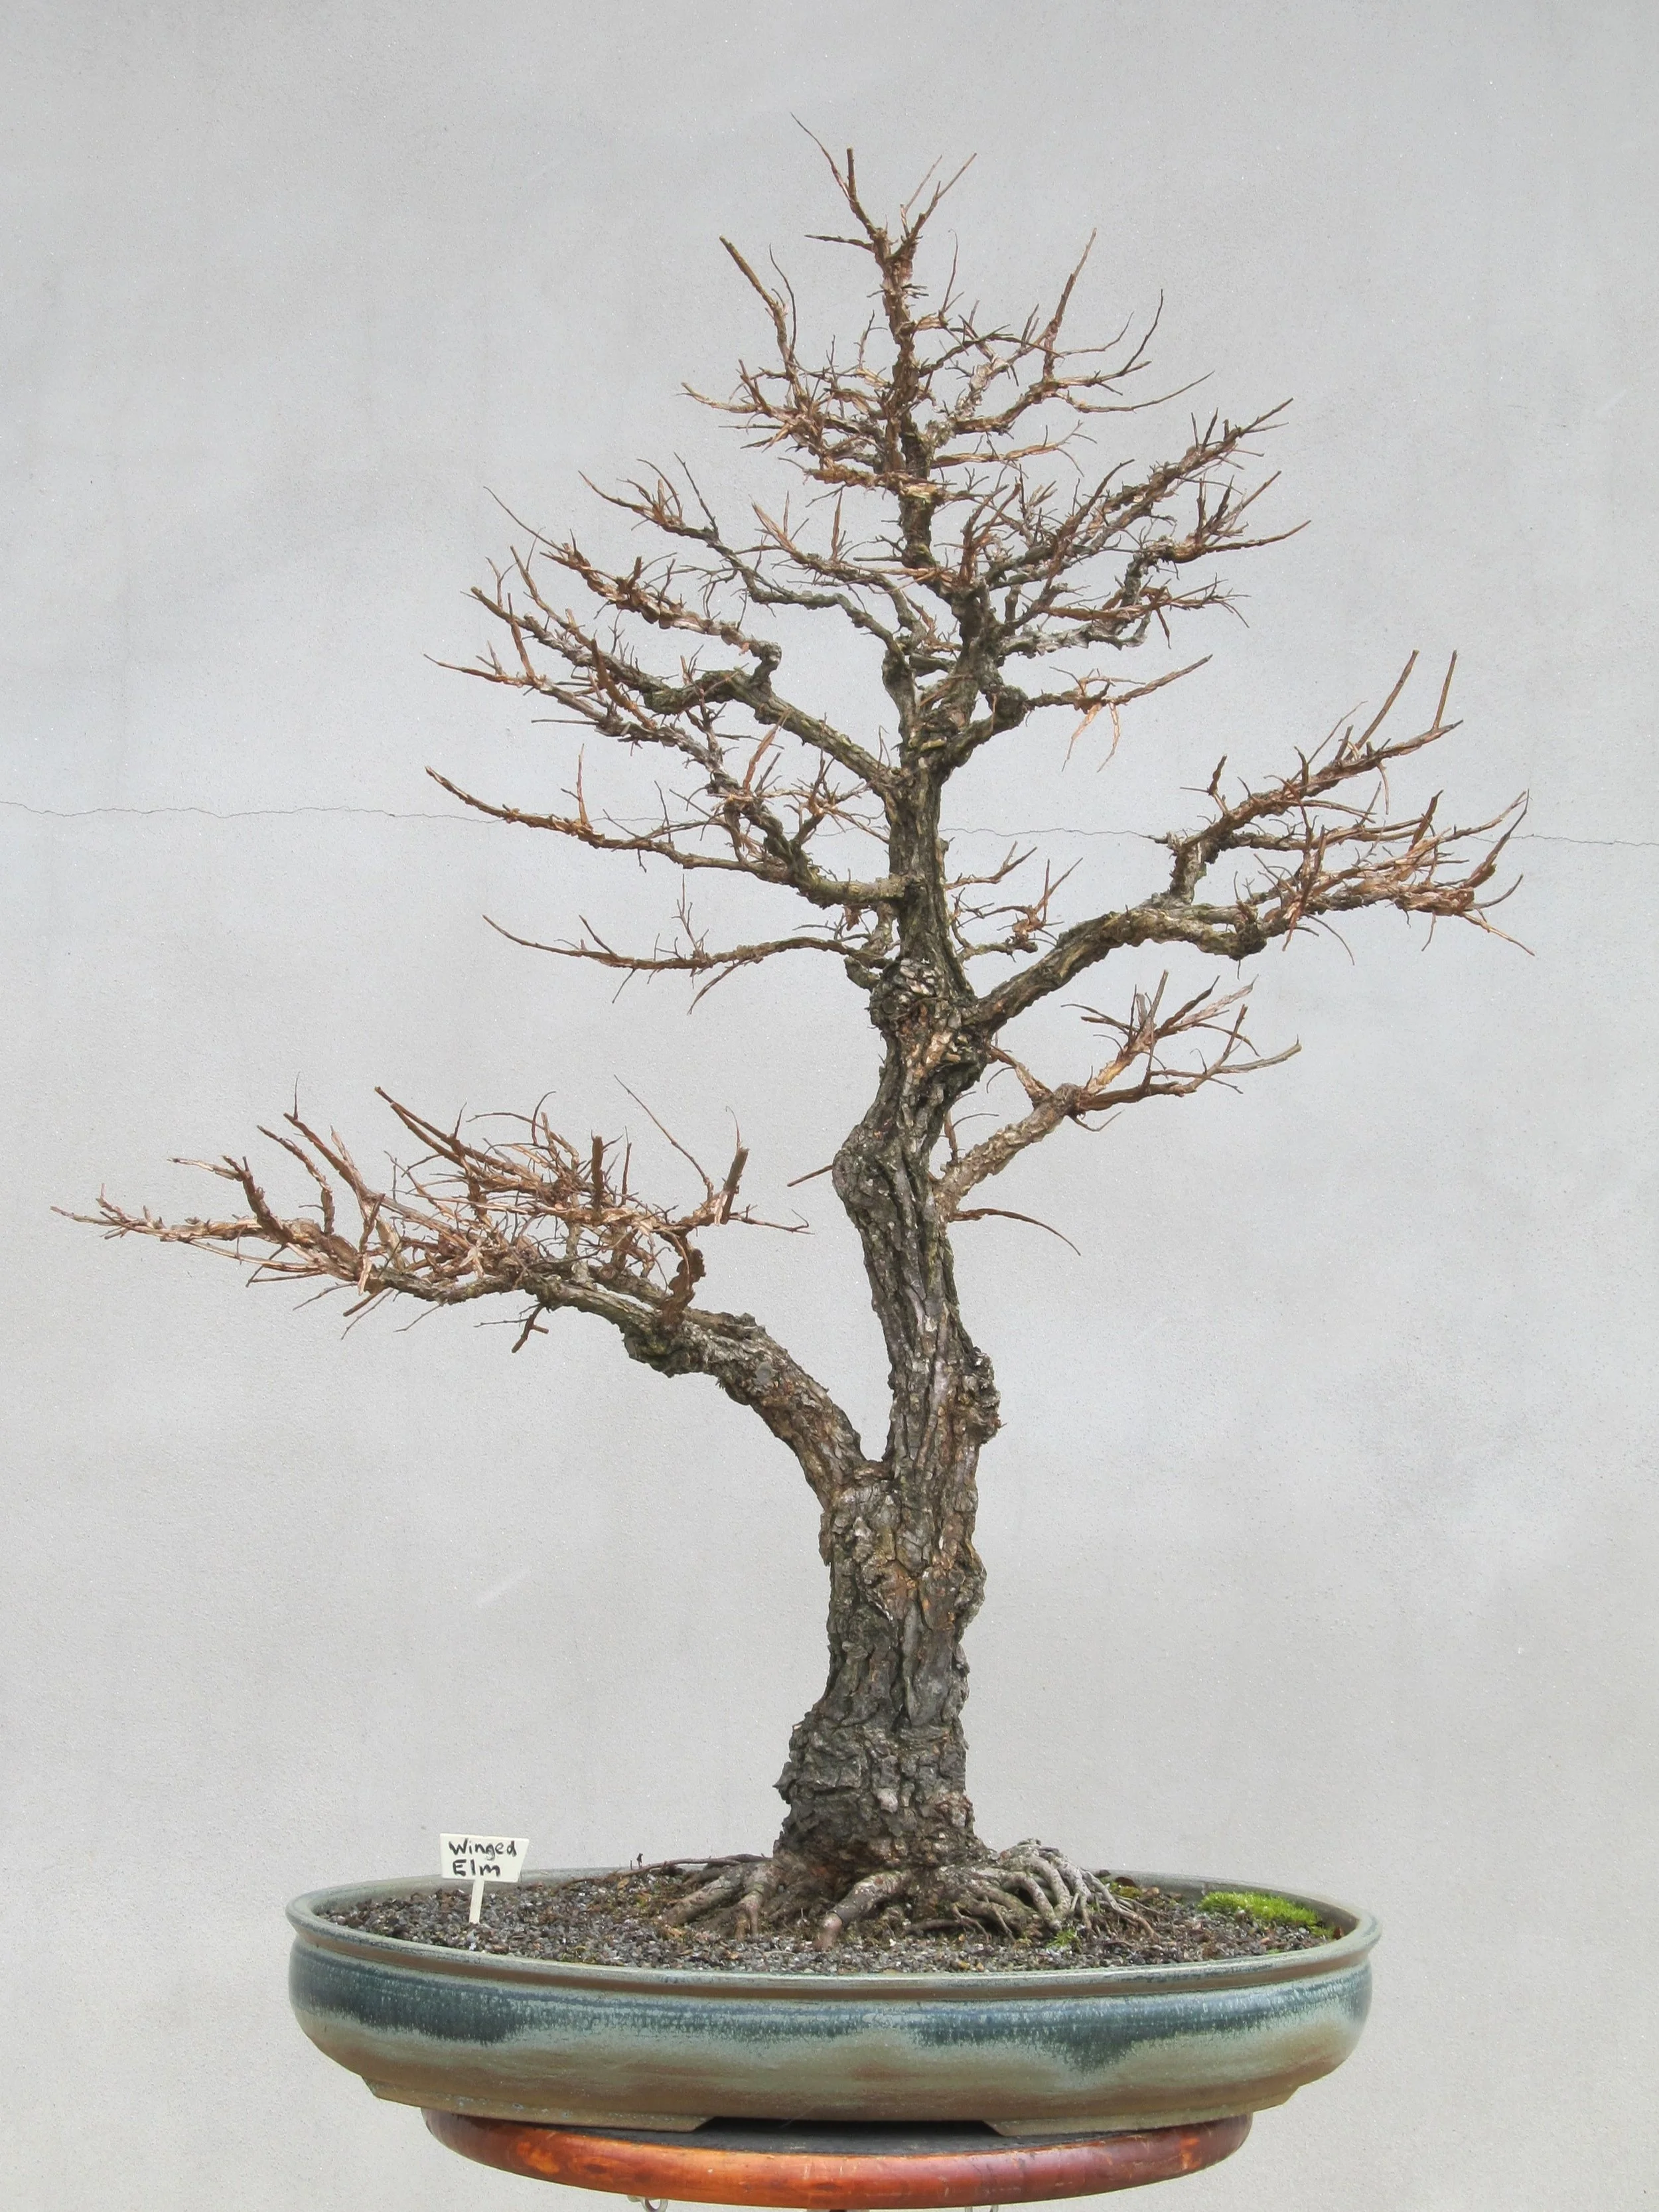
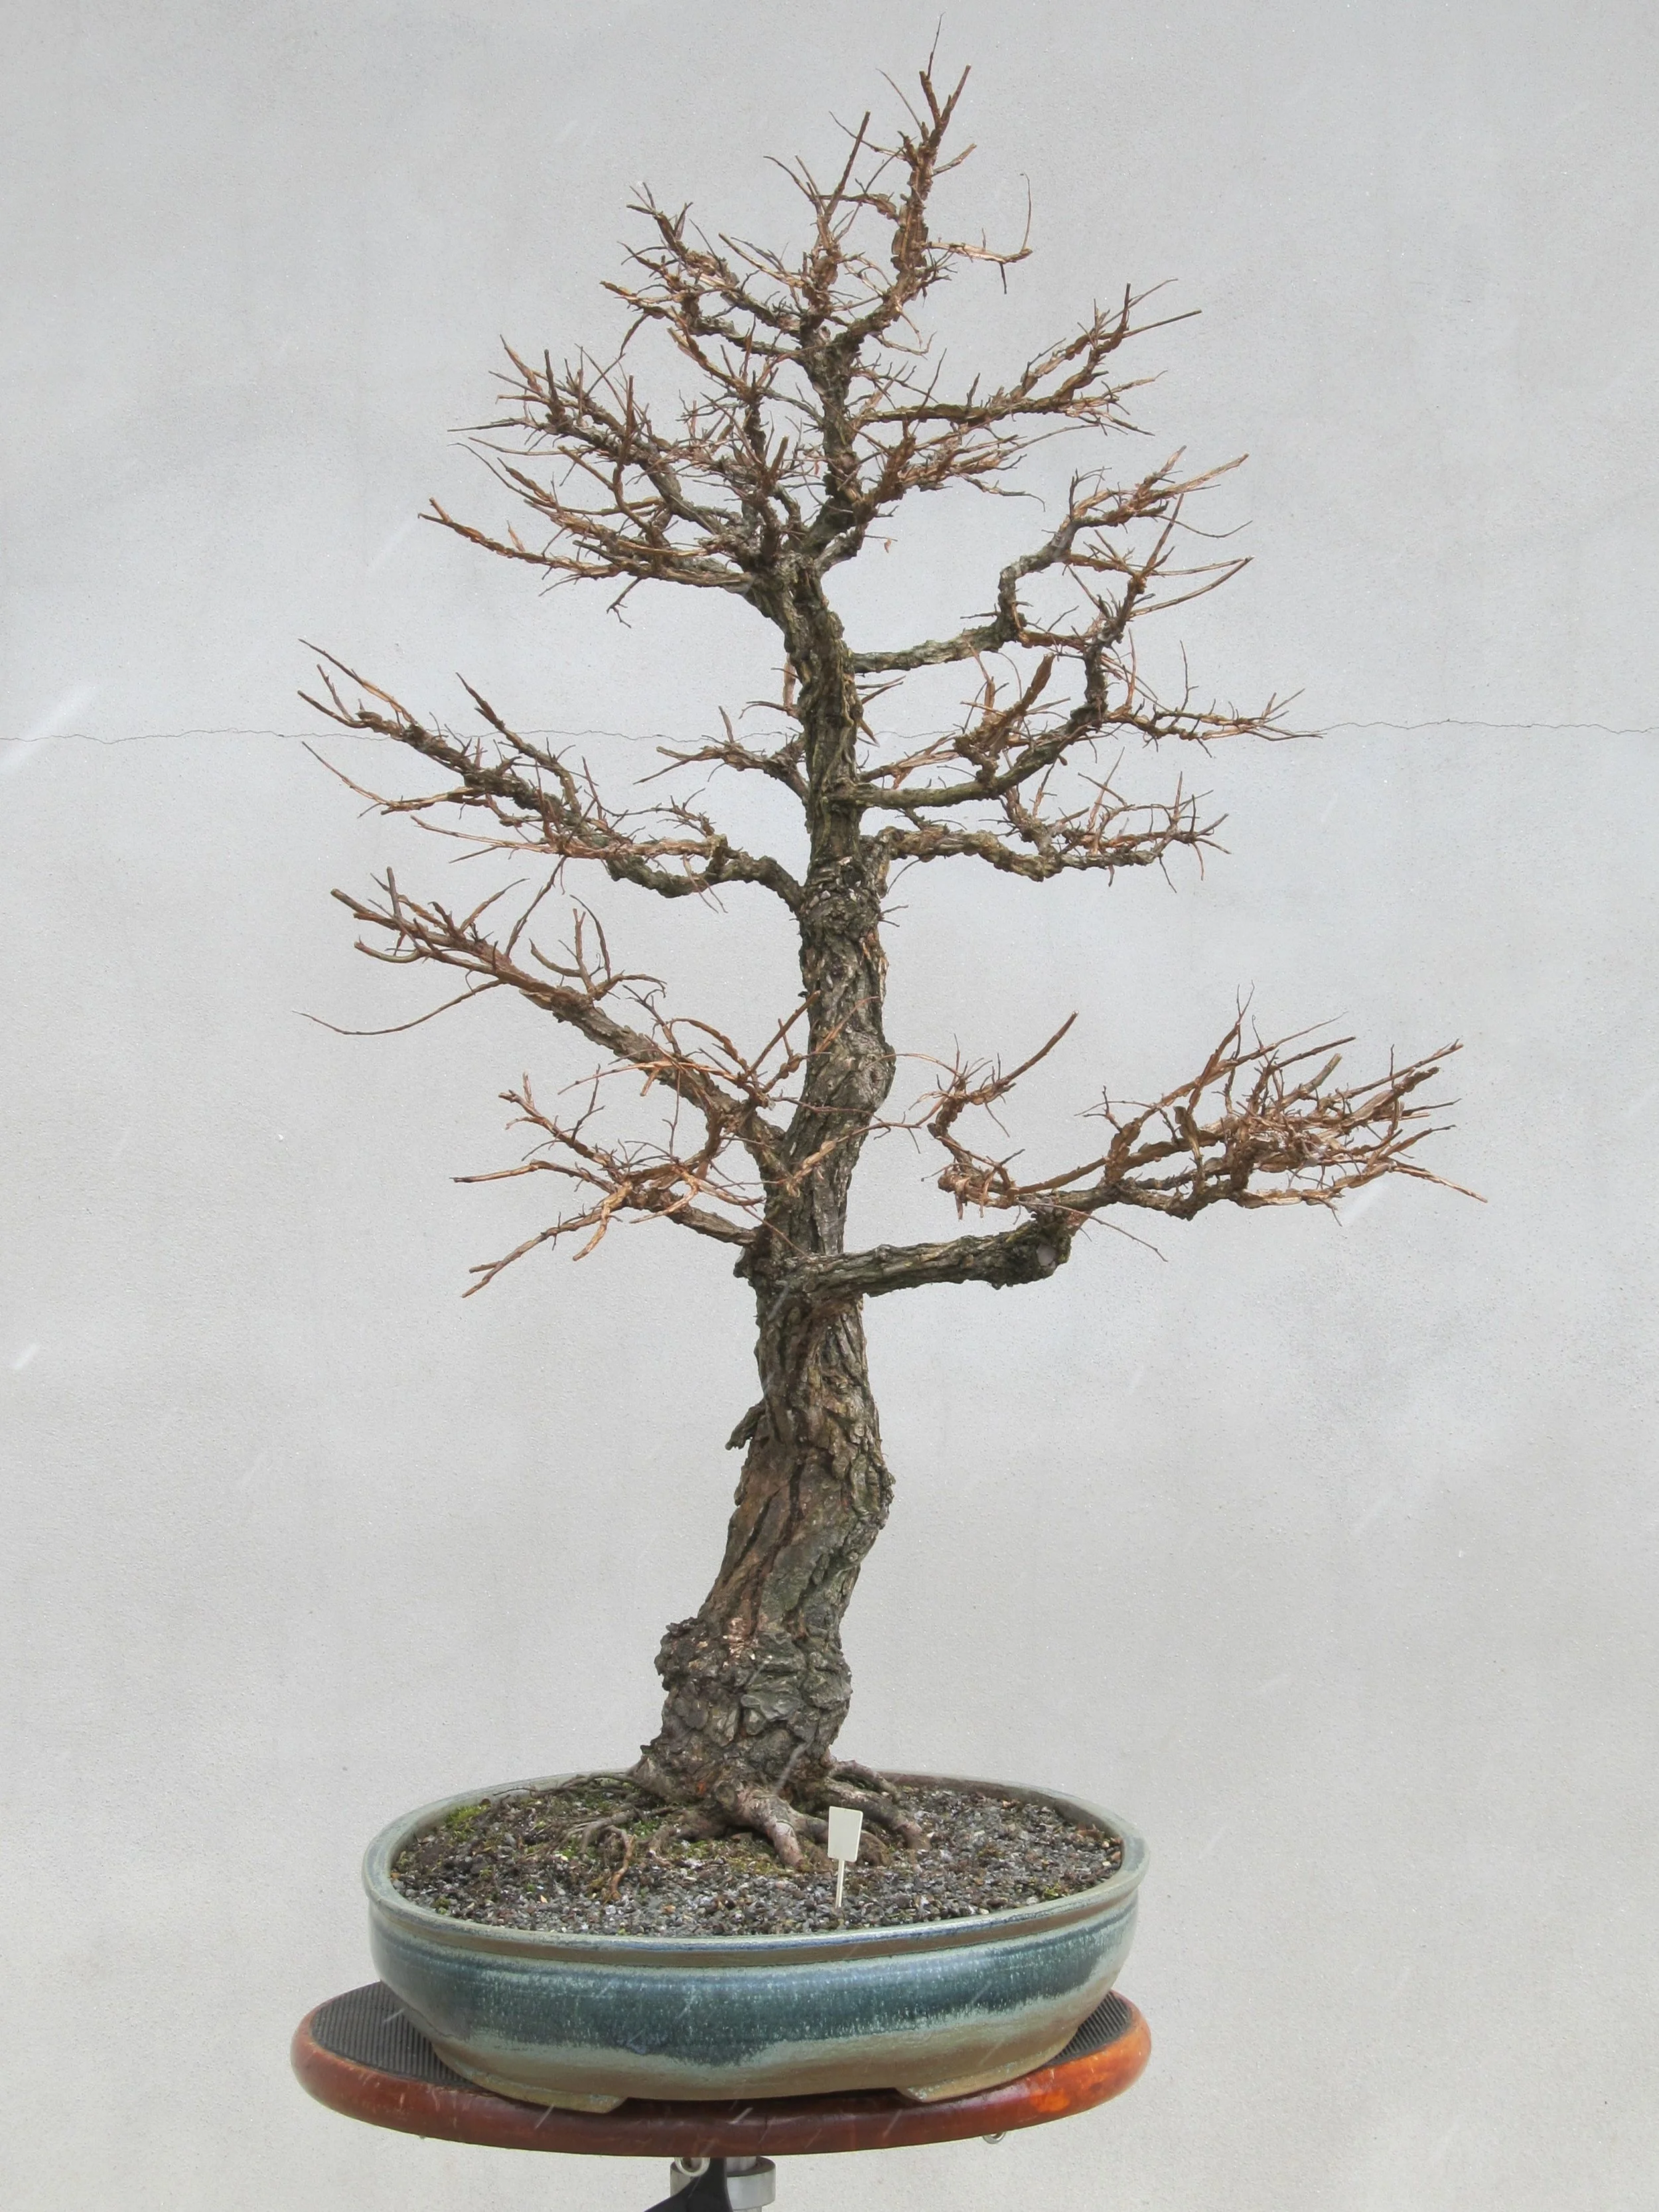
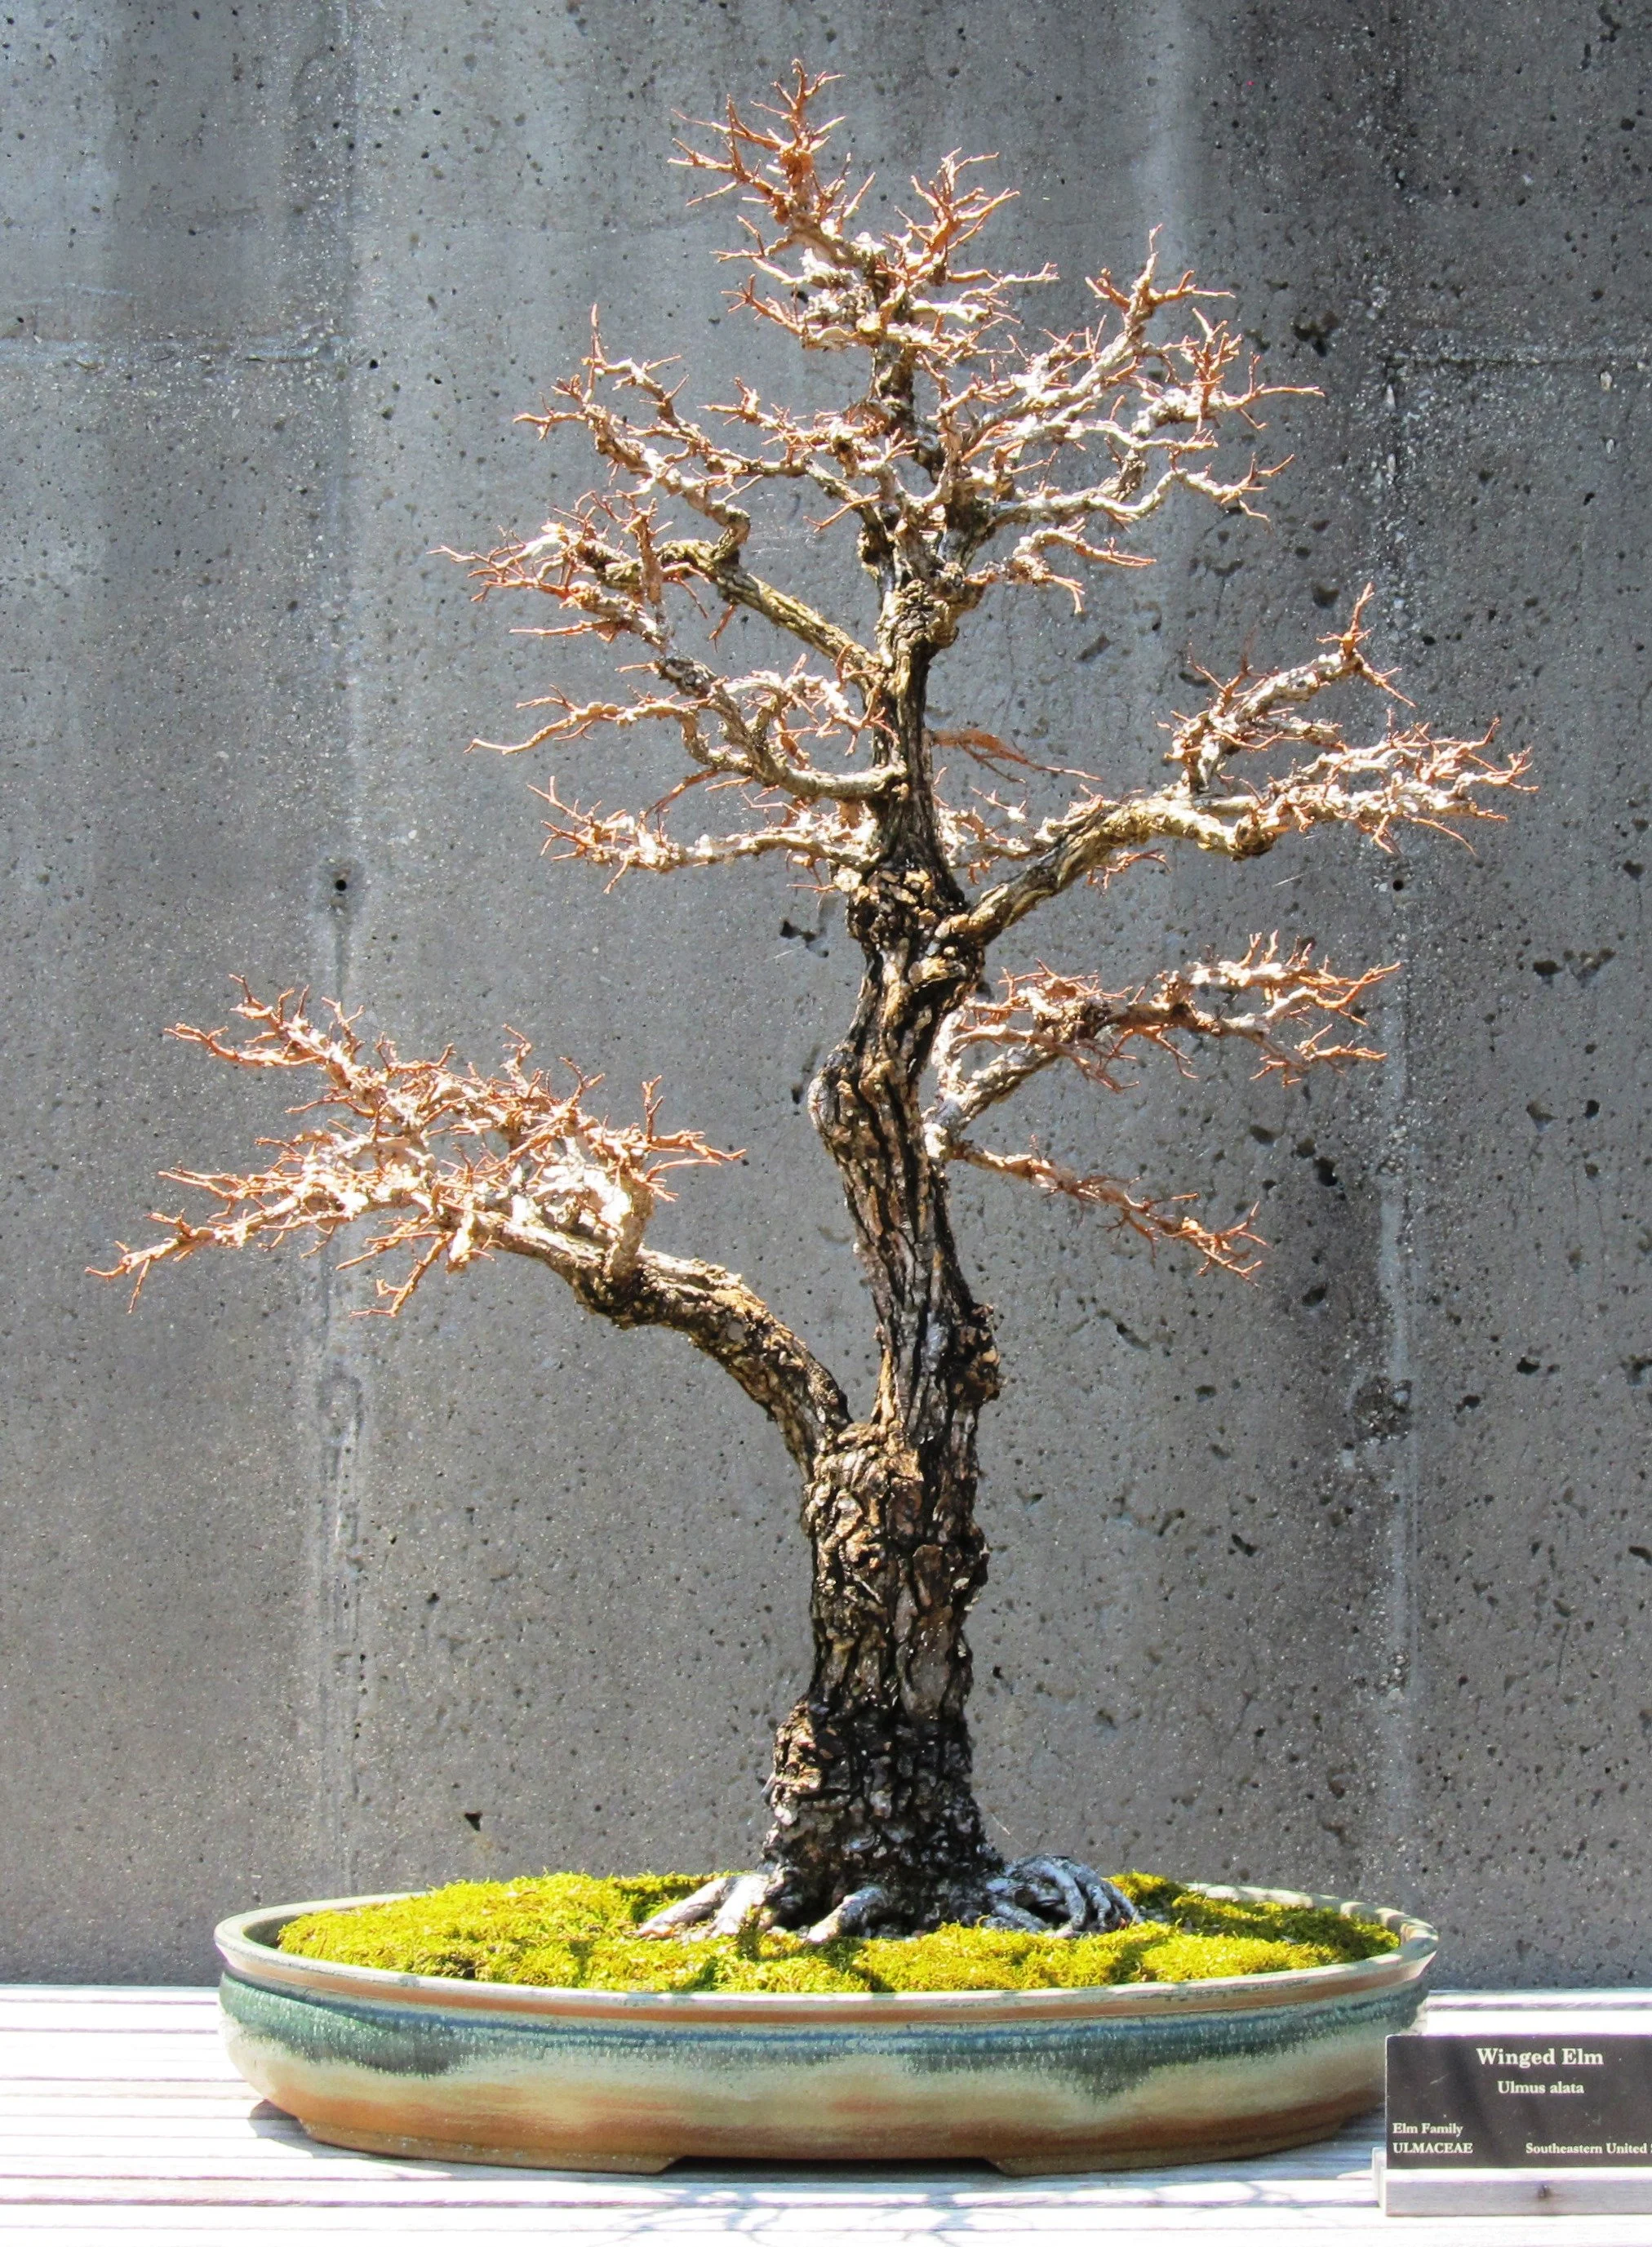
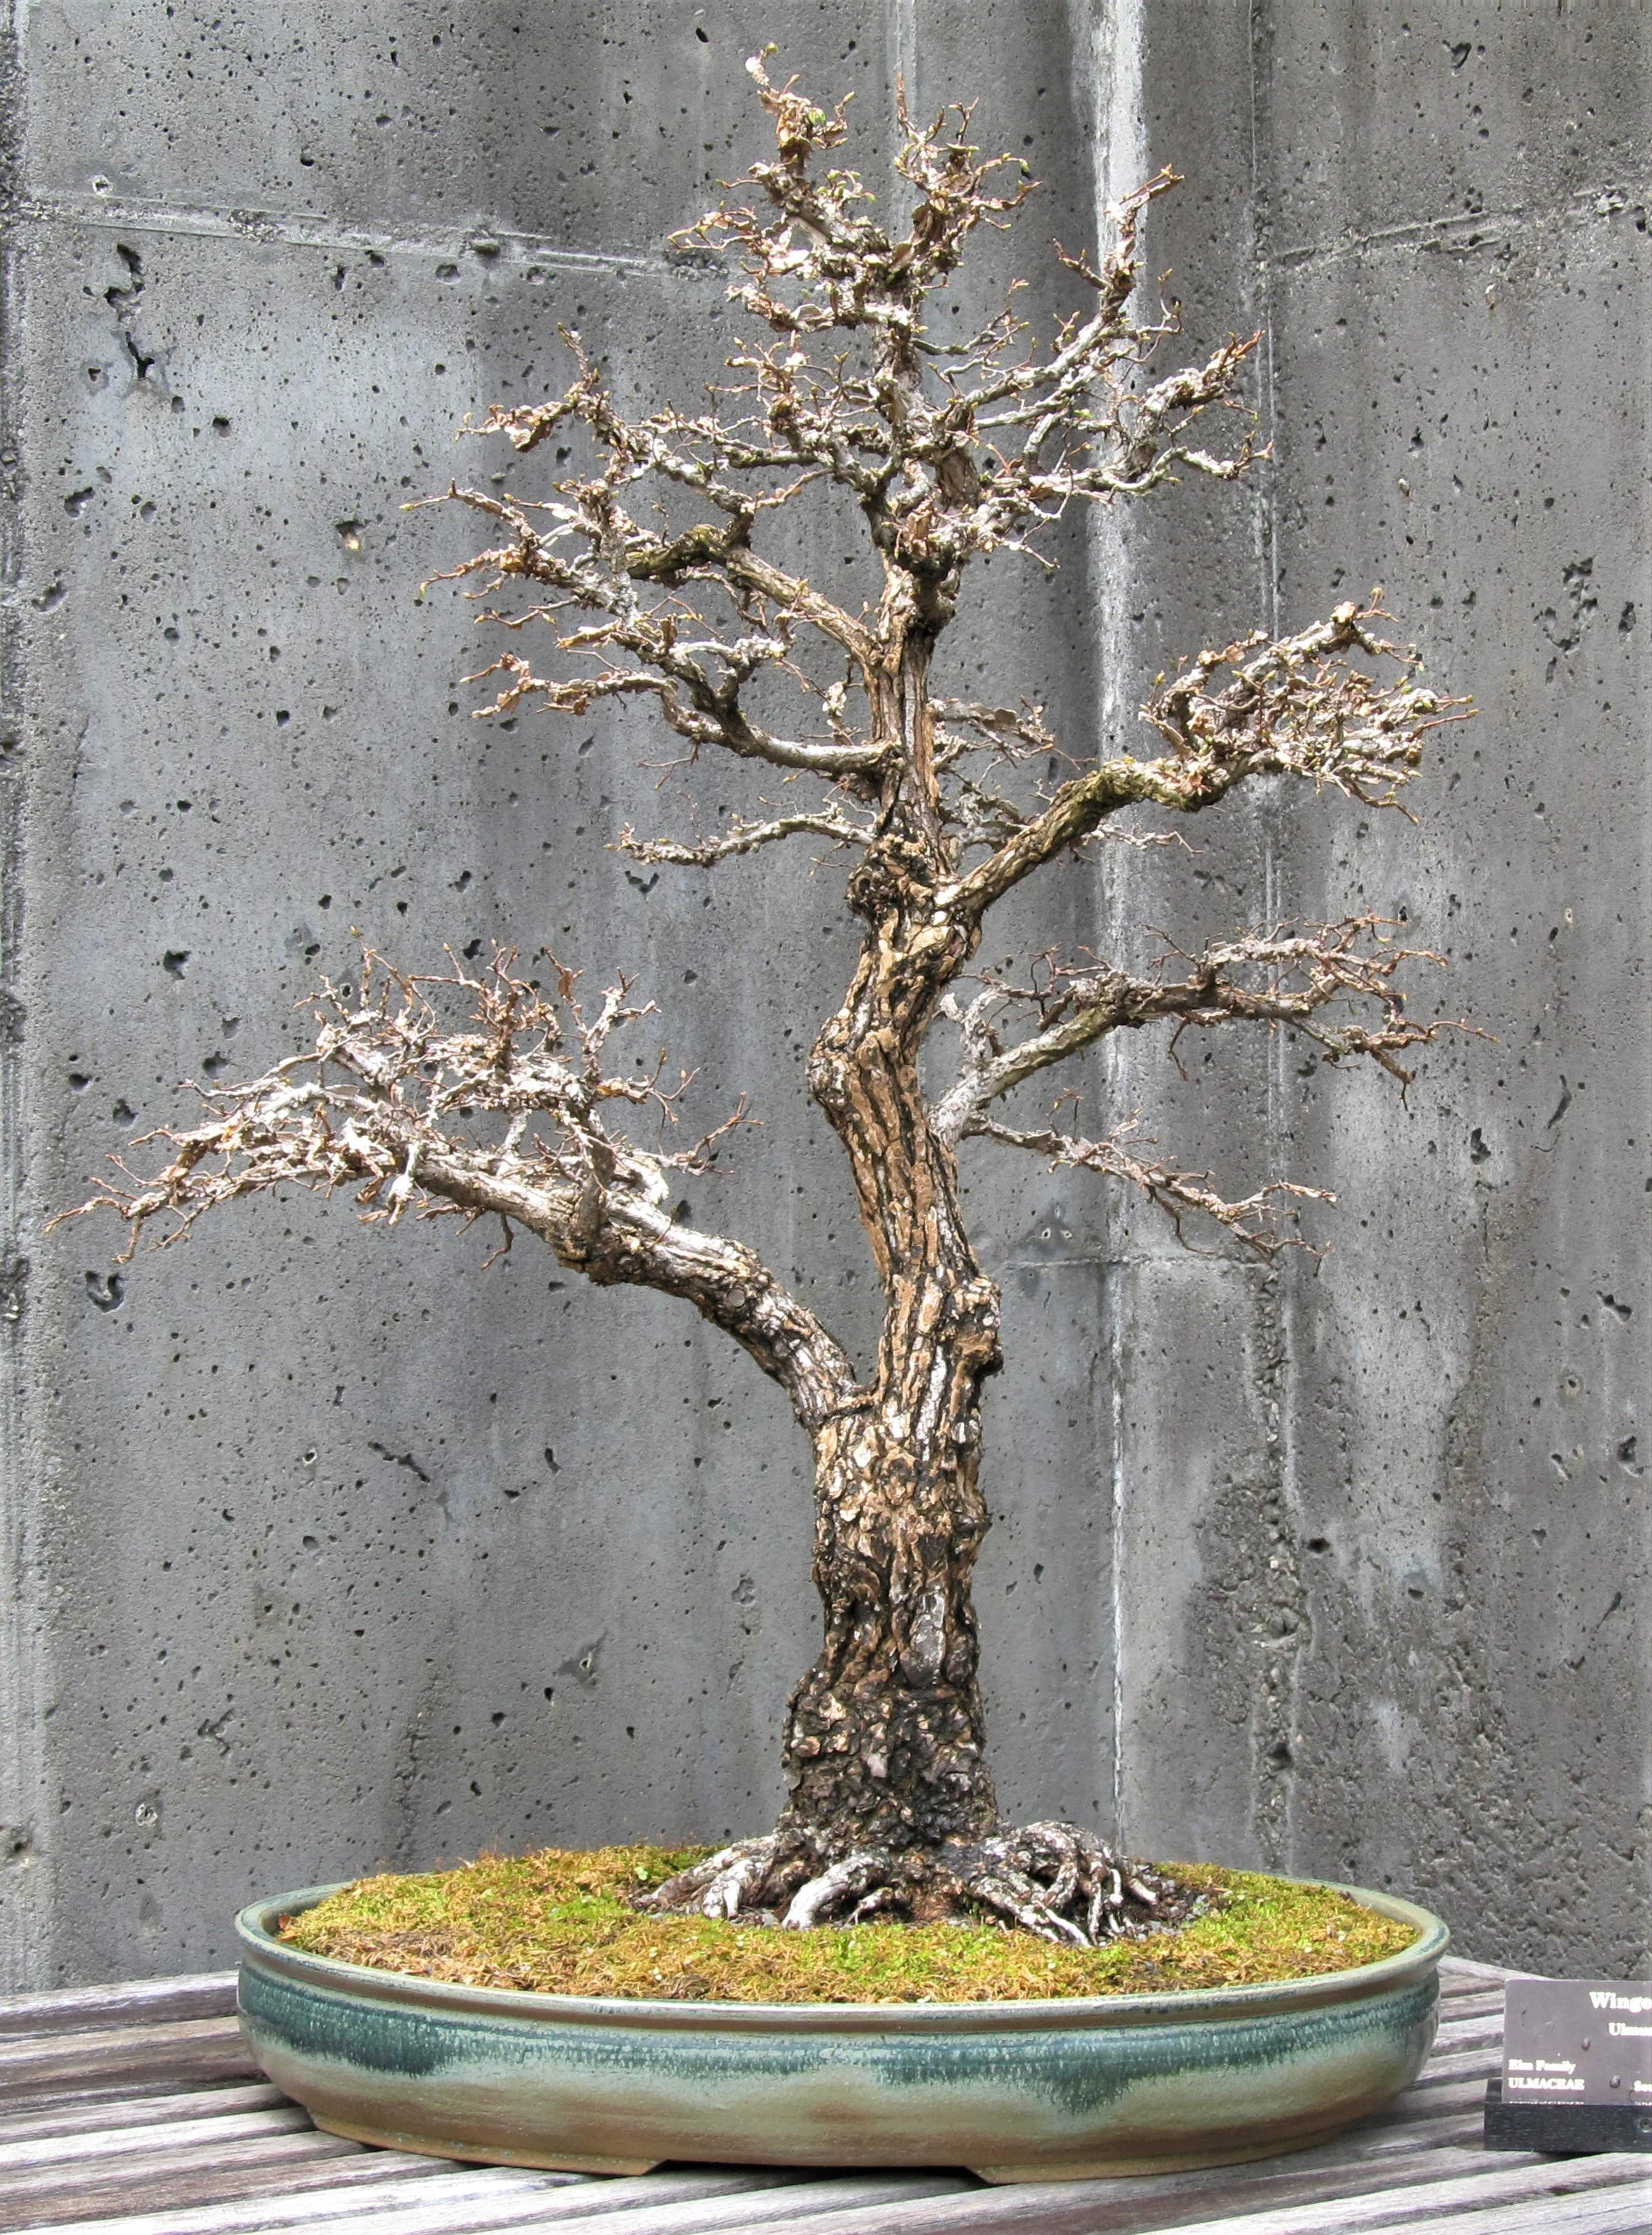
In spring of 2008 the elm received its first Arboretum repotting, after which another portrait was made to show its branch structure unobscured by foliage:
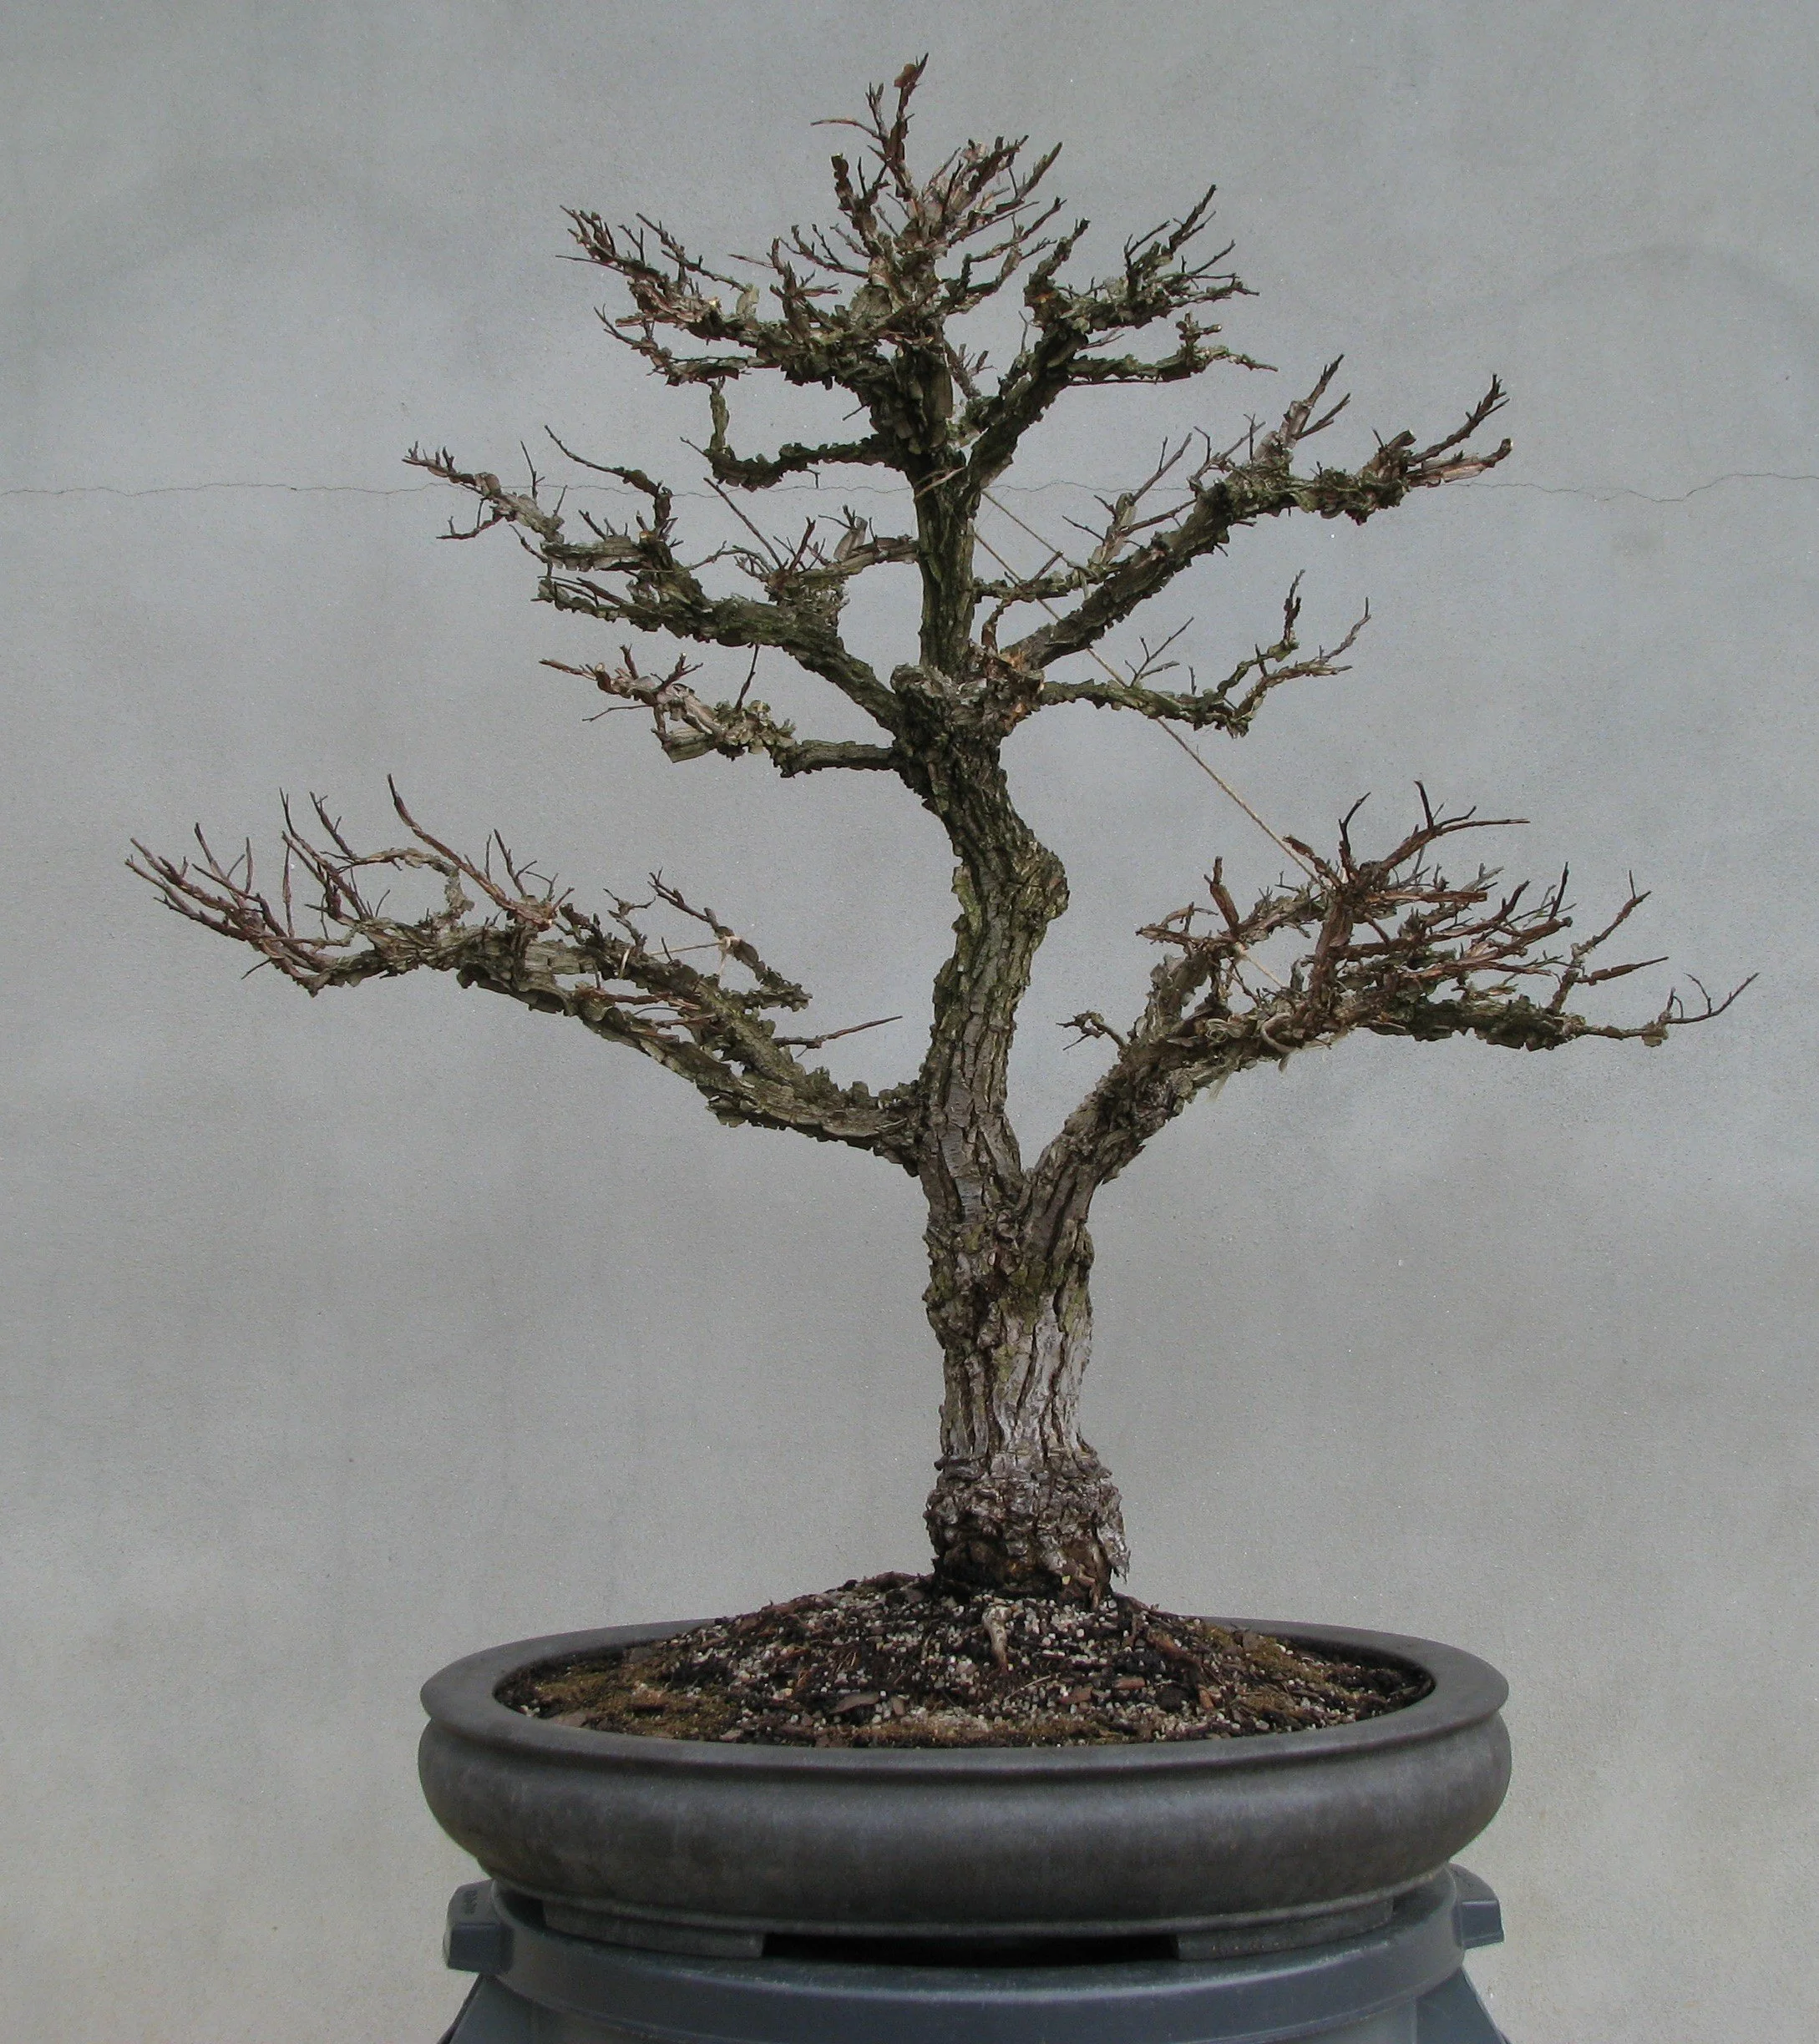
March 2008
To my eyes, this specimen looked much better with leaves than without. This is true of many deciduous bonsai, but it shouldn’t be. The pertinent issue is structure — how the tree is put together — and on deciduous trees structure is plainly in view for half the year. I liked this elm and respected the work Kathy had done on it in the years before it came to us, but my job as curator is to always strive for improvement in every bonsai in our collection.
In my evaluation of this specimen, I identified three areas to target for structural improvement:
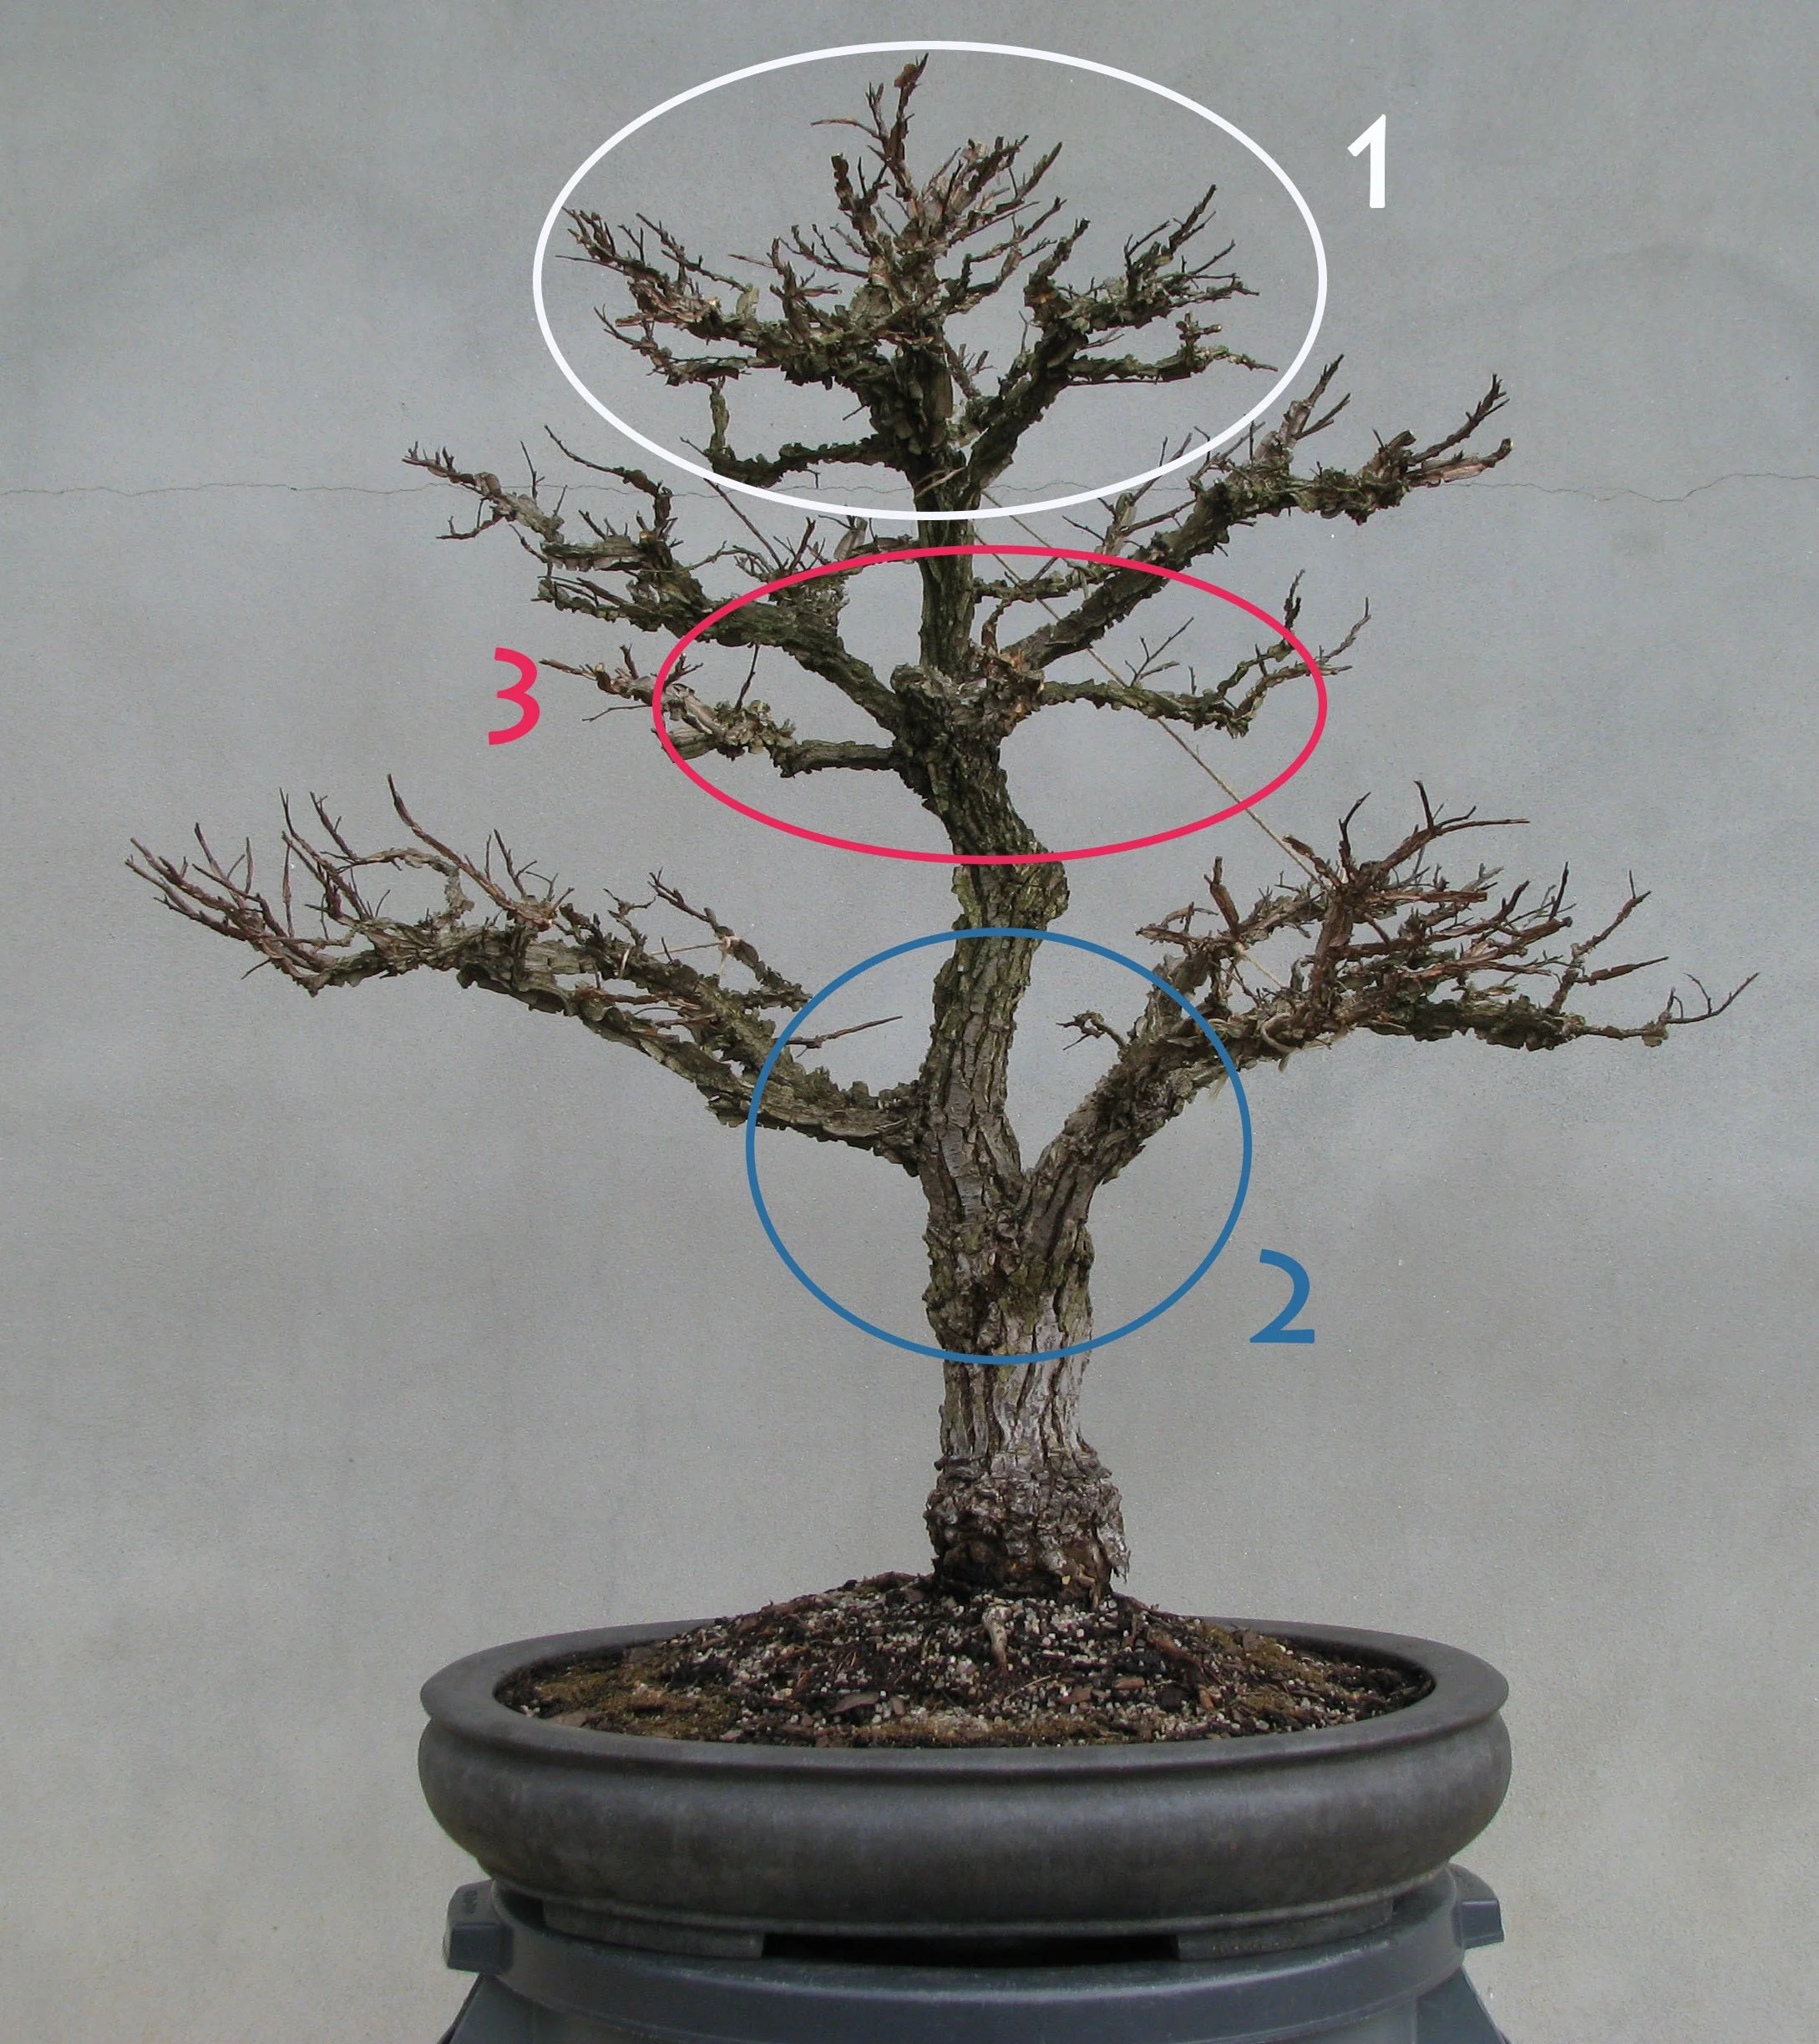
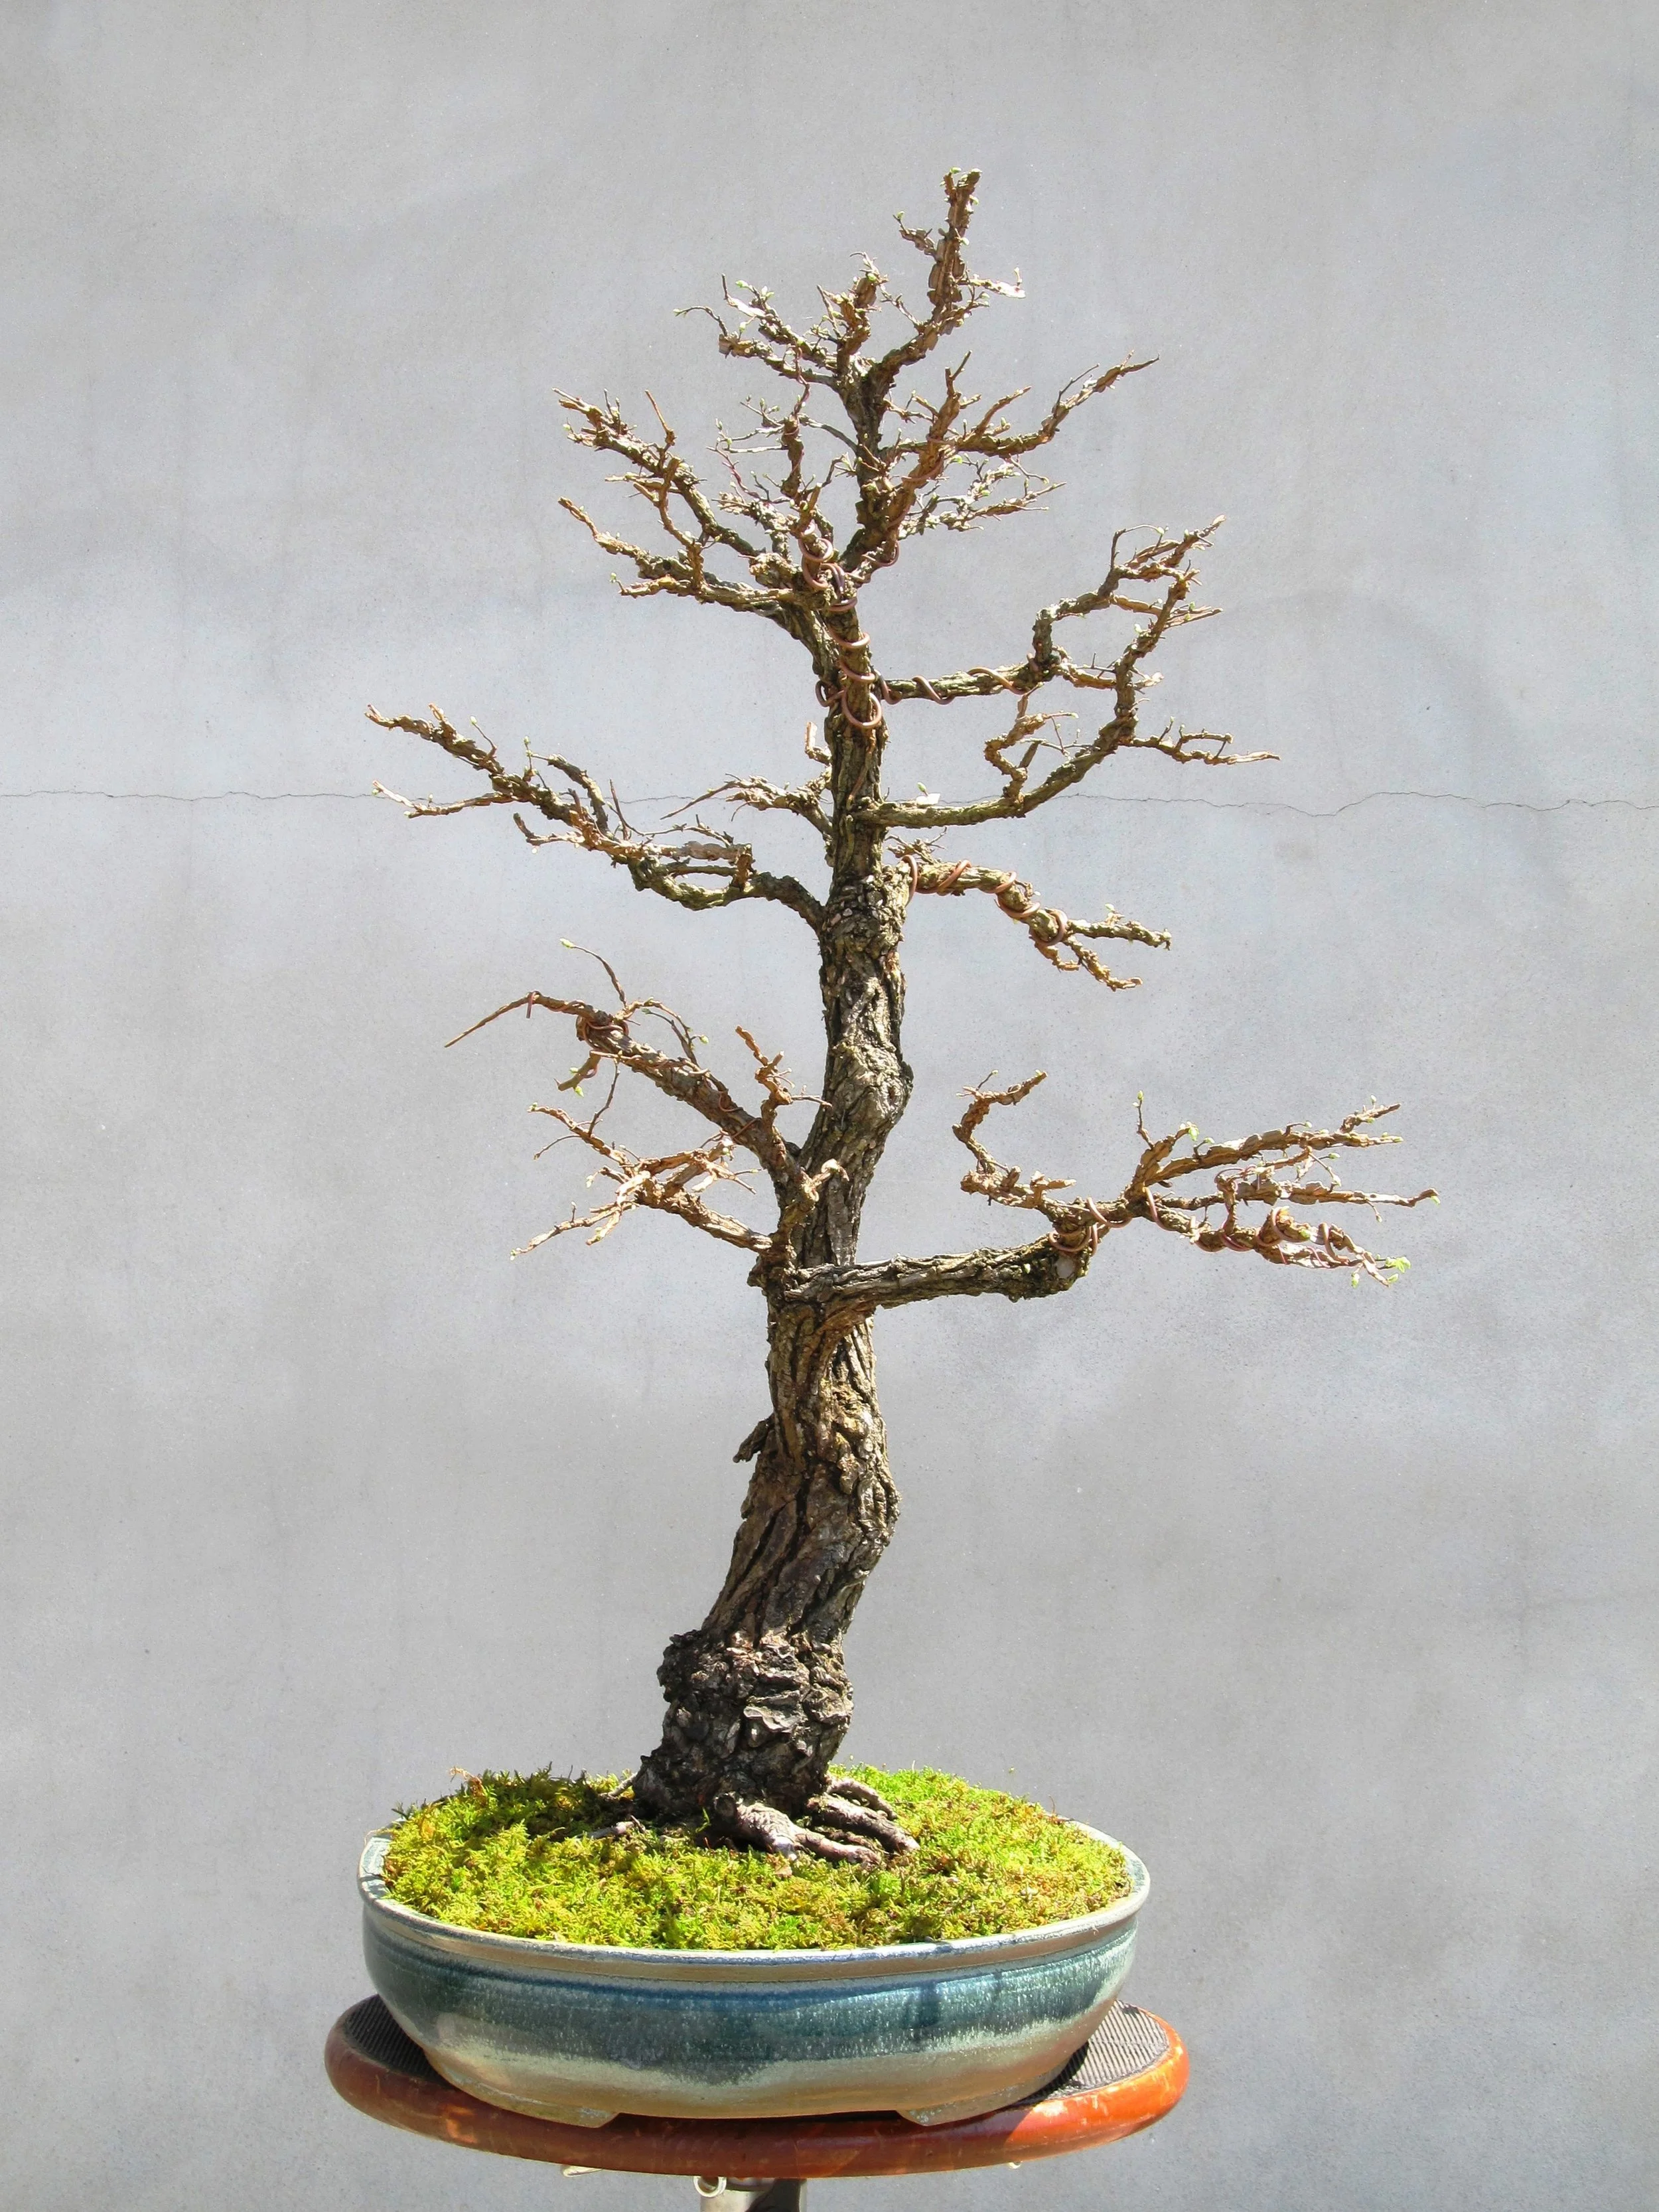
The first area, circled in white in the above image, was the very top of the tree. This specimen had been styled on the single-leader premise, where the trunk line continues uninterrupted from the base of the tree up to the apex. This structure, although commonly used in all sorts of bonsai, is untrue to the natural example in deciduous trees. It’s also very difficult to undo once it’s been established.
Another area that attracted my critical attention is in the lower third of the tree, circled in blue and numbered as “2” in the photo above. Here we find the two heaviest branches of the elm emerging from the trunk in close proximity to each other. They are not truly opposite to each other (another bonsai mortal sin), but they are close enough to be visually read that way. Removing one or the other seemed reflexively desirable to me.
The third area of concern was the most bothersome and it is circled in red in the above image, about one third of the way down the trunk from the apex. Here is a major intersection where no fewer than five branches emanate from approximately the same place on the trunk. I knew I’d be doing work in this area, removing some of those concentrated branches, and I knew that would have a temporarily negative effect on the tree’s appearance. However, in the long term, clearing out some branching in this area would be beneficial.
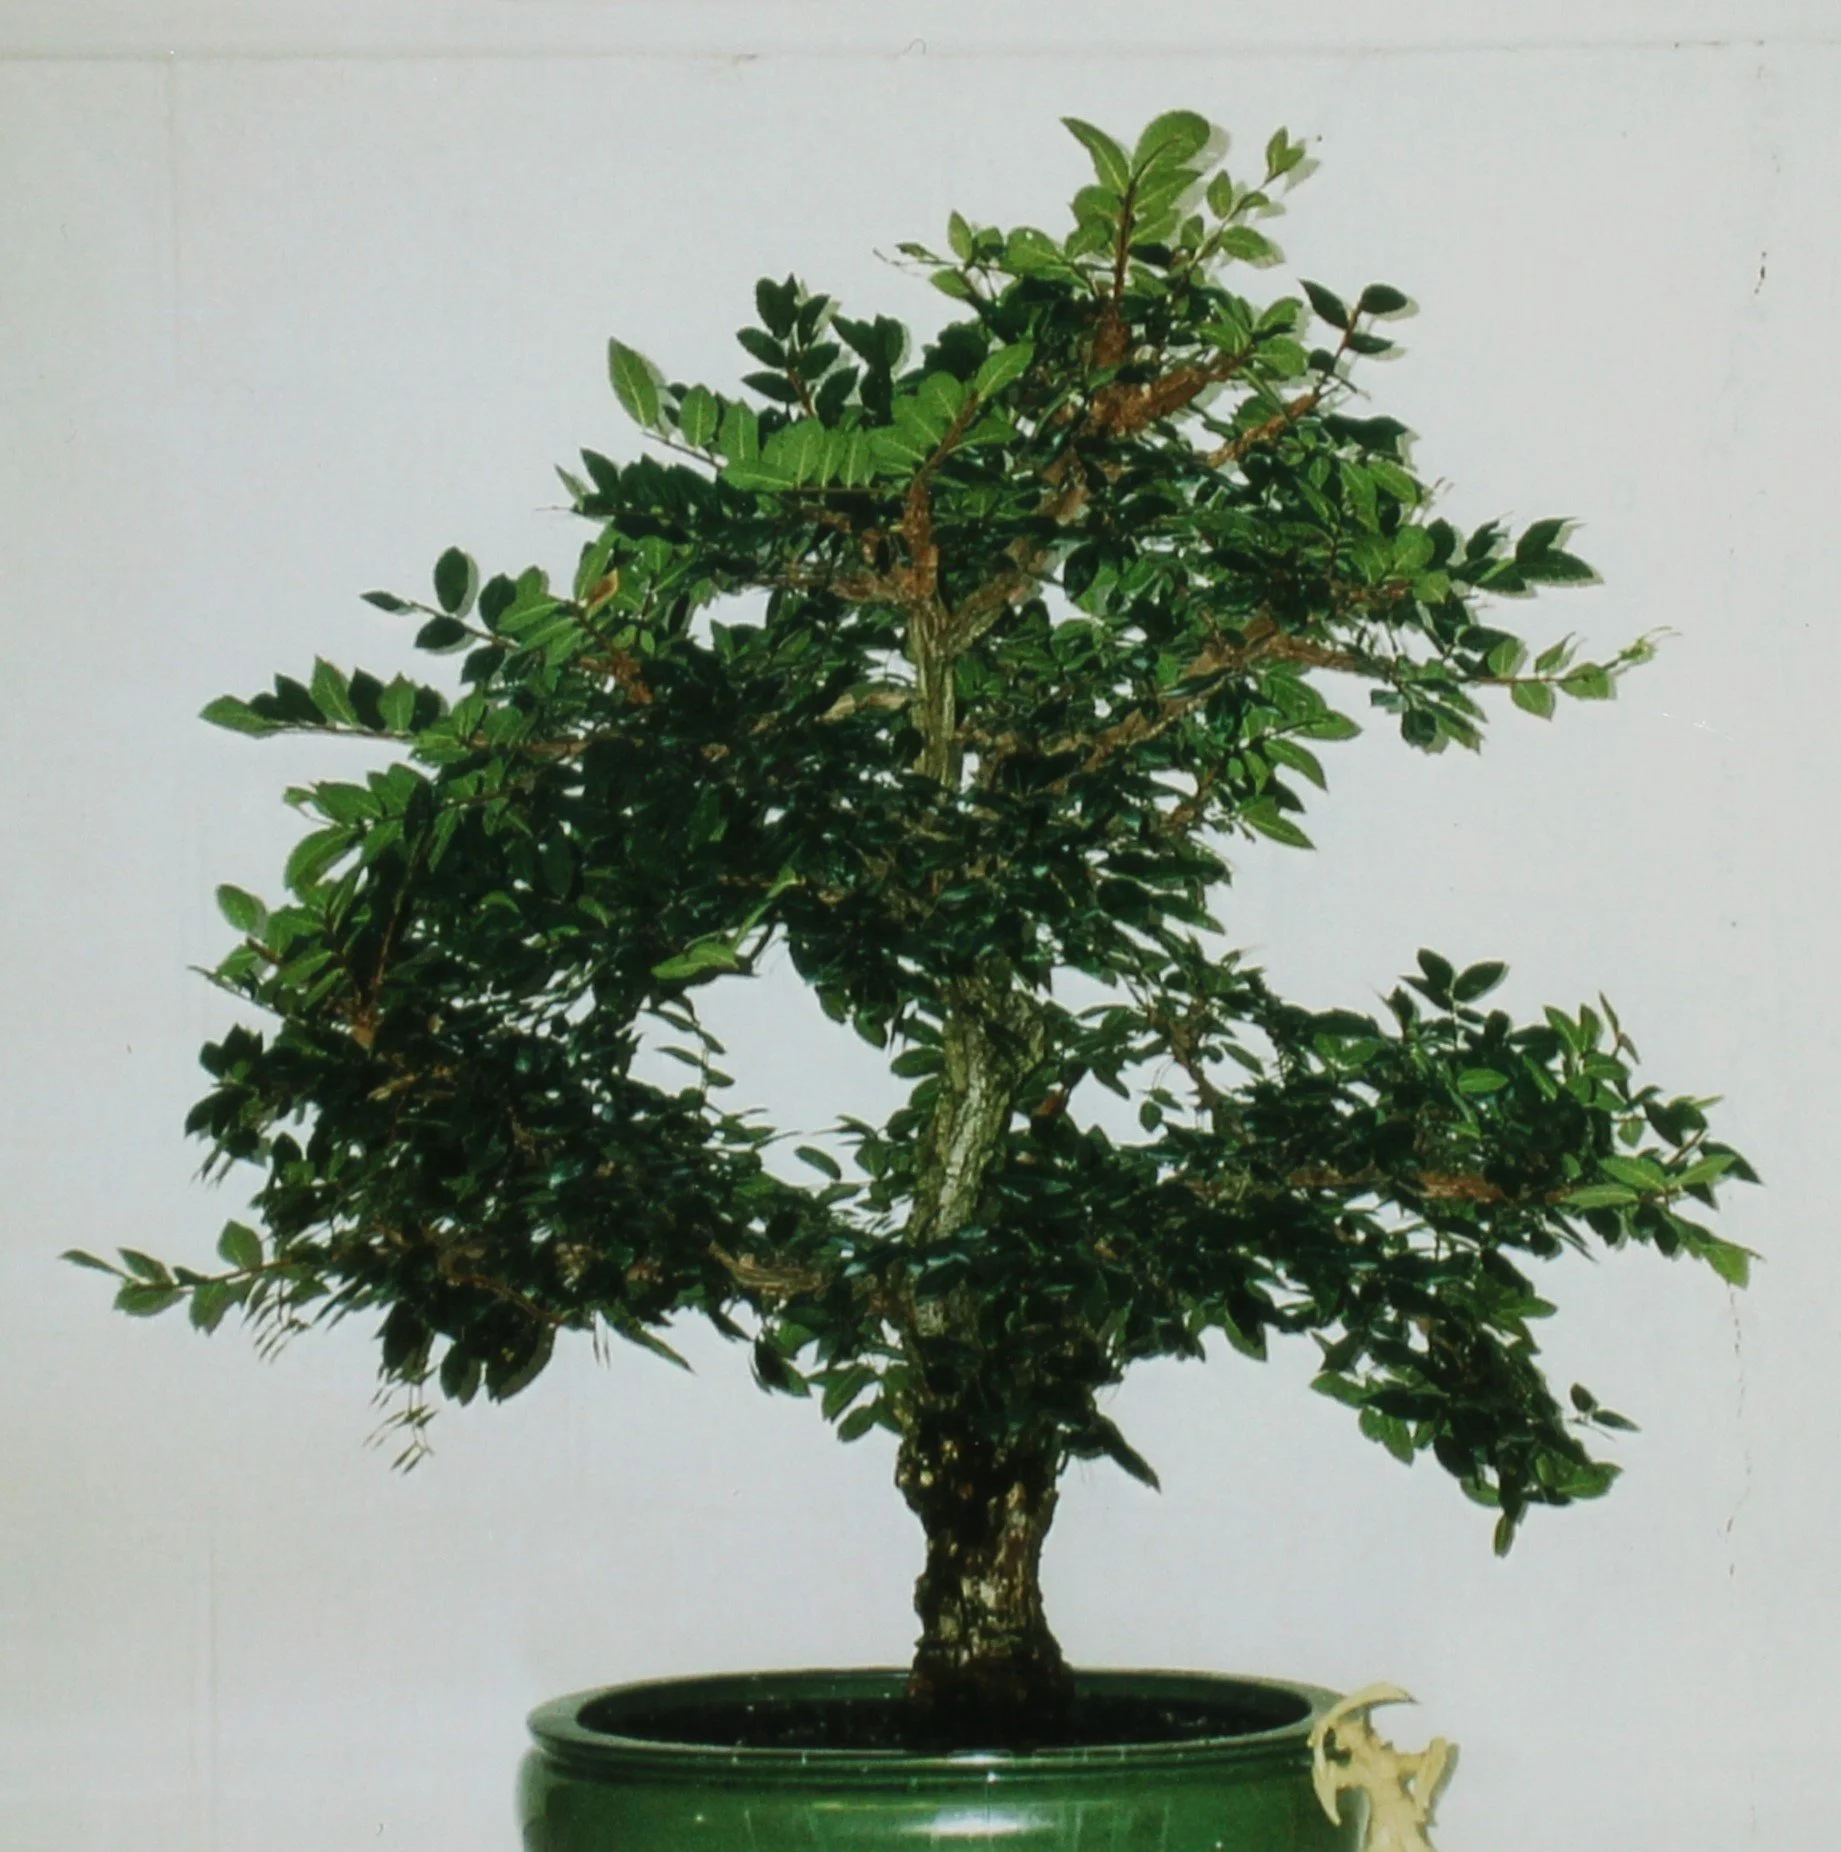
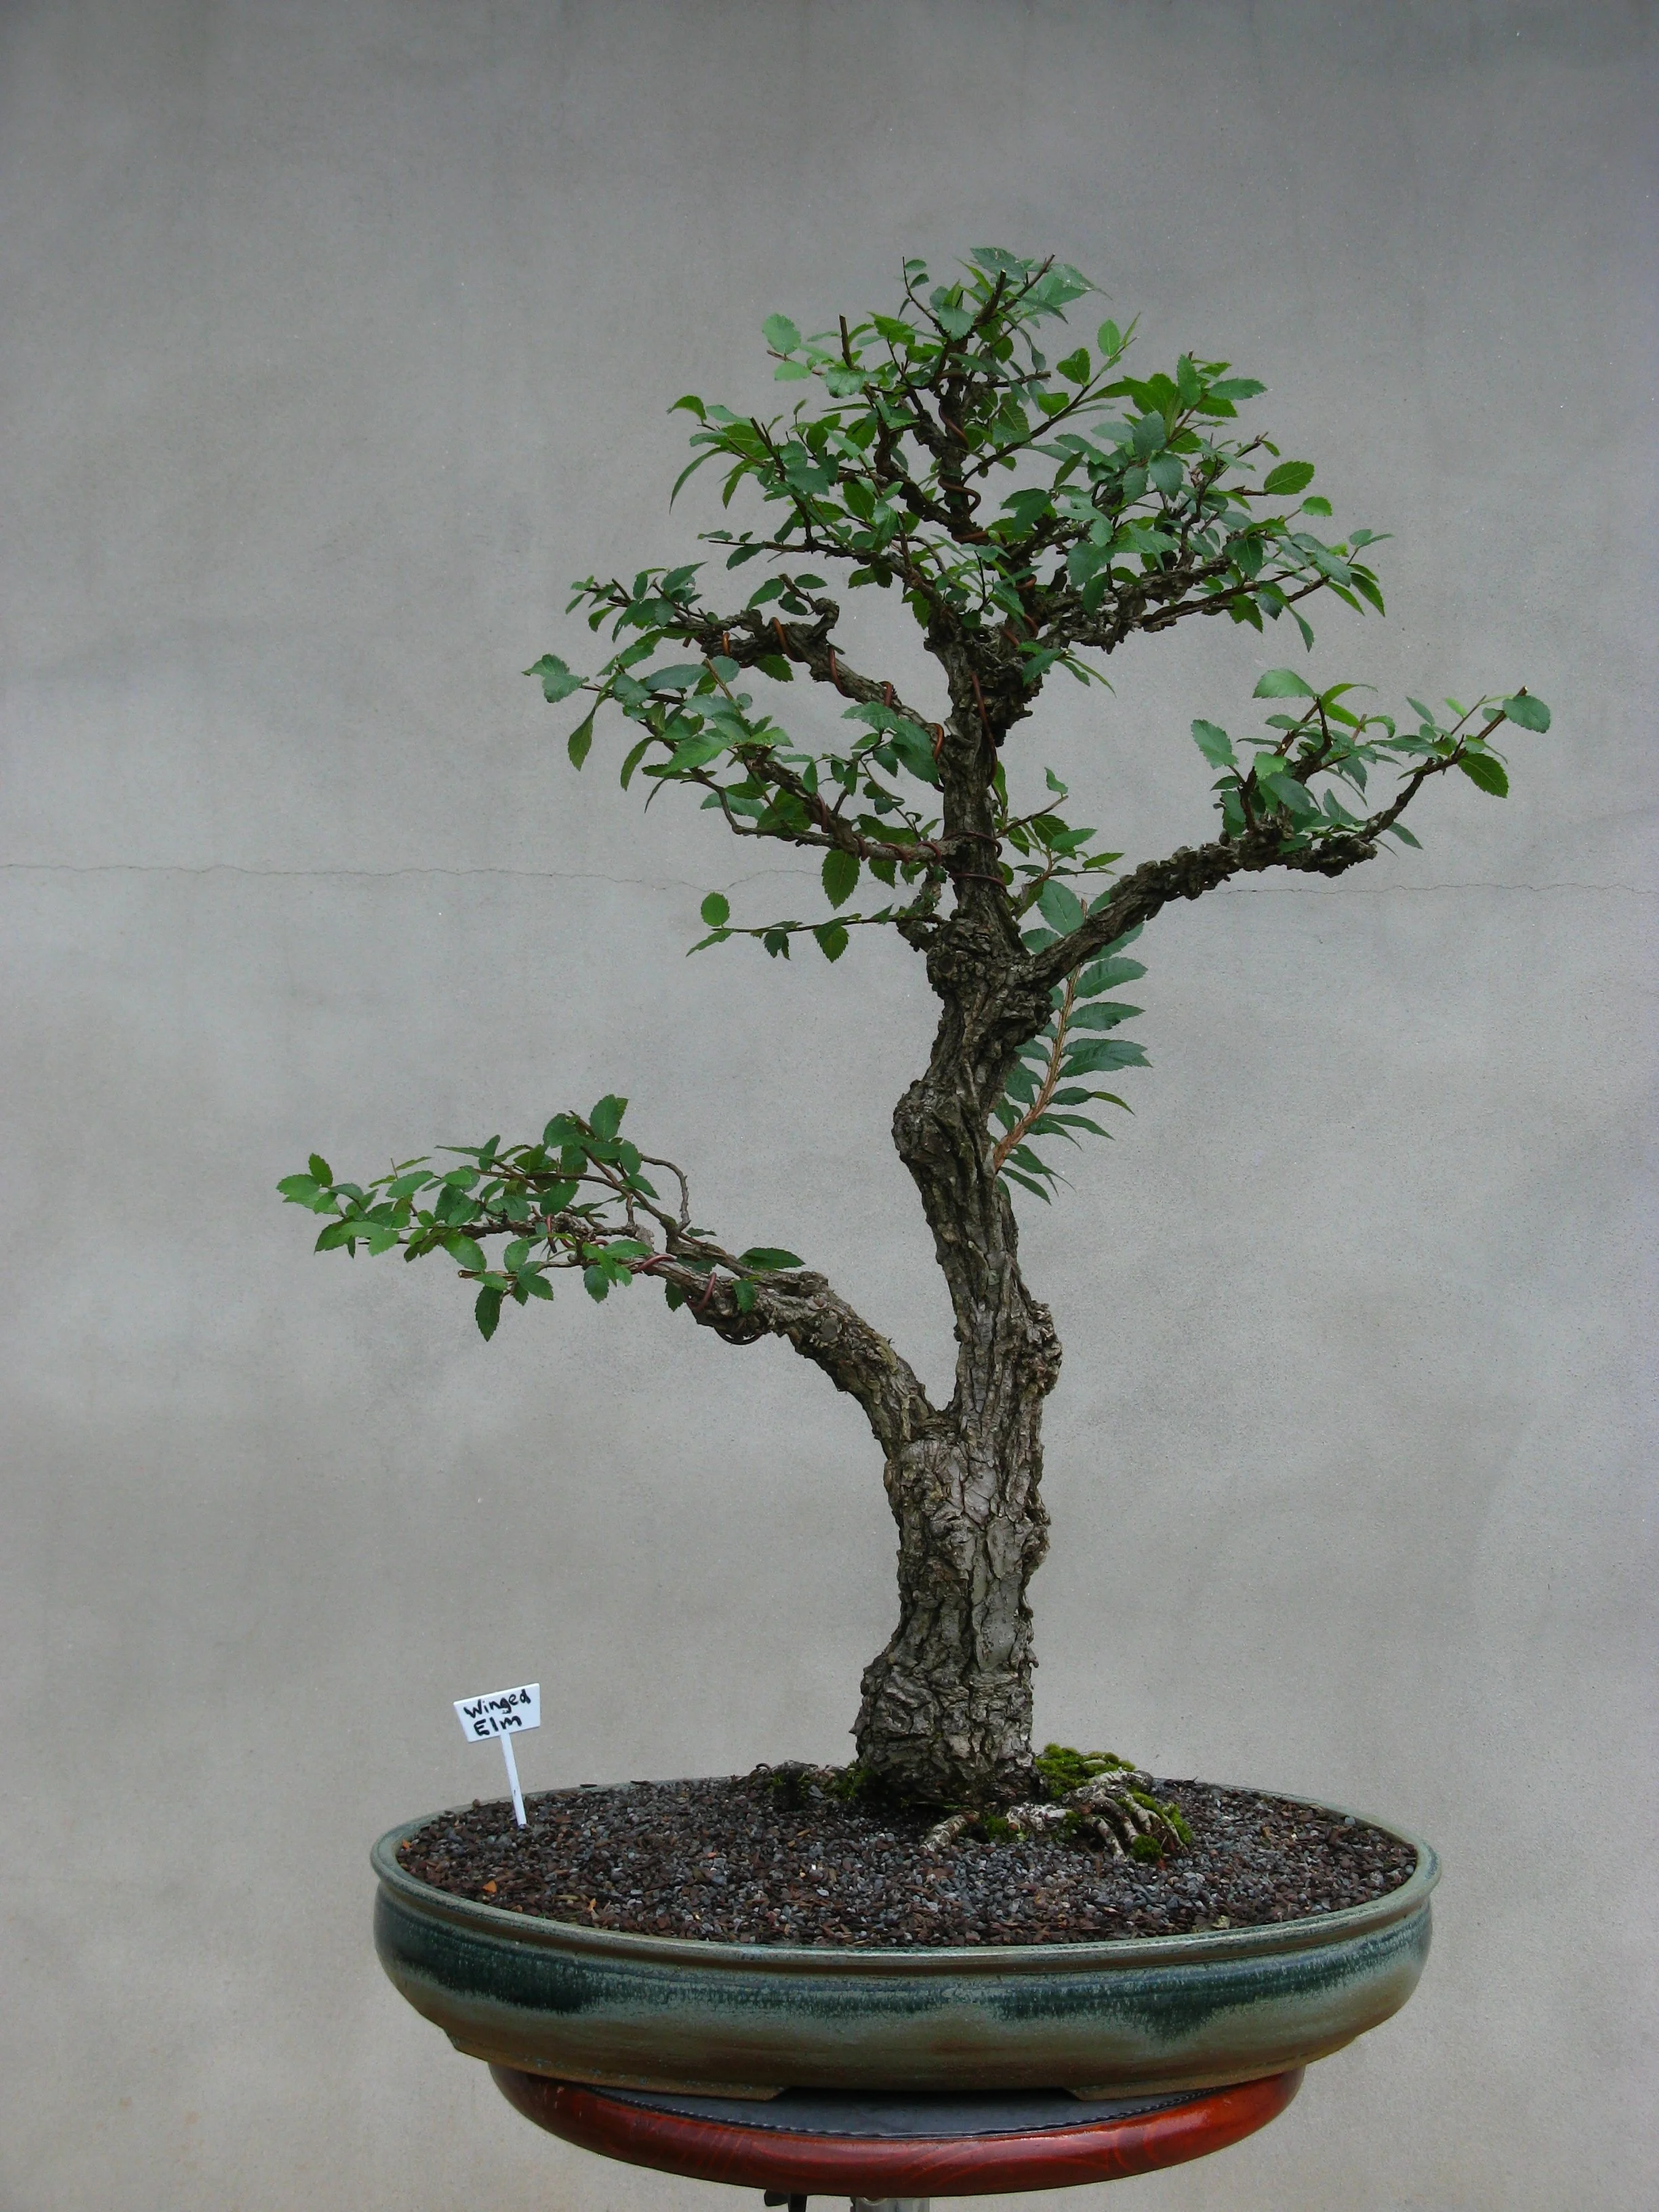
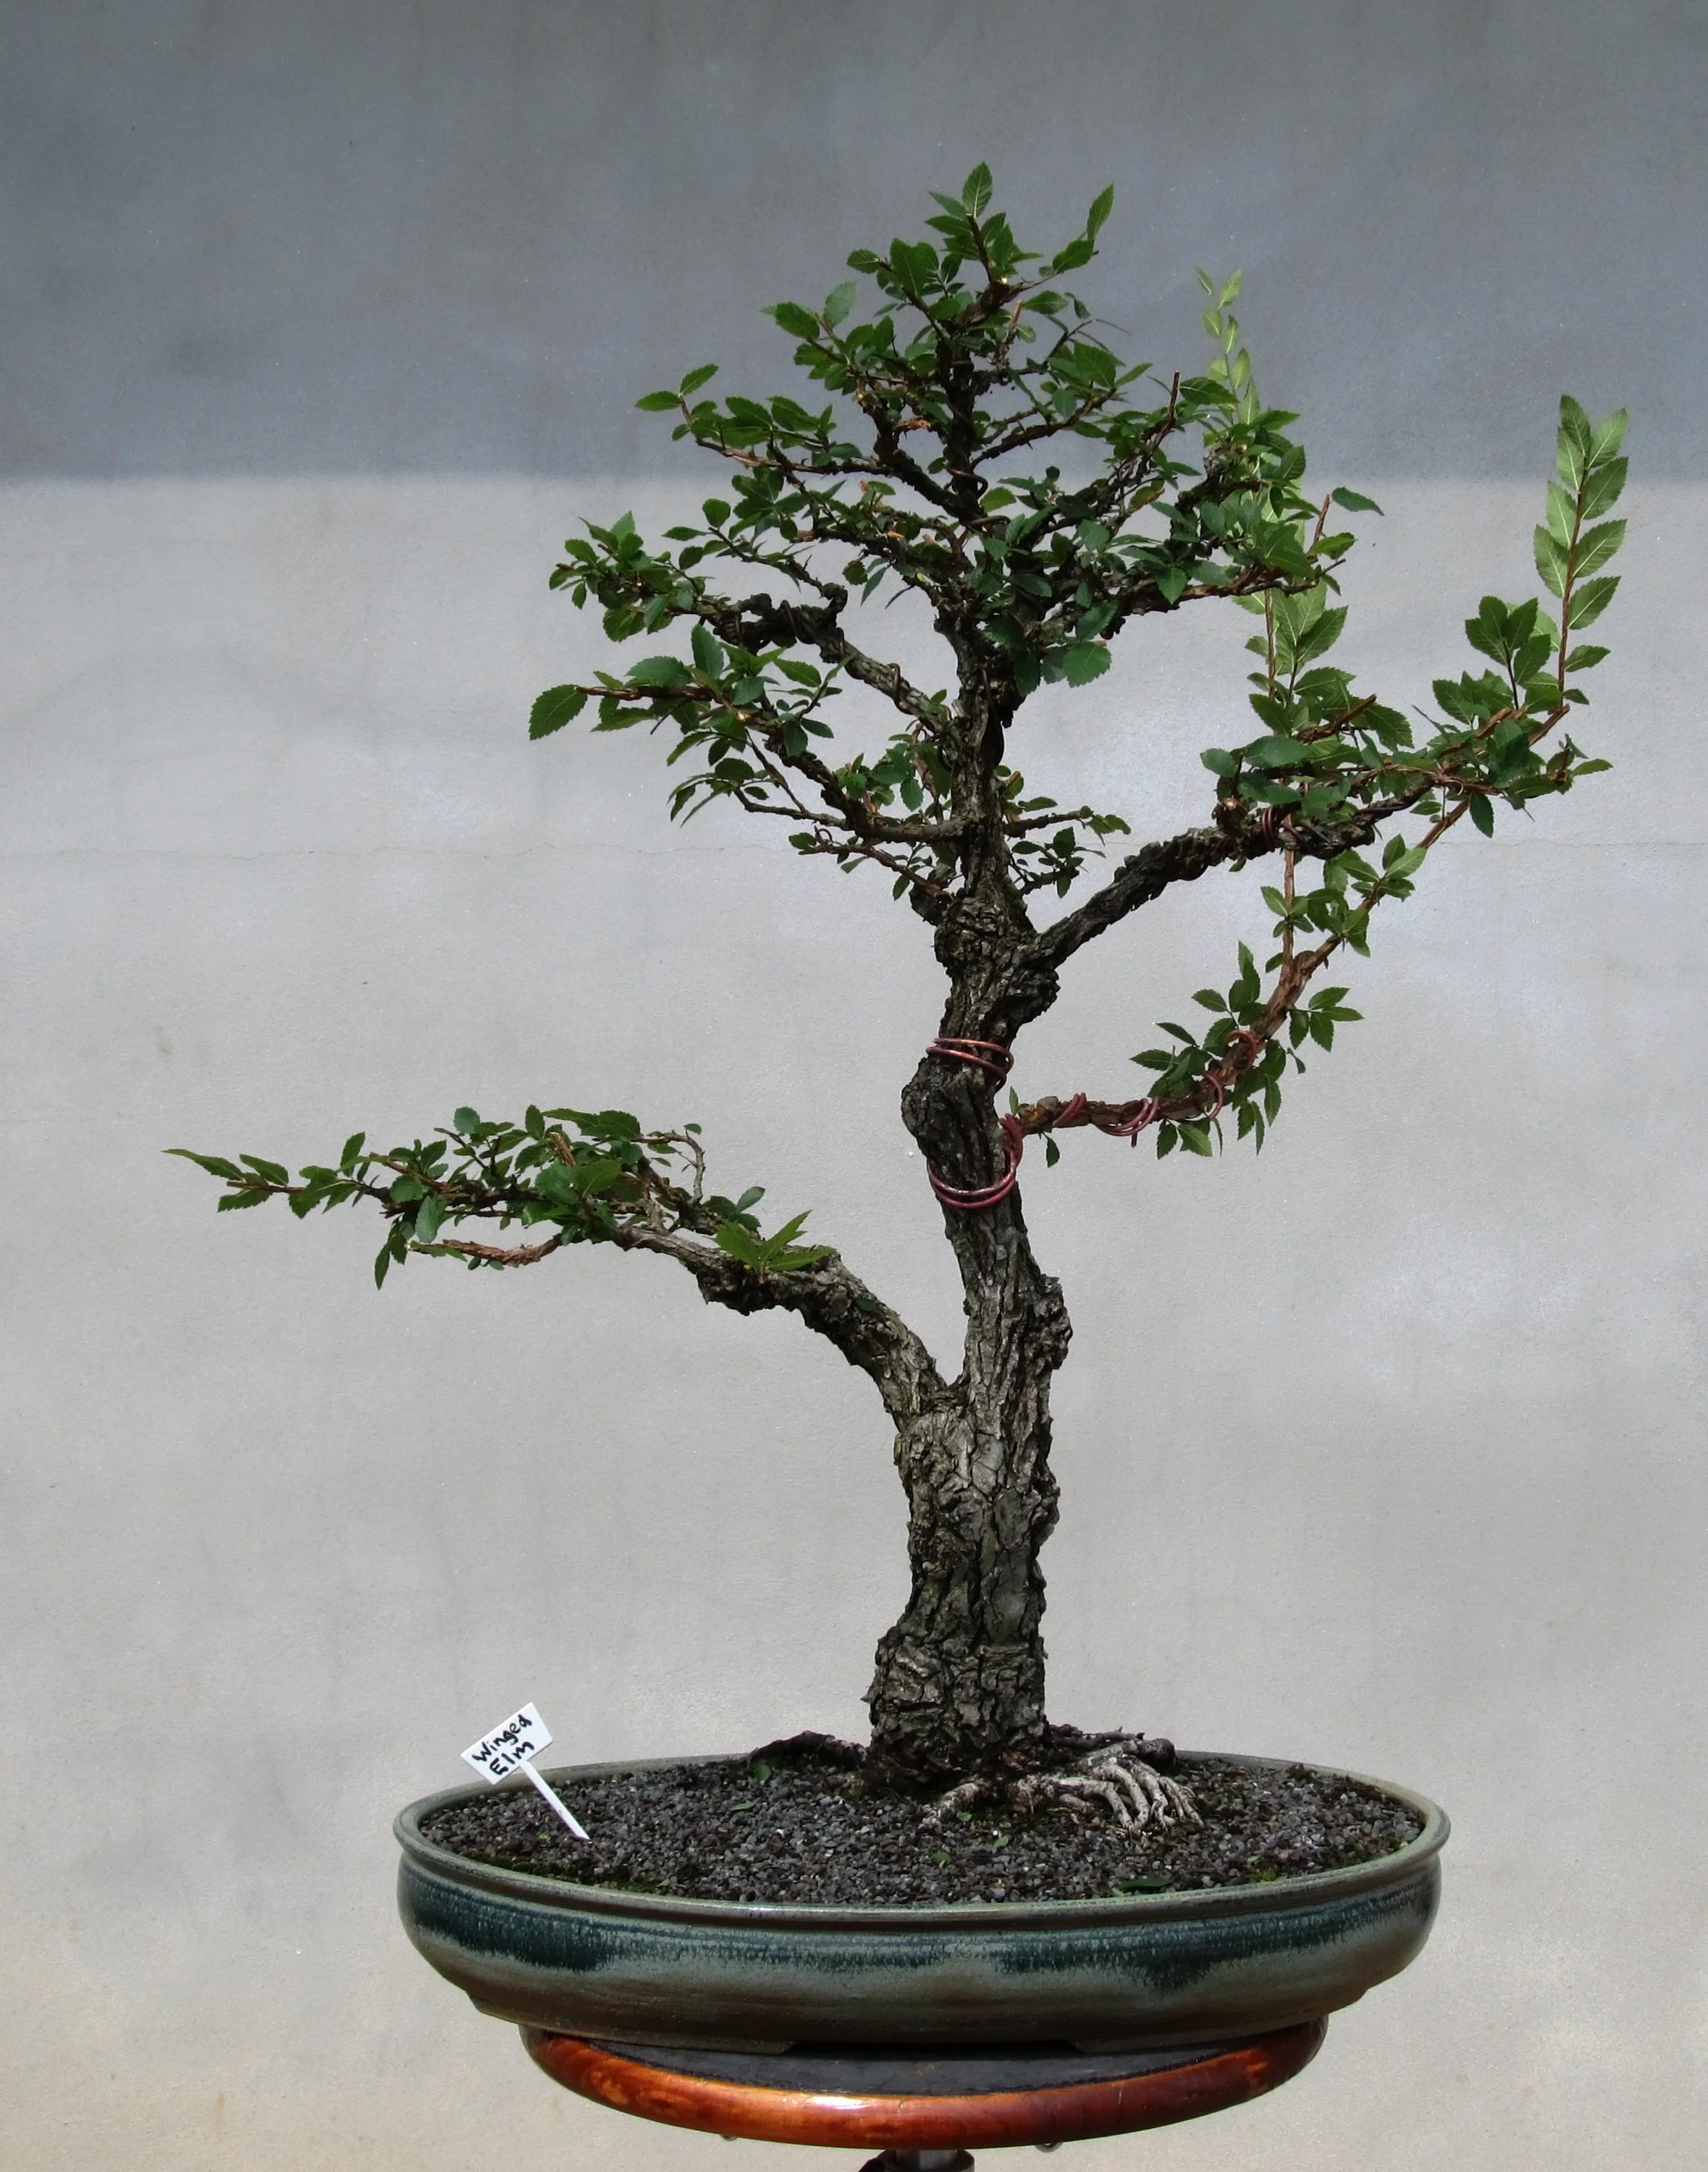
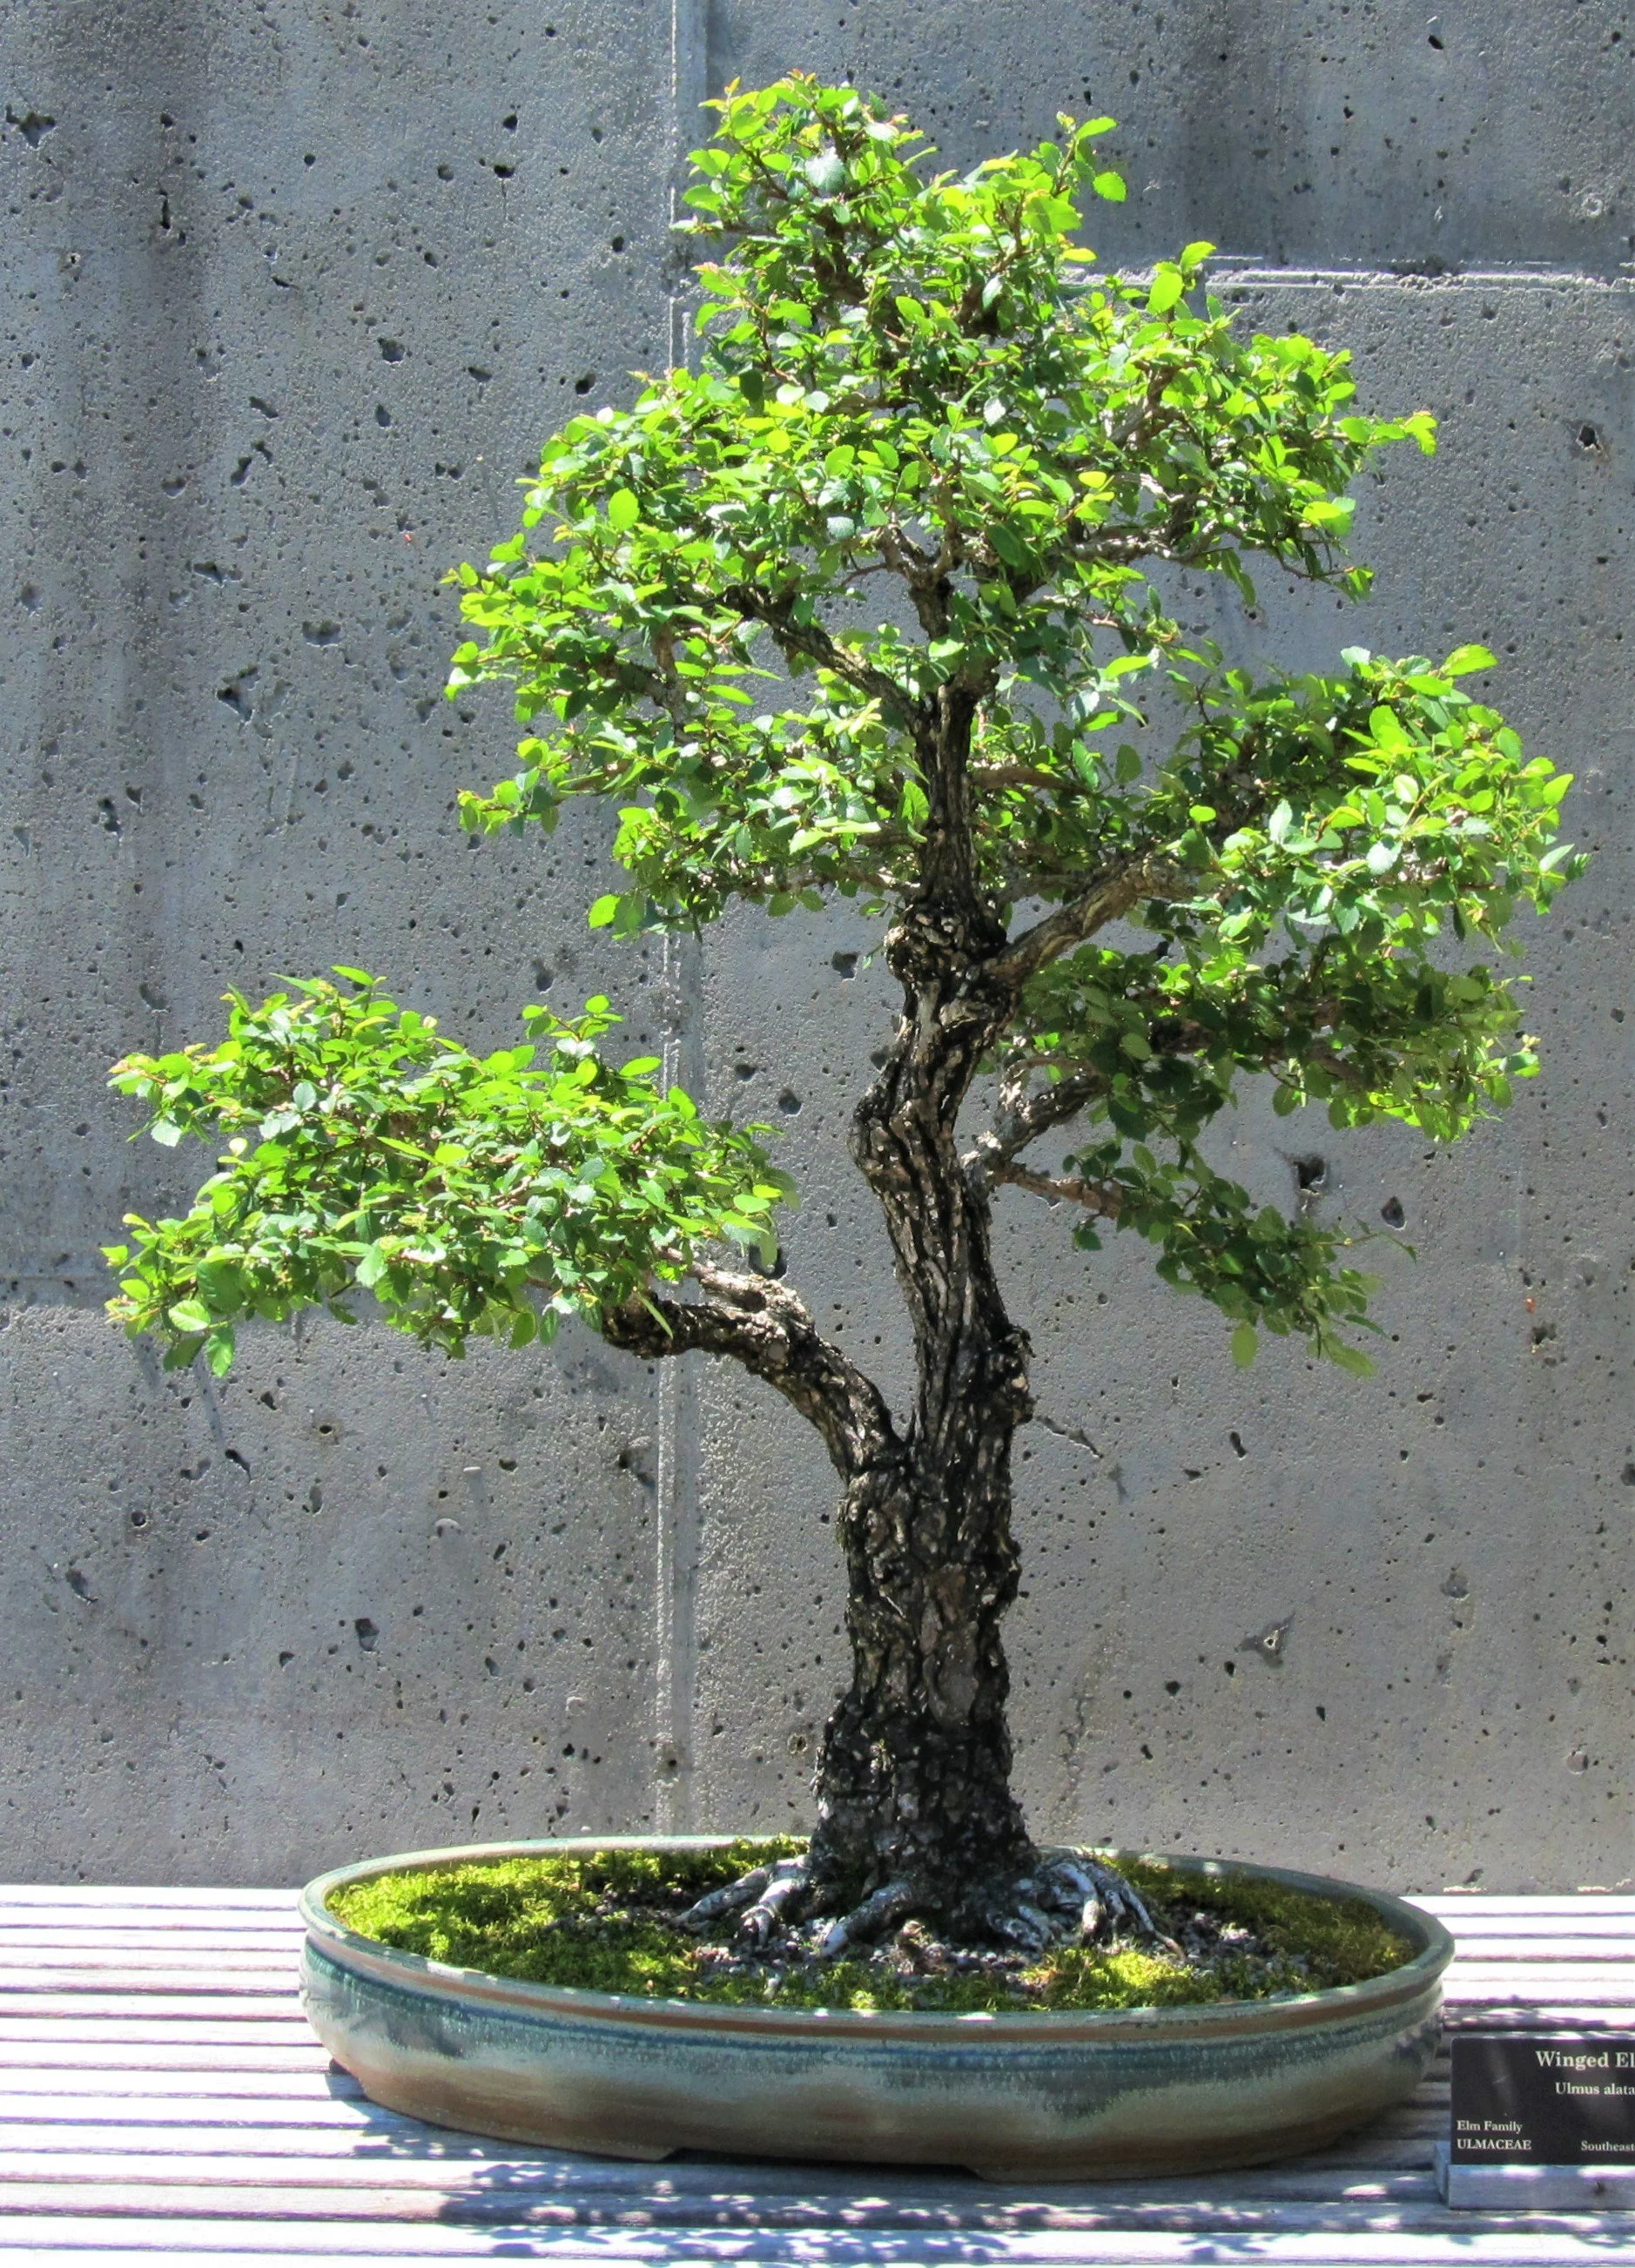
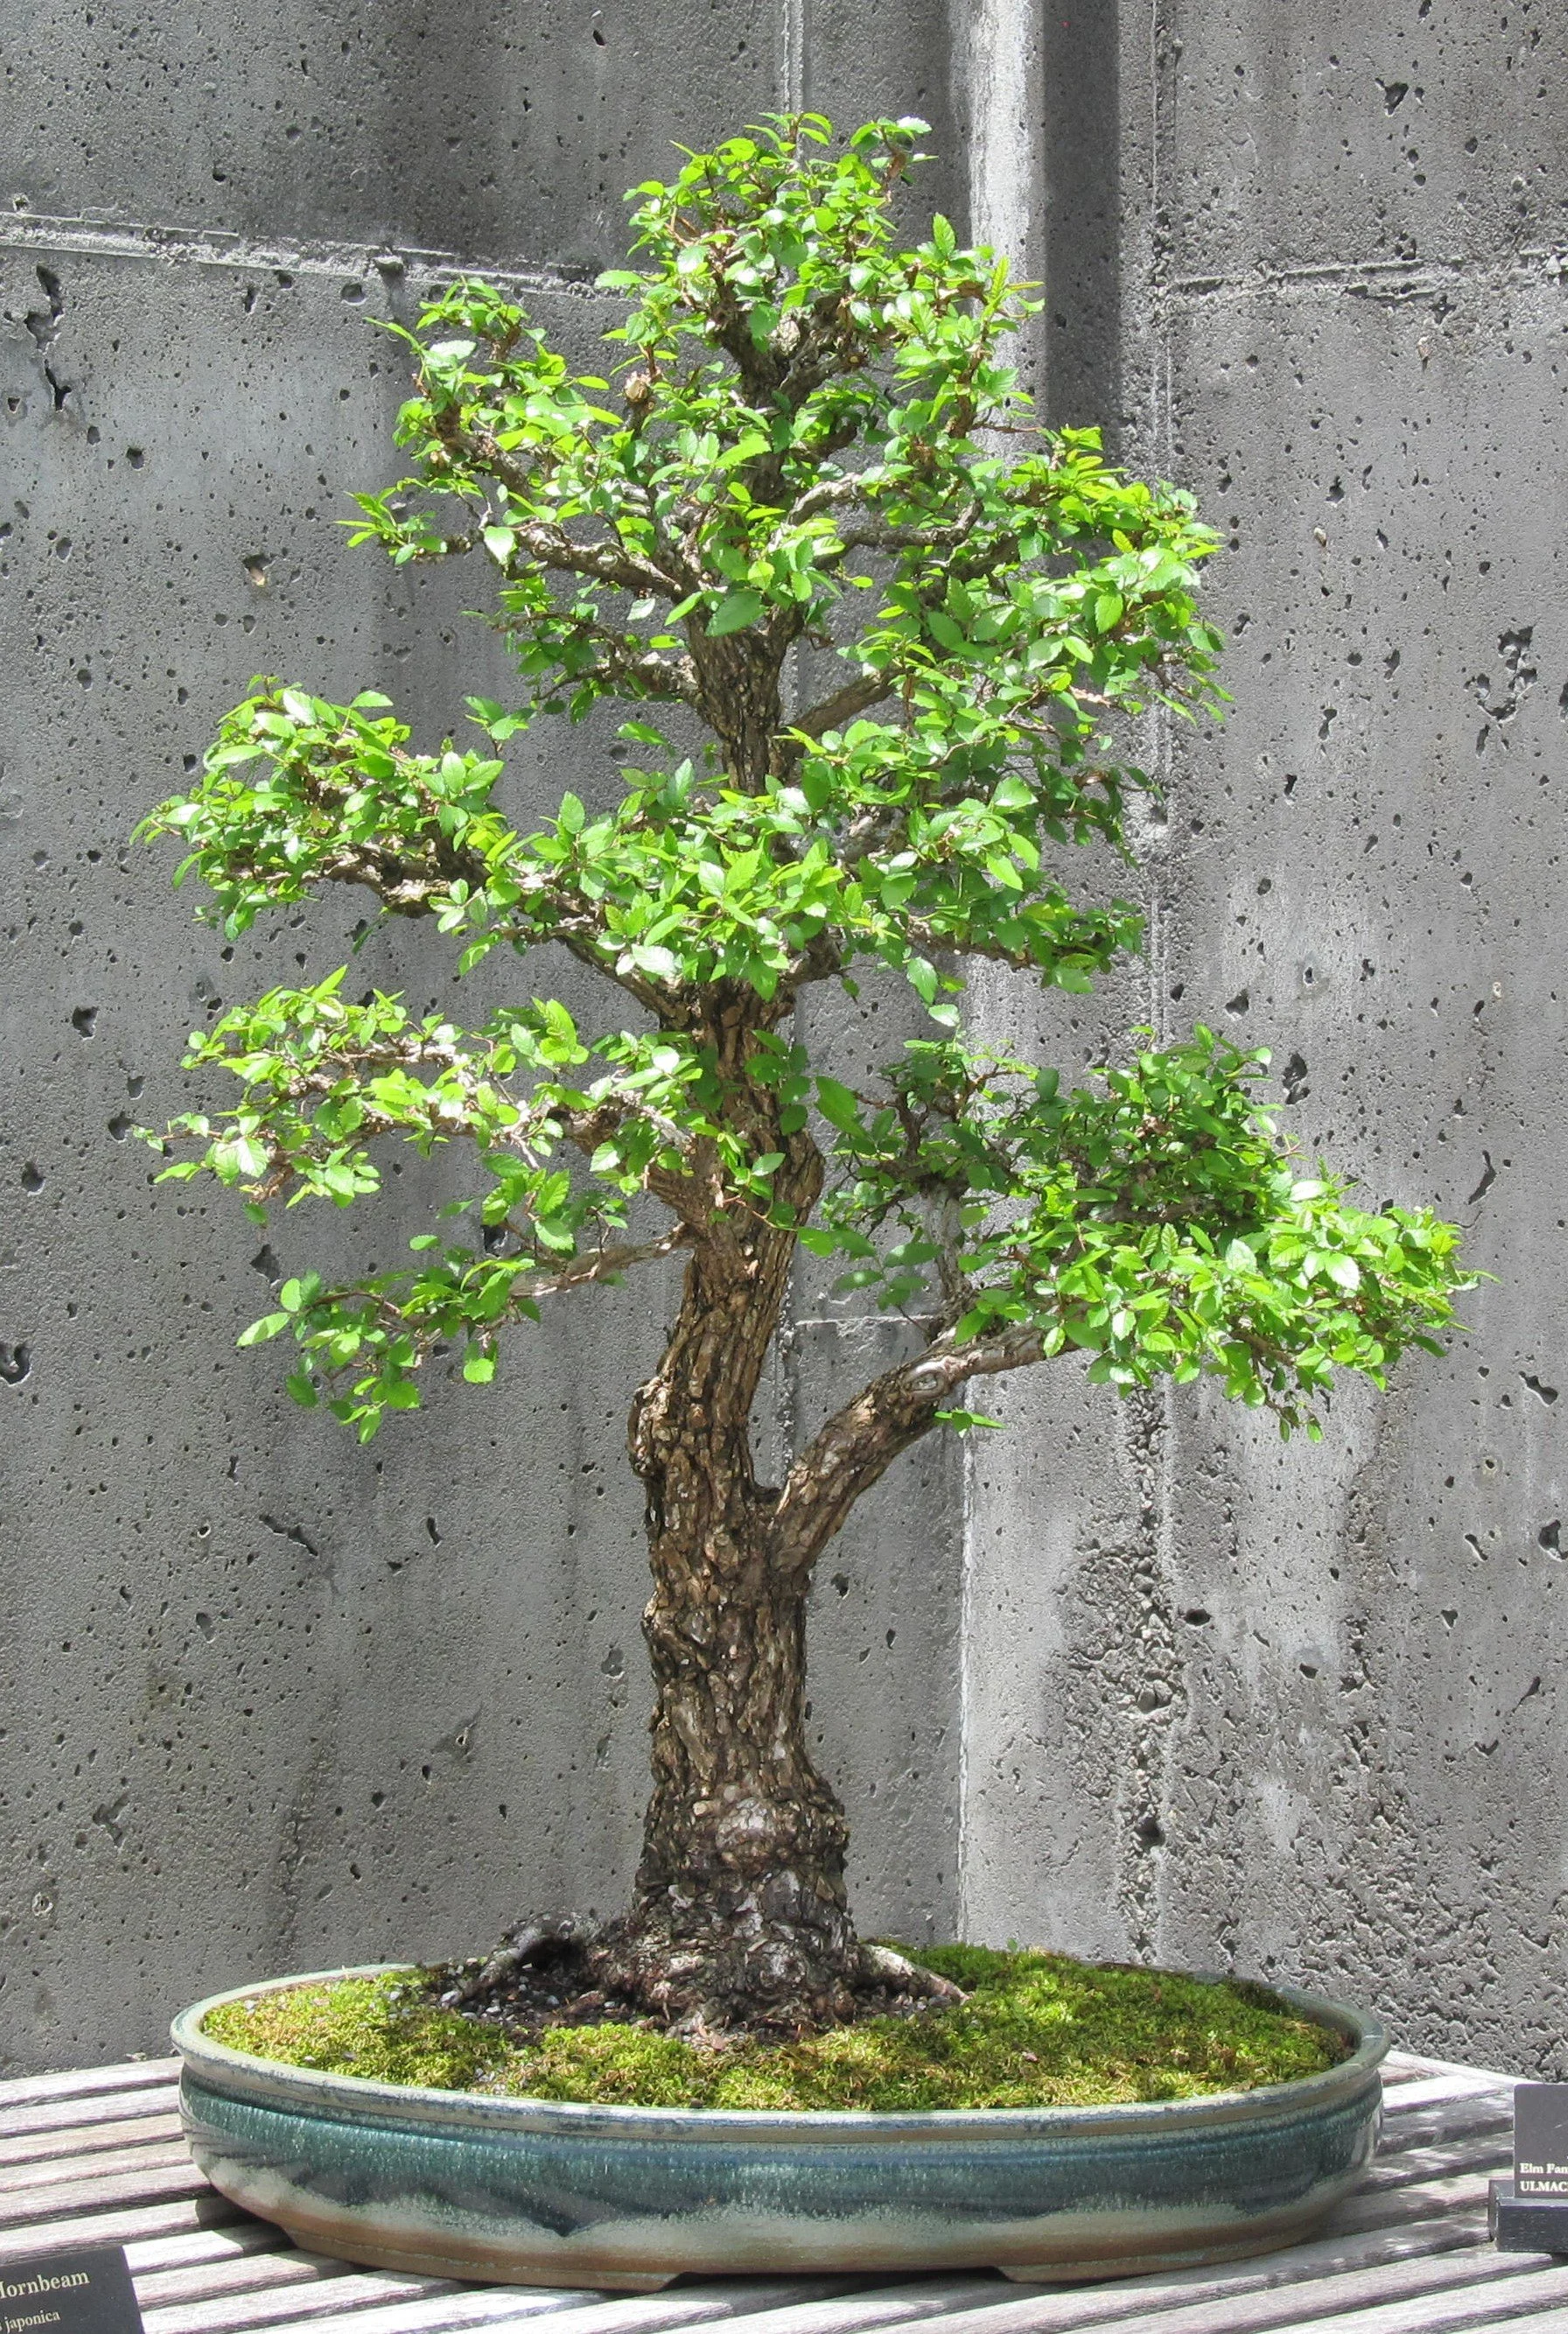
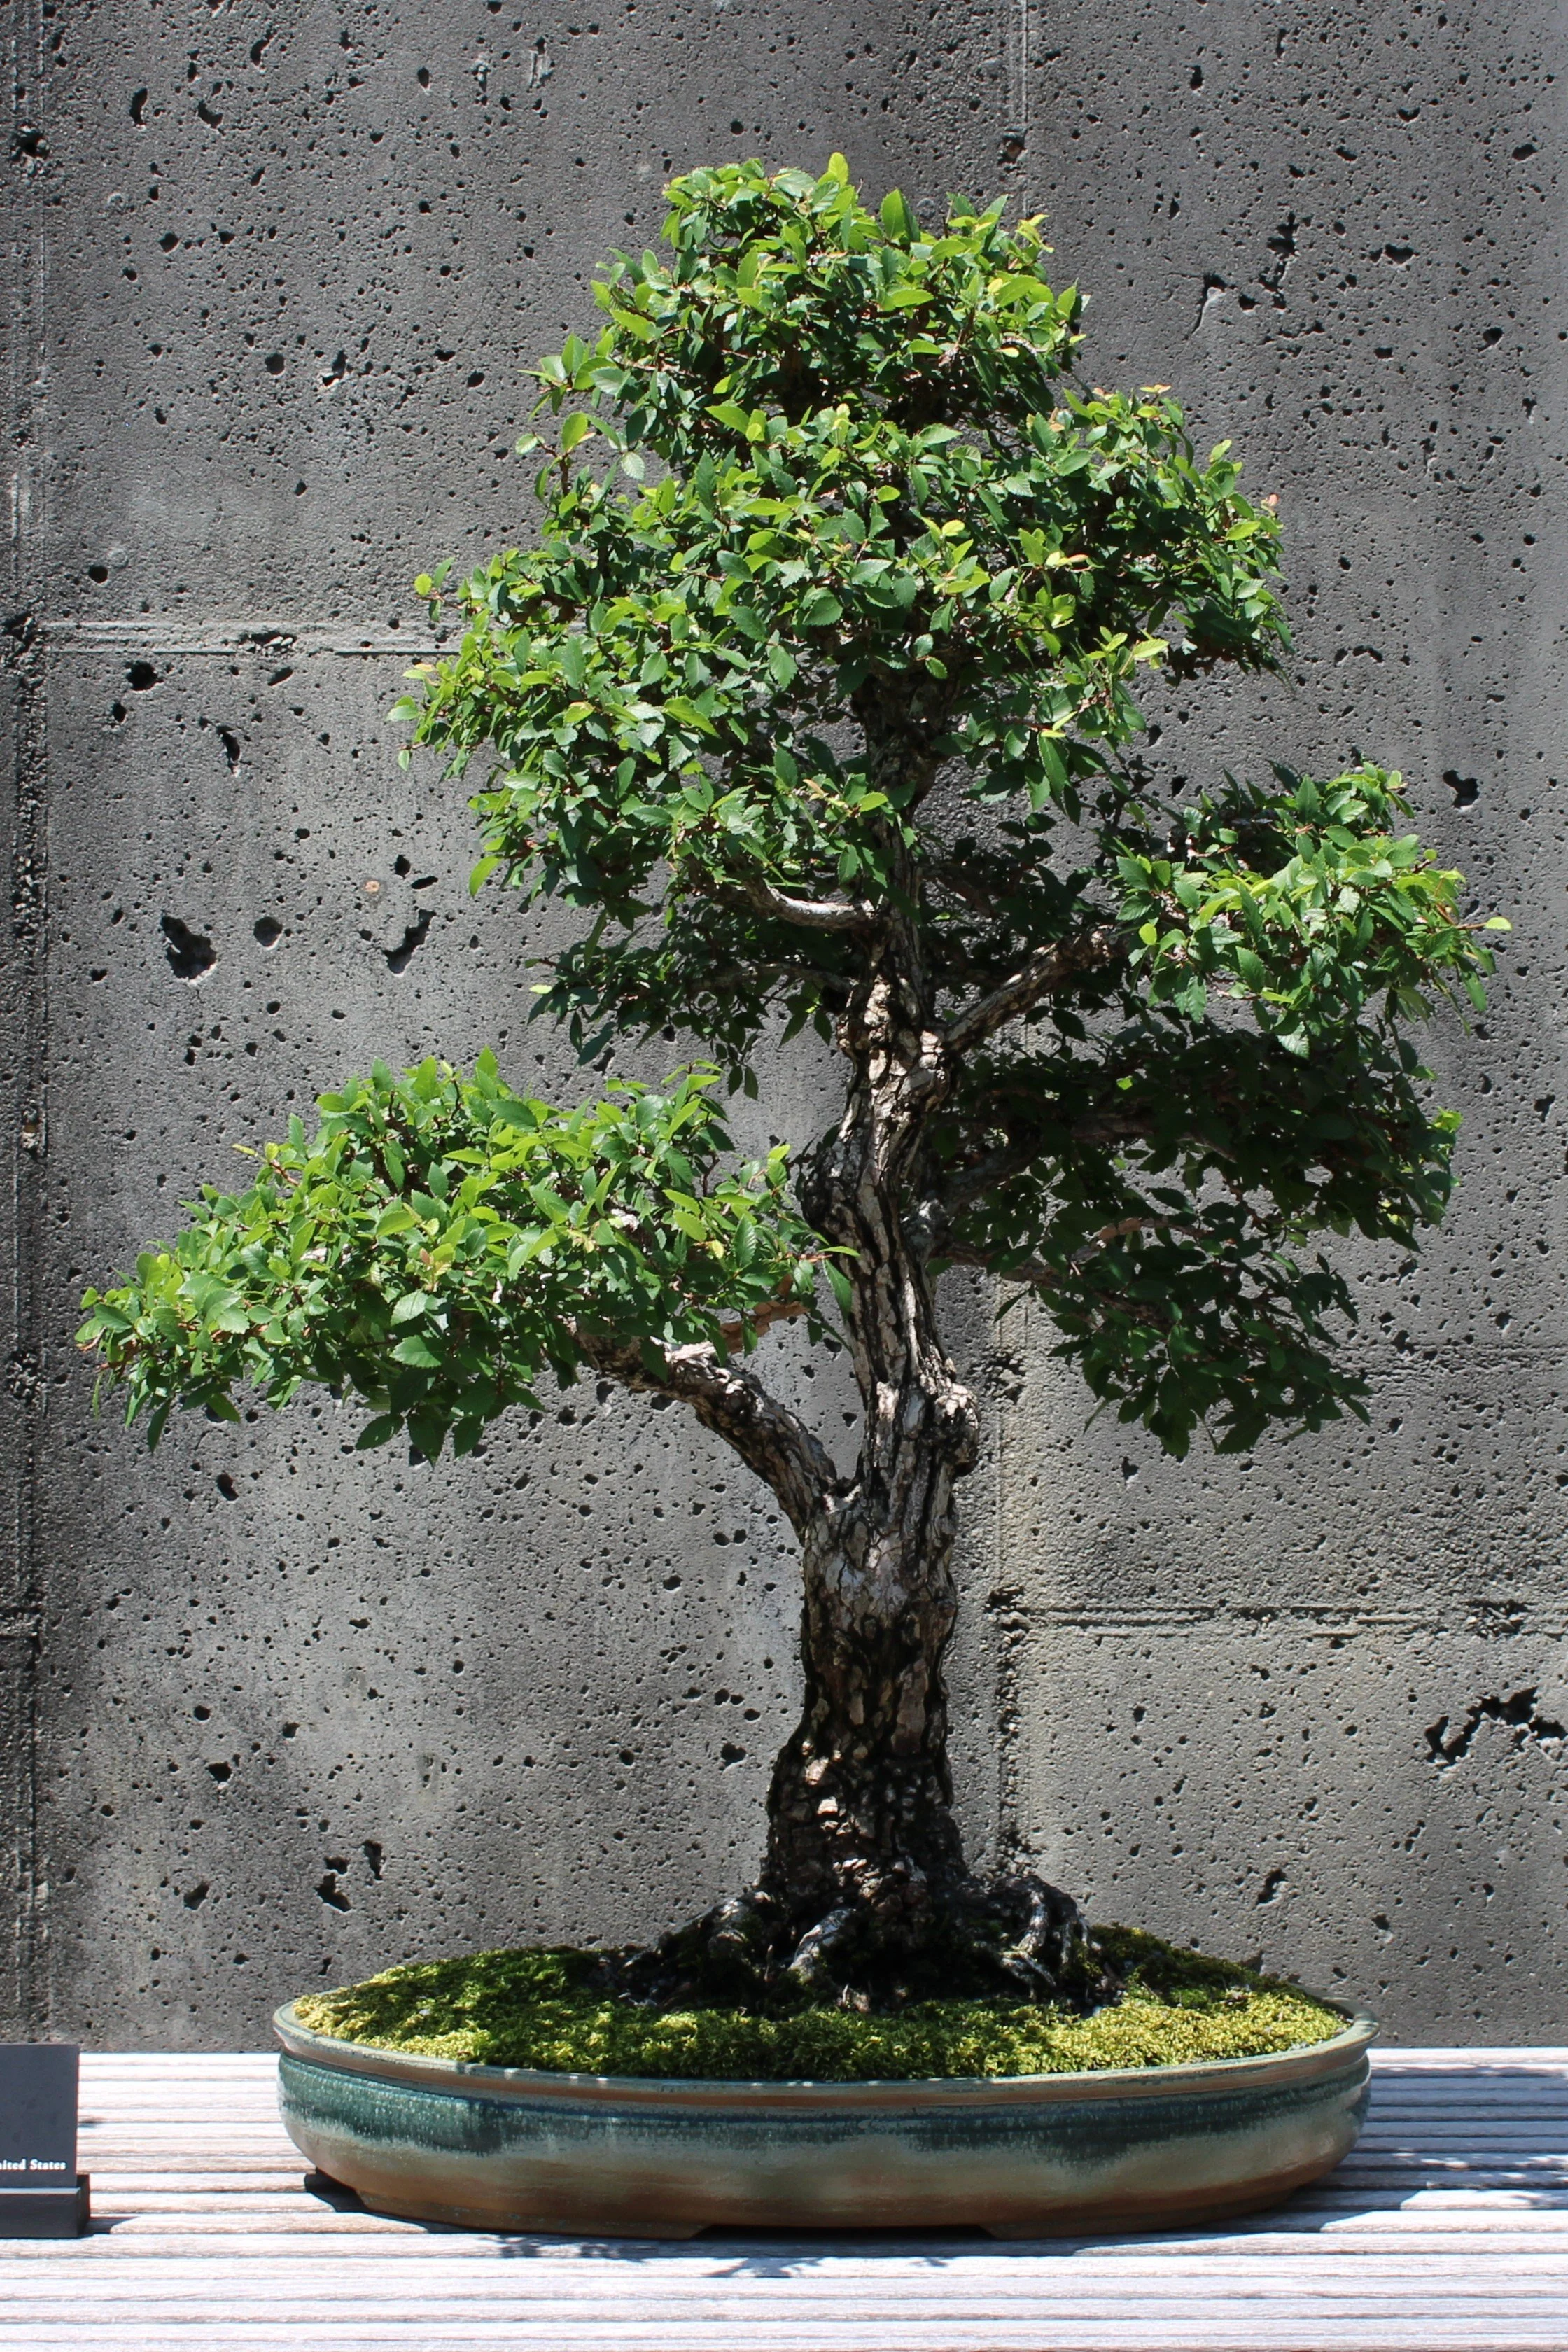
The winged elm was presentable as it was, at least while it was covered in foliage, and I was in no rush to make it less so. In 2008 this specimen made its debut in the garden:
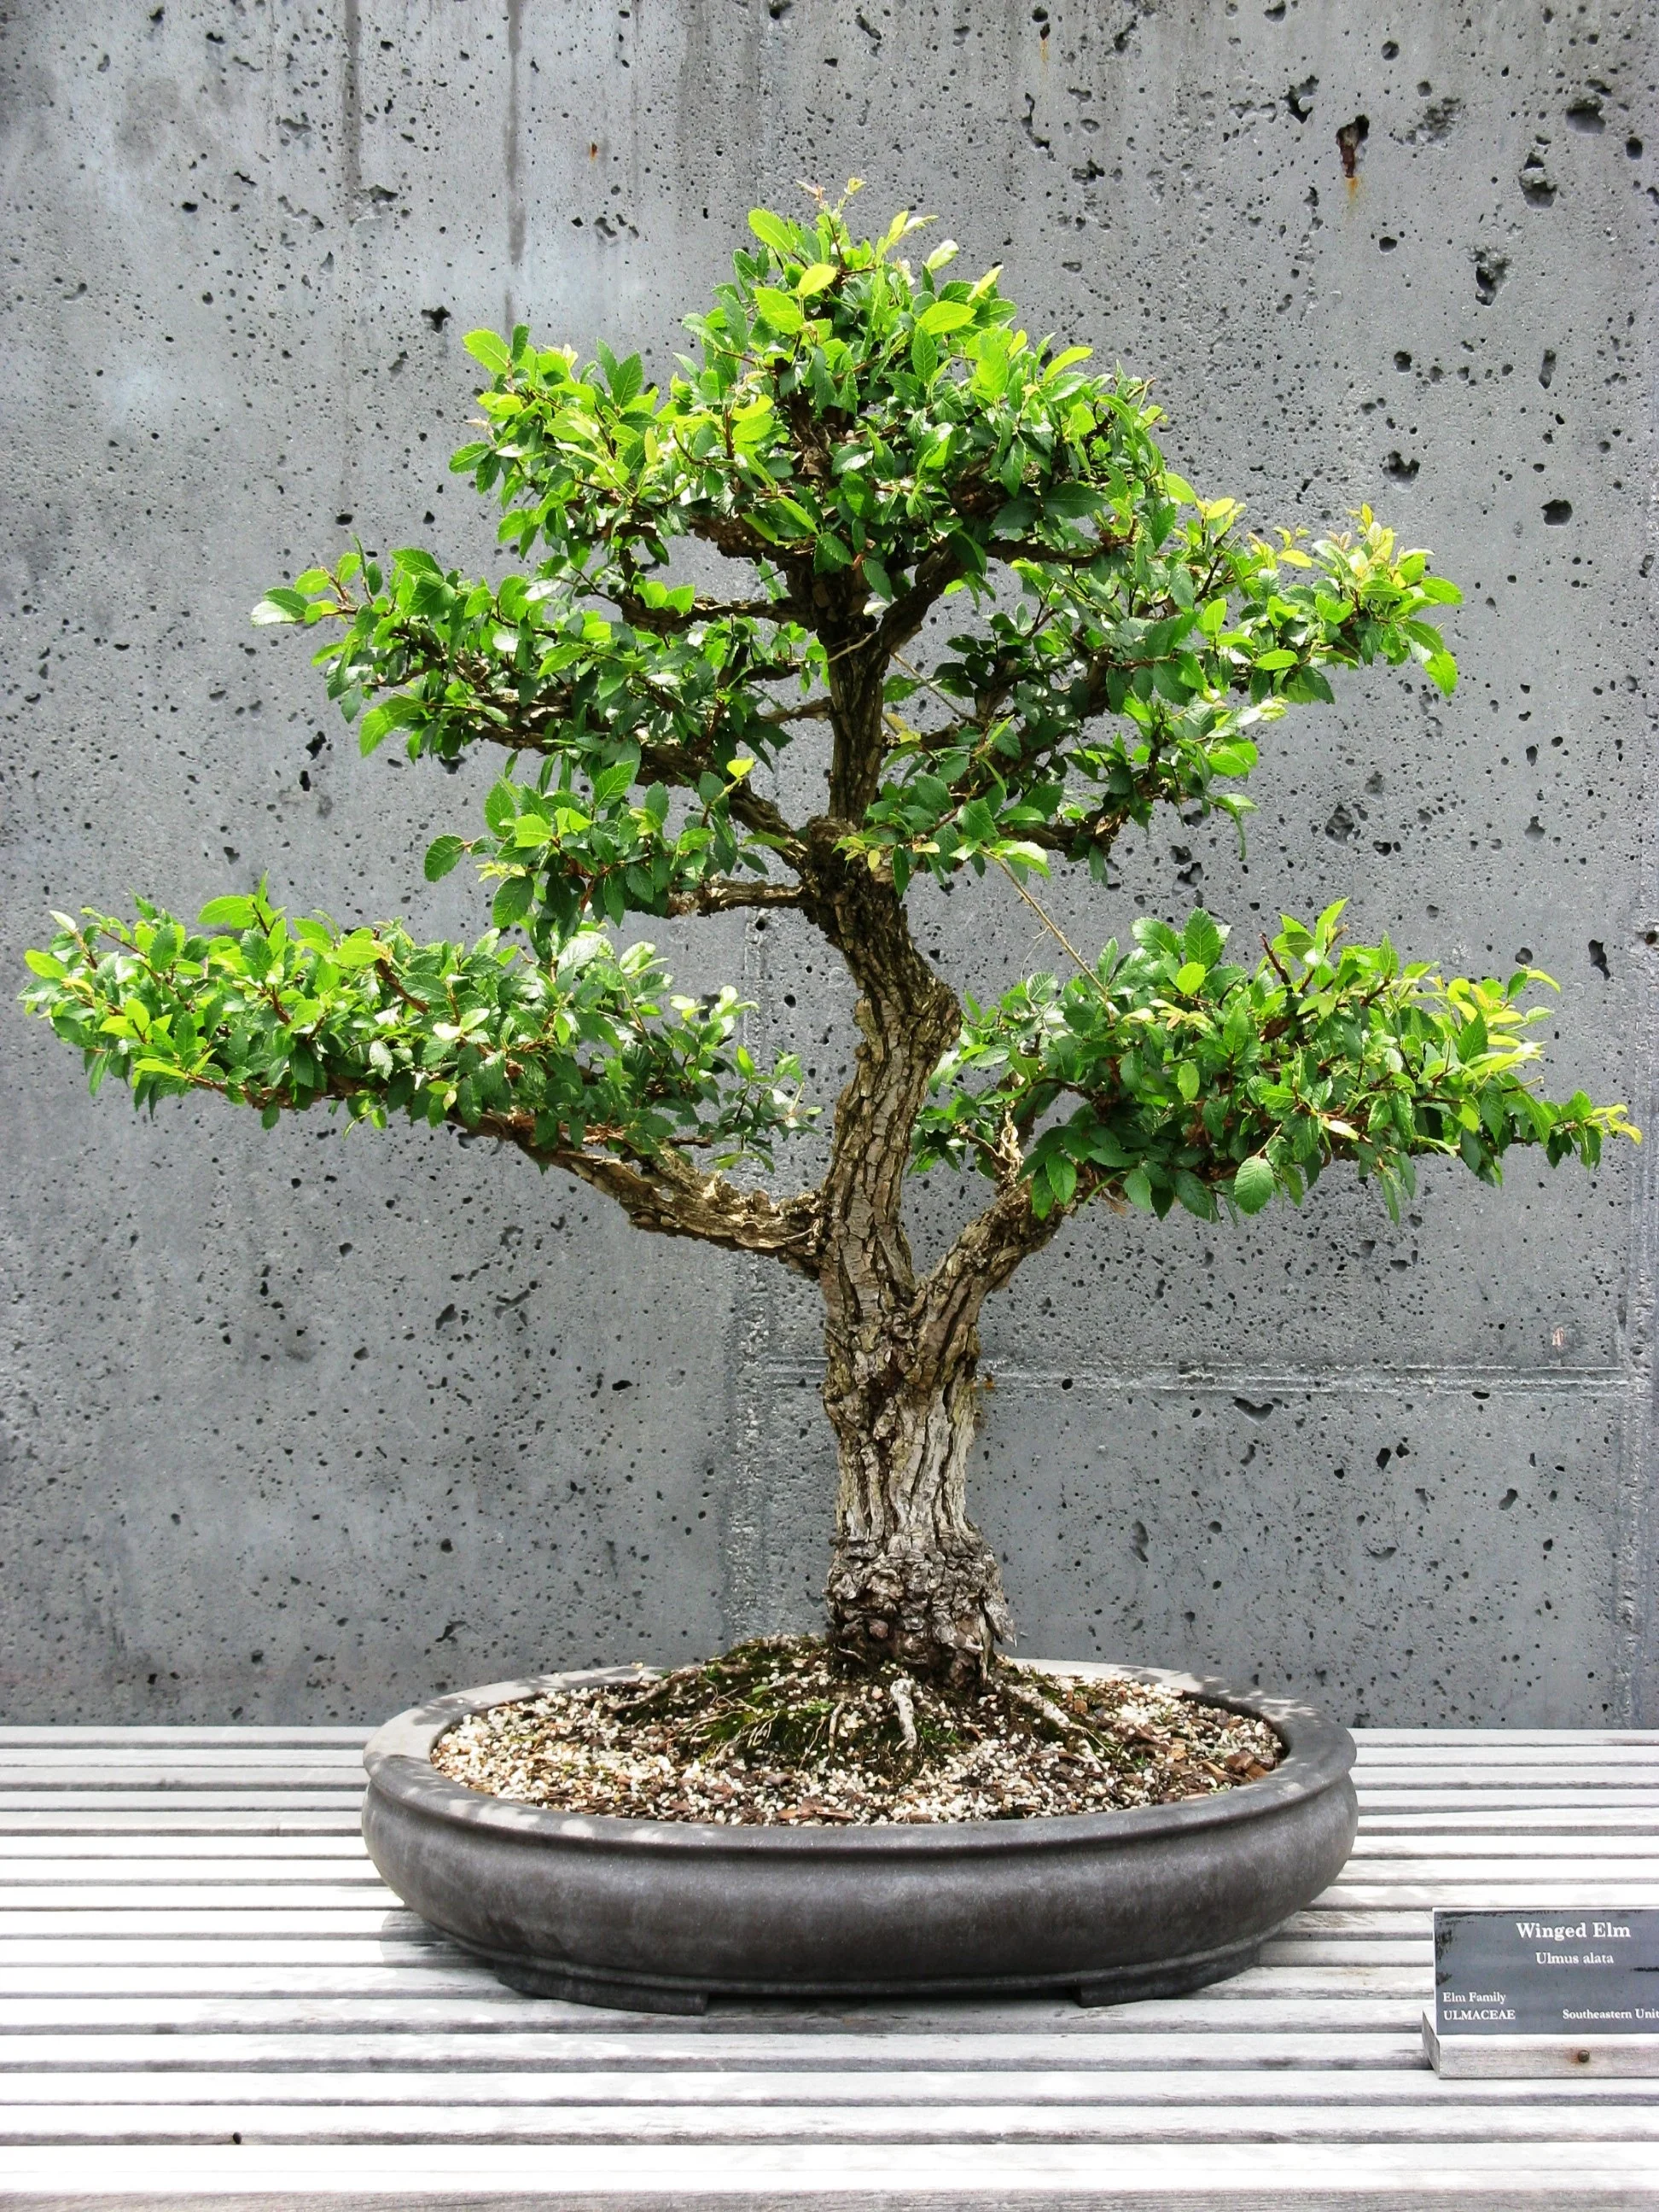
June 2008
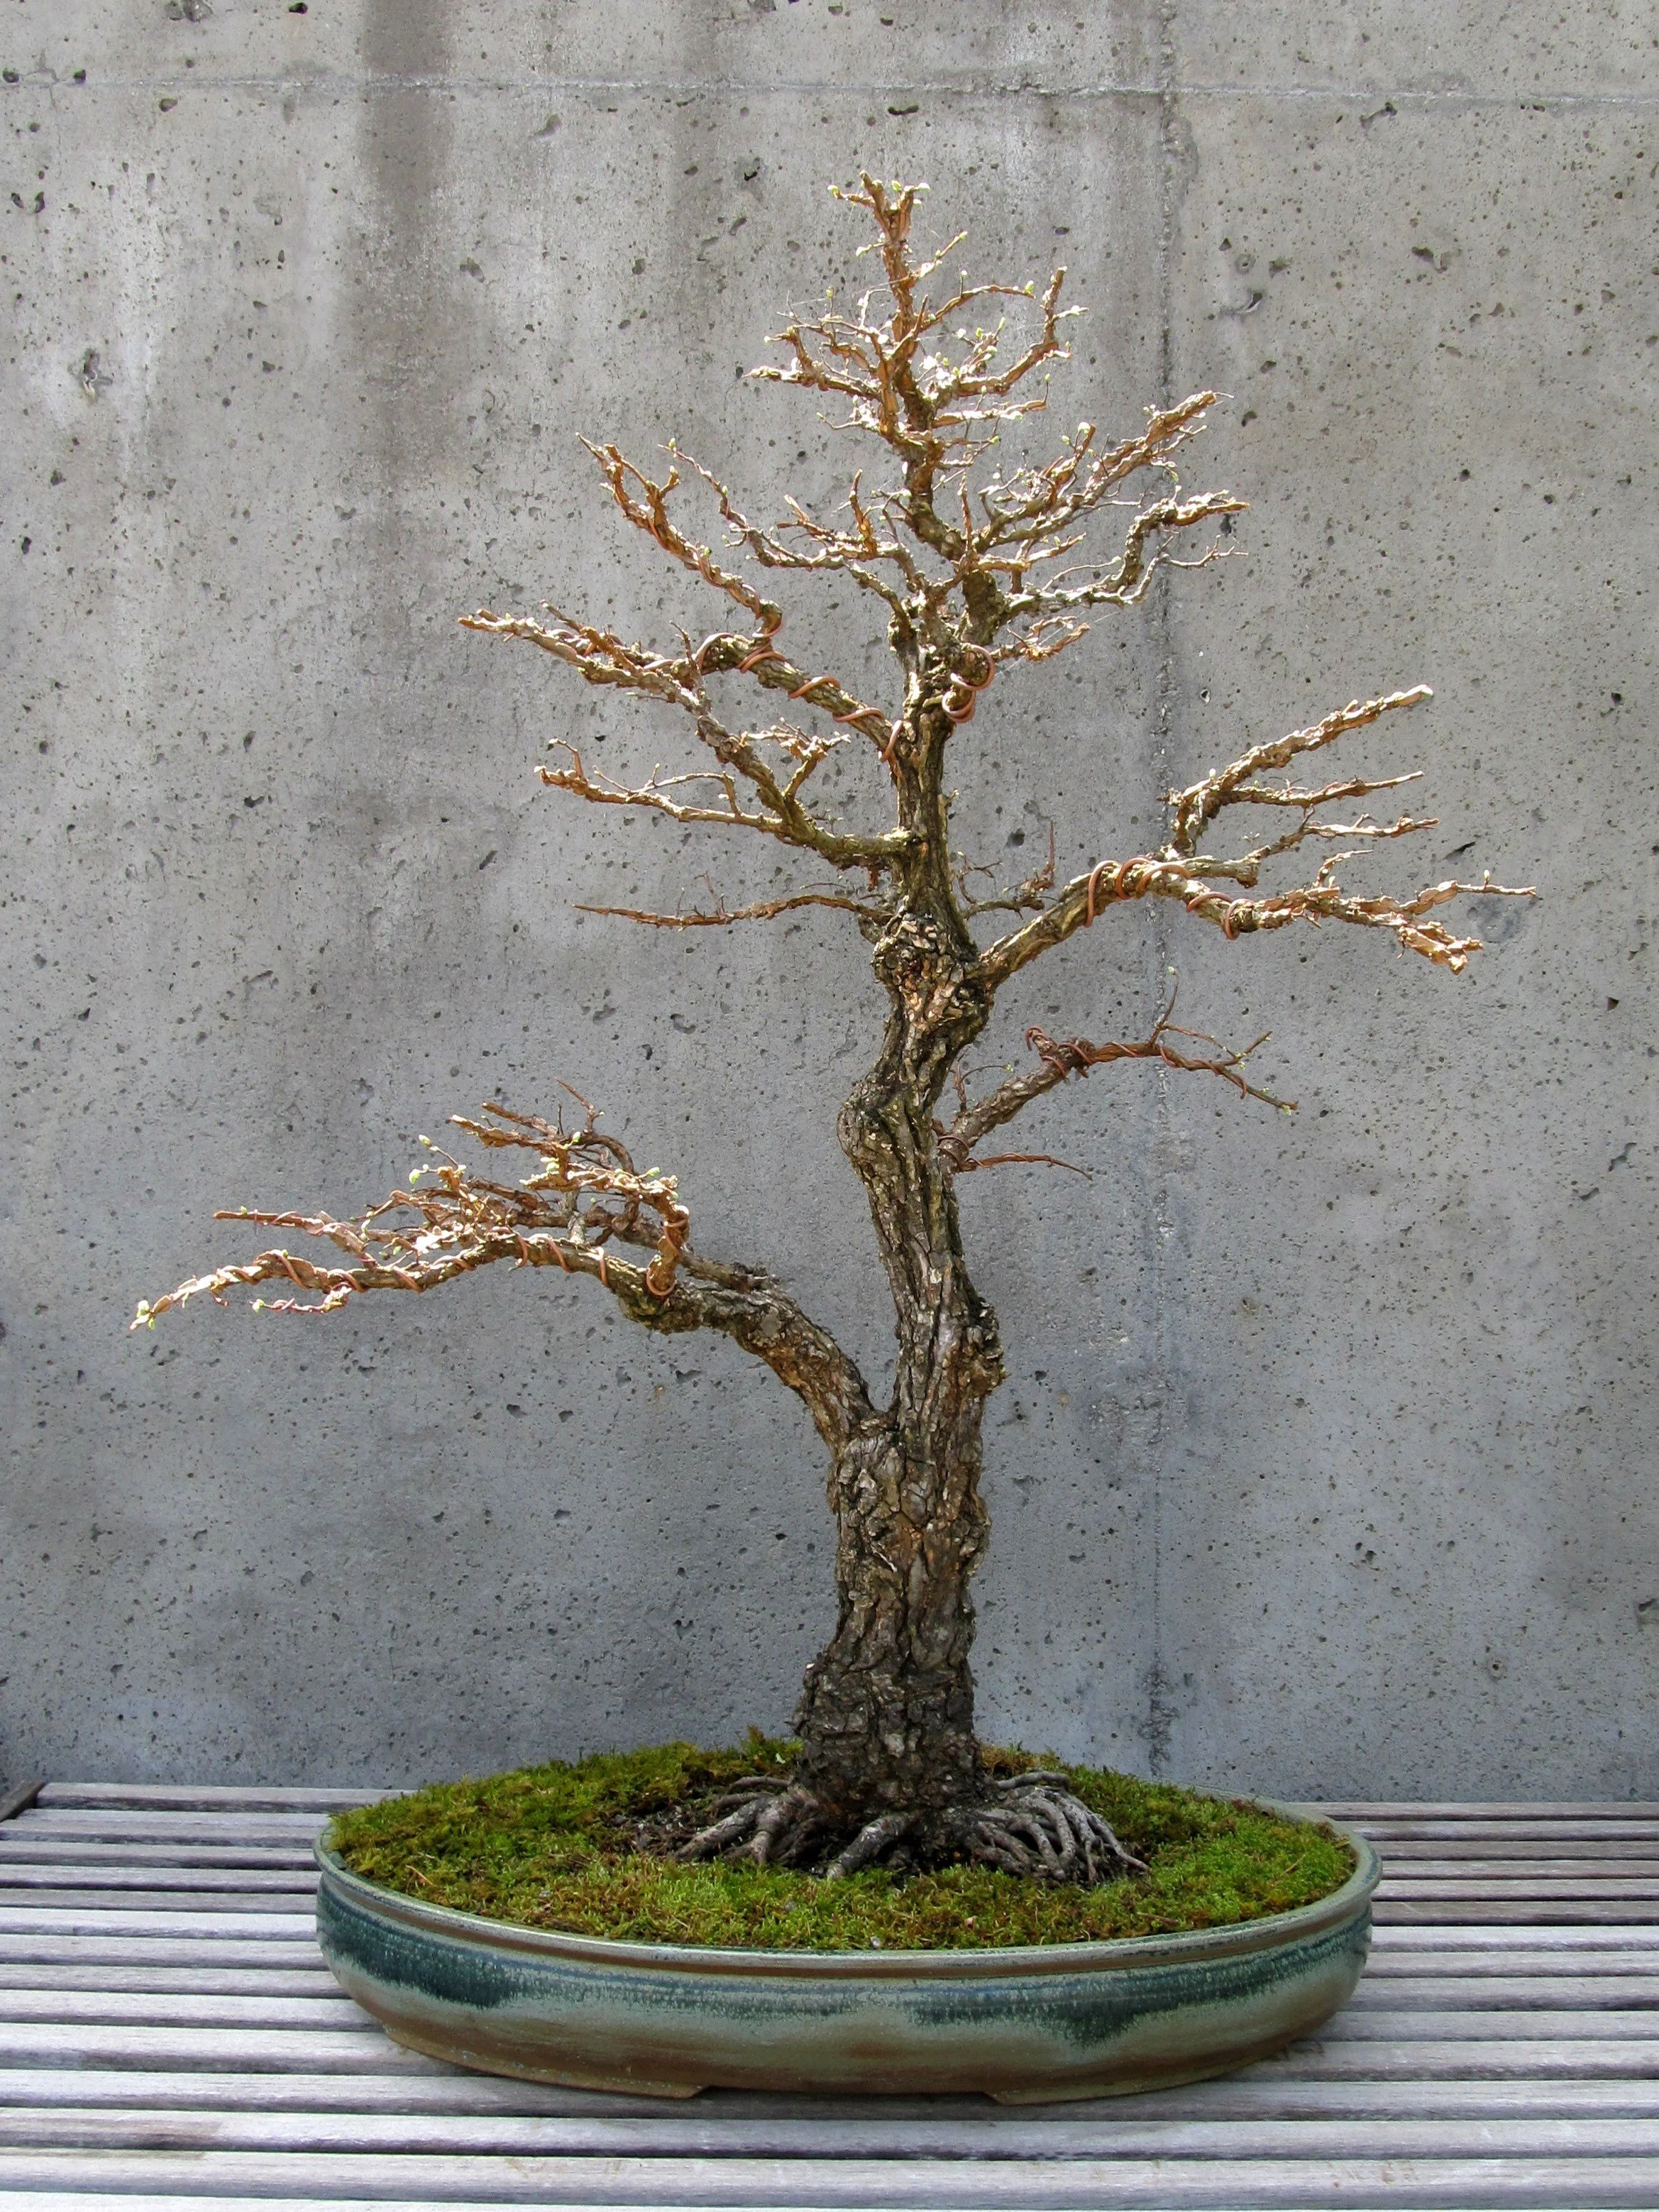
in 2009, having spent a couple of years living with the elm as it was and getting familiar with it, I began to make some carefully considered changes to the structure. First I went after the concentration of branches in the place previously described as area 3. All but two of the branches here were removed:
July 2009
As anticipated, reducing the number of branches in this area left the tree wanting for fullness in its upper third. The fullness was desirable; where the branches that provided the fullness originated was the problem. New branches would have to be grown to replace what was lost. The trick was to get the new branches to grow out of some other location on the trunk, and the fact that this tree is an elm is what gave me the confidence to make the necessary removals. Elms are extremely good at generating new growth off of old wood. They can be vigorously pruned and will reliably respond with new shoots popping out of whatever is left intact, a trait that makes elms very good candidates for bonsai.
That was the first significant action taken to address one of the areas of structural concern. I had already decided on the next move, which would be more dramatic, but elected to wait on making it. At this point in time I was making annual visits to Roanoke to present educational programming to my friends in the Hinoki Bonsai Society, typically in early spring. In advance of my 2010 visit to the club, I contacted Kathy Walton to see if she would be in attendance. When she confirmed her intention to be there, I told her I wanted to bring the winged elm with me to use as my demonstration subject. I told her what I had in mind to do with the tree. Kathy, who has always been a great supporter of my work, told me she trusted me to do the right thing with the elm she had donated. That was brave of her!
Prior to my visit to Roanoke in 2010, I contacted my potter friend, Robert Wallace. I showed him the elm and told him I wanted an American-made container for it. At that point in time, Robert was not yet so accomplished at making large containers as he is now. The size pot the elm required would be a stretch for him. Robert rose to the occasion, though, and crafted a great pot, which he thought to be the best big container he had ever produced up to that time. I took that pot with me to Roanoke, but repotting the elm was just one part of the program I had planned. A more significant decision was to remove one of the two main branches that were close to being opposite.
This photograph was made during the demonstration. The big branch removal had been done and now the elm was being root pruned in preparation for planting in the new container:

April 2010 (Photo by Kathy Walton)
The elm looked pretty rough after the demonstration. It was fairly impressive that Kathy resisted the urge to run up to the front of the room and throw herself in harms way to prevent me from ruining her tree. Kathy knows a thing or two about bonsai, however, and she understood what I was aiming at, so she watched the work and offered nothing but encouragement. Here is what the winged elm looked like after almost three months of recovery:
June 2010, before
The above photo was made just prior to a follow-up work session on the elm. The next two images show the results of the session, presented from what I now thought of as the primary view of the tree, and from a side perspective:
June 2010, after

June 2010
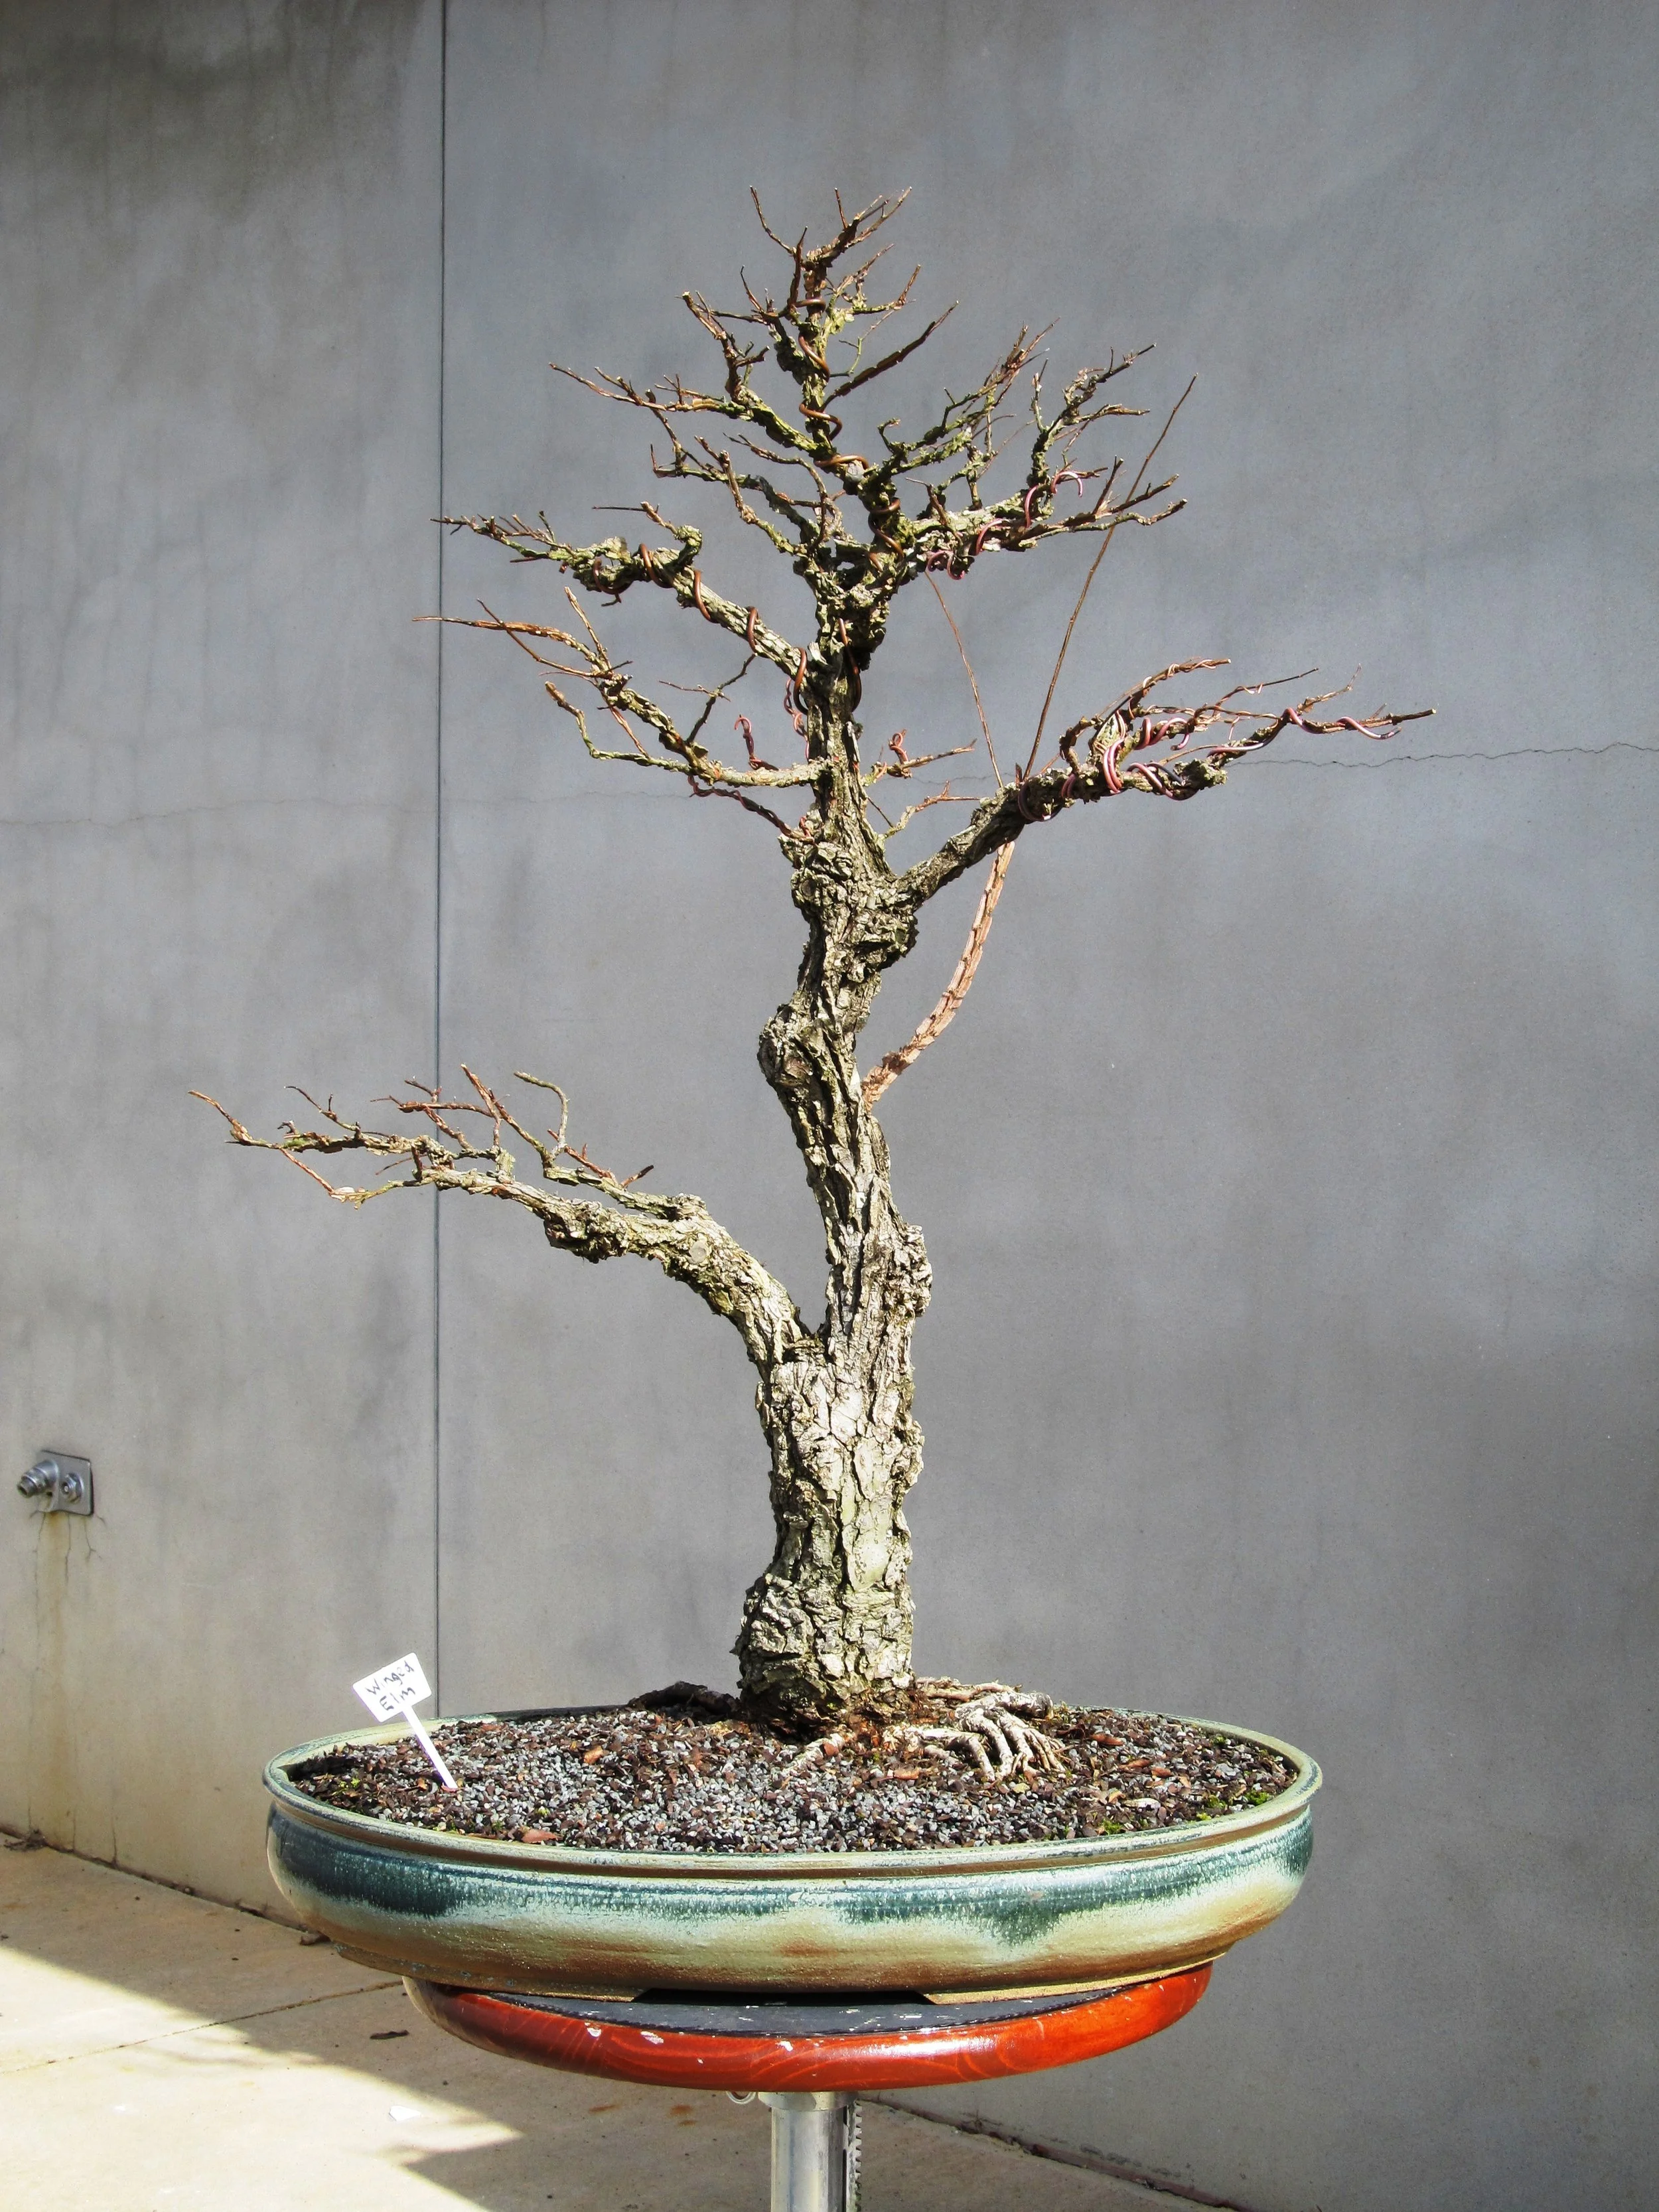
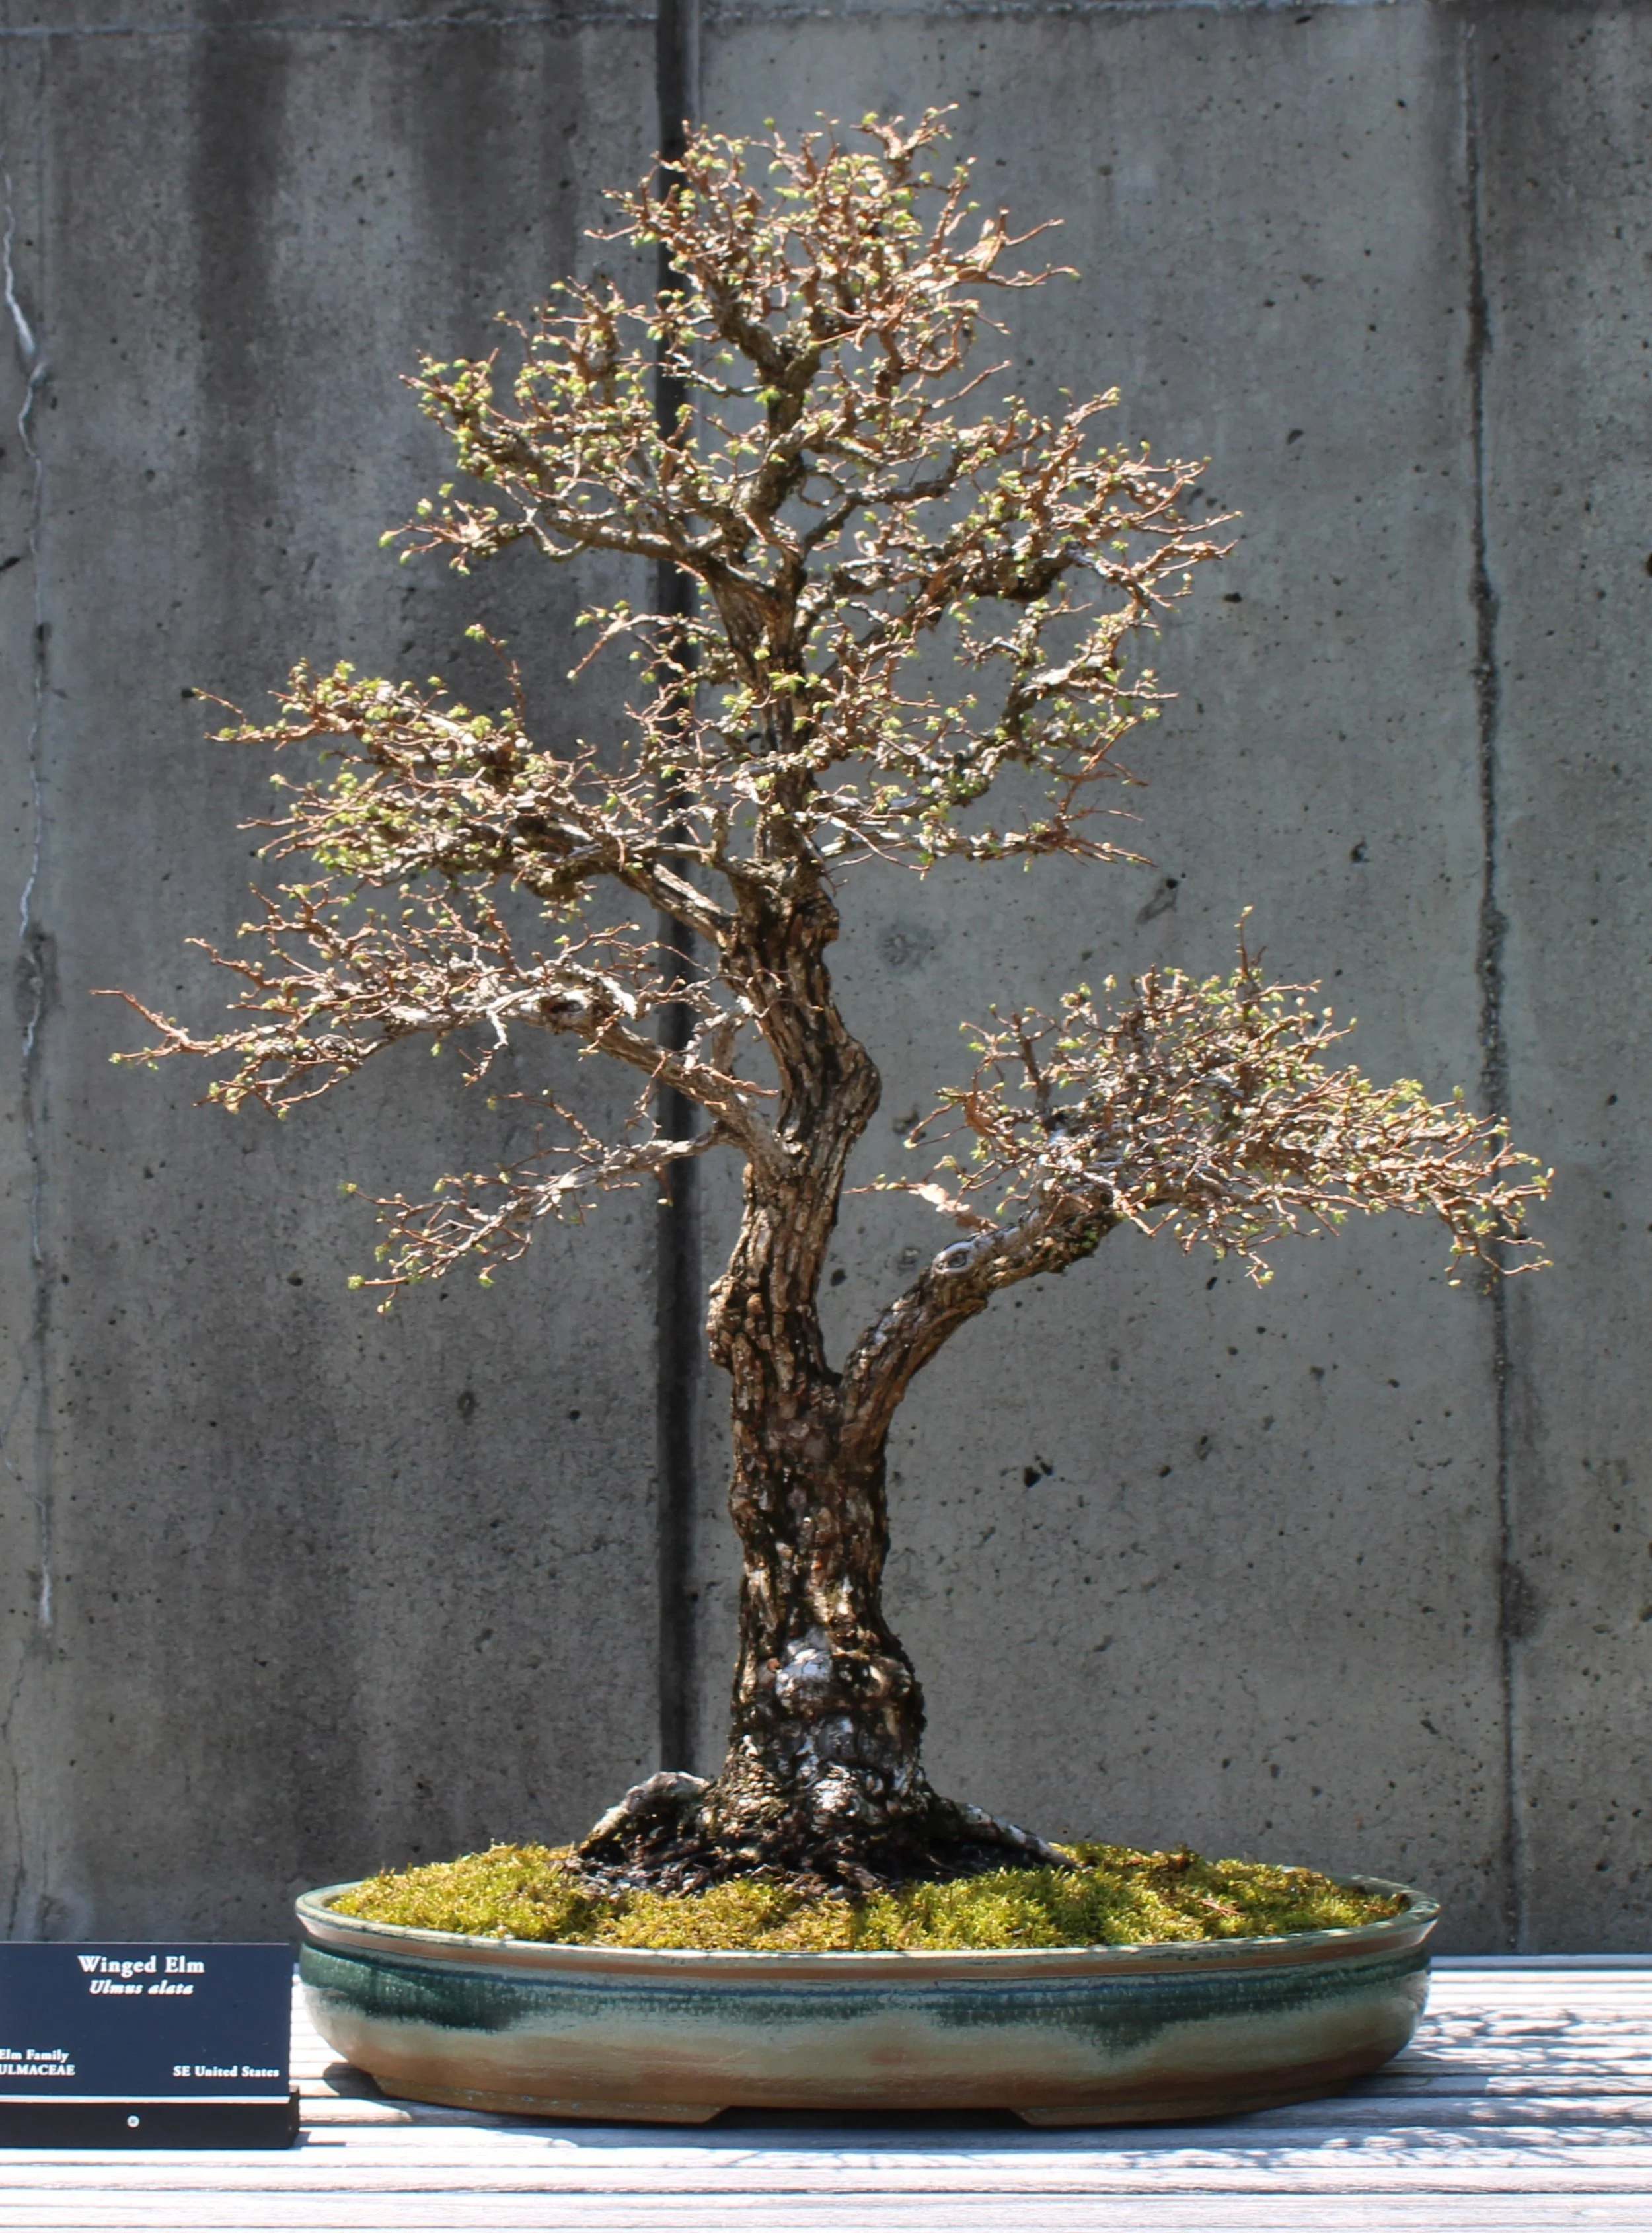
Here is what the elm looked like at the beginning of the next growing season. Note that the tree had been repotted and placed more toward the center of the container, albeit still slightly to the right of center:
April 2011
Parts were plainly missing from the tree as it was then. My hopes were pinned to the regenerative ability of elm trees and faith that, given enough time, the necessary parts would appear.
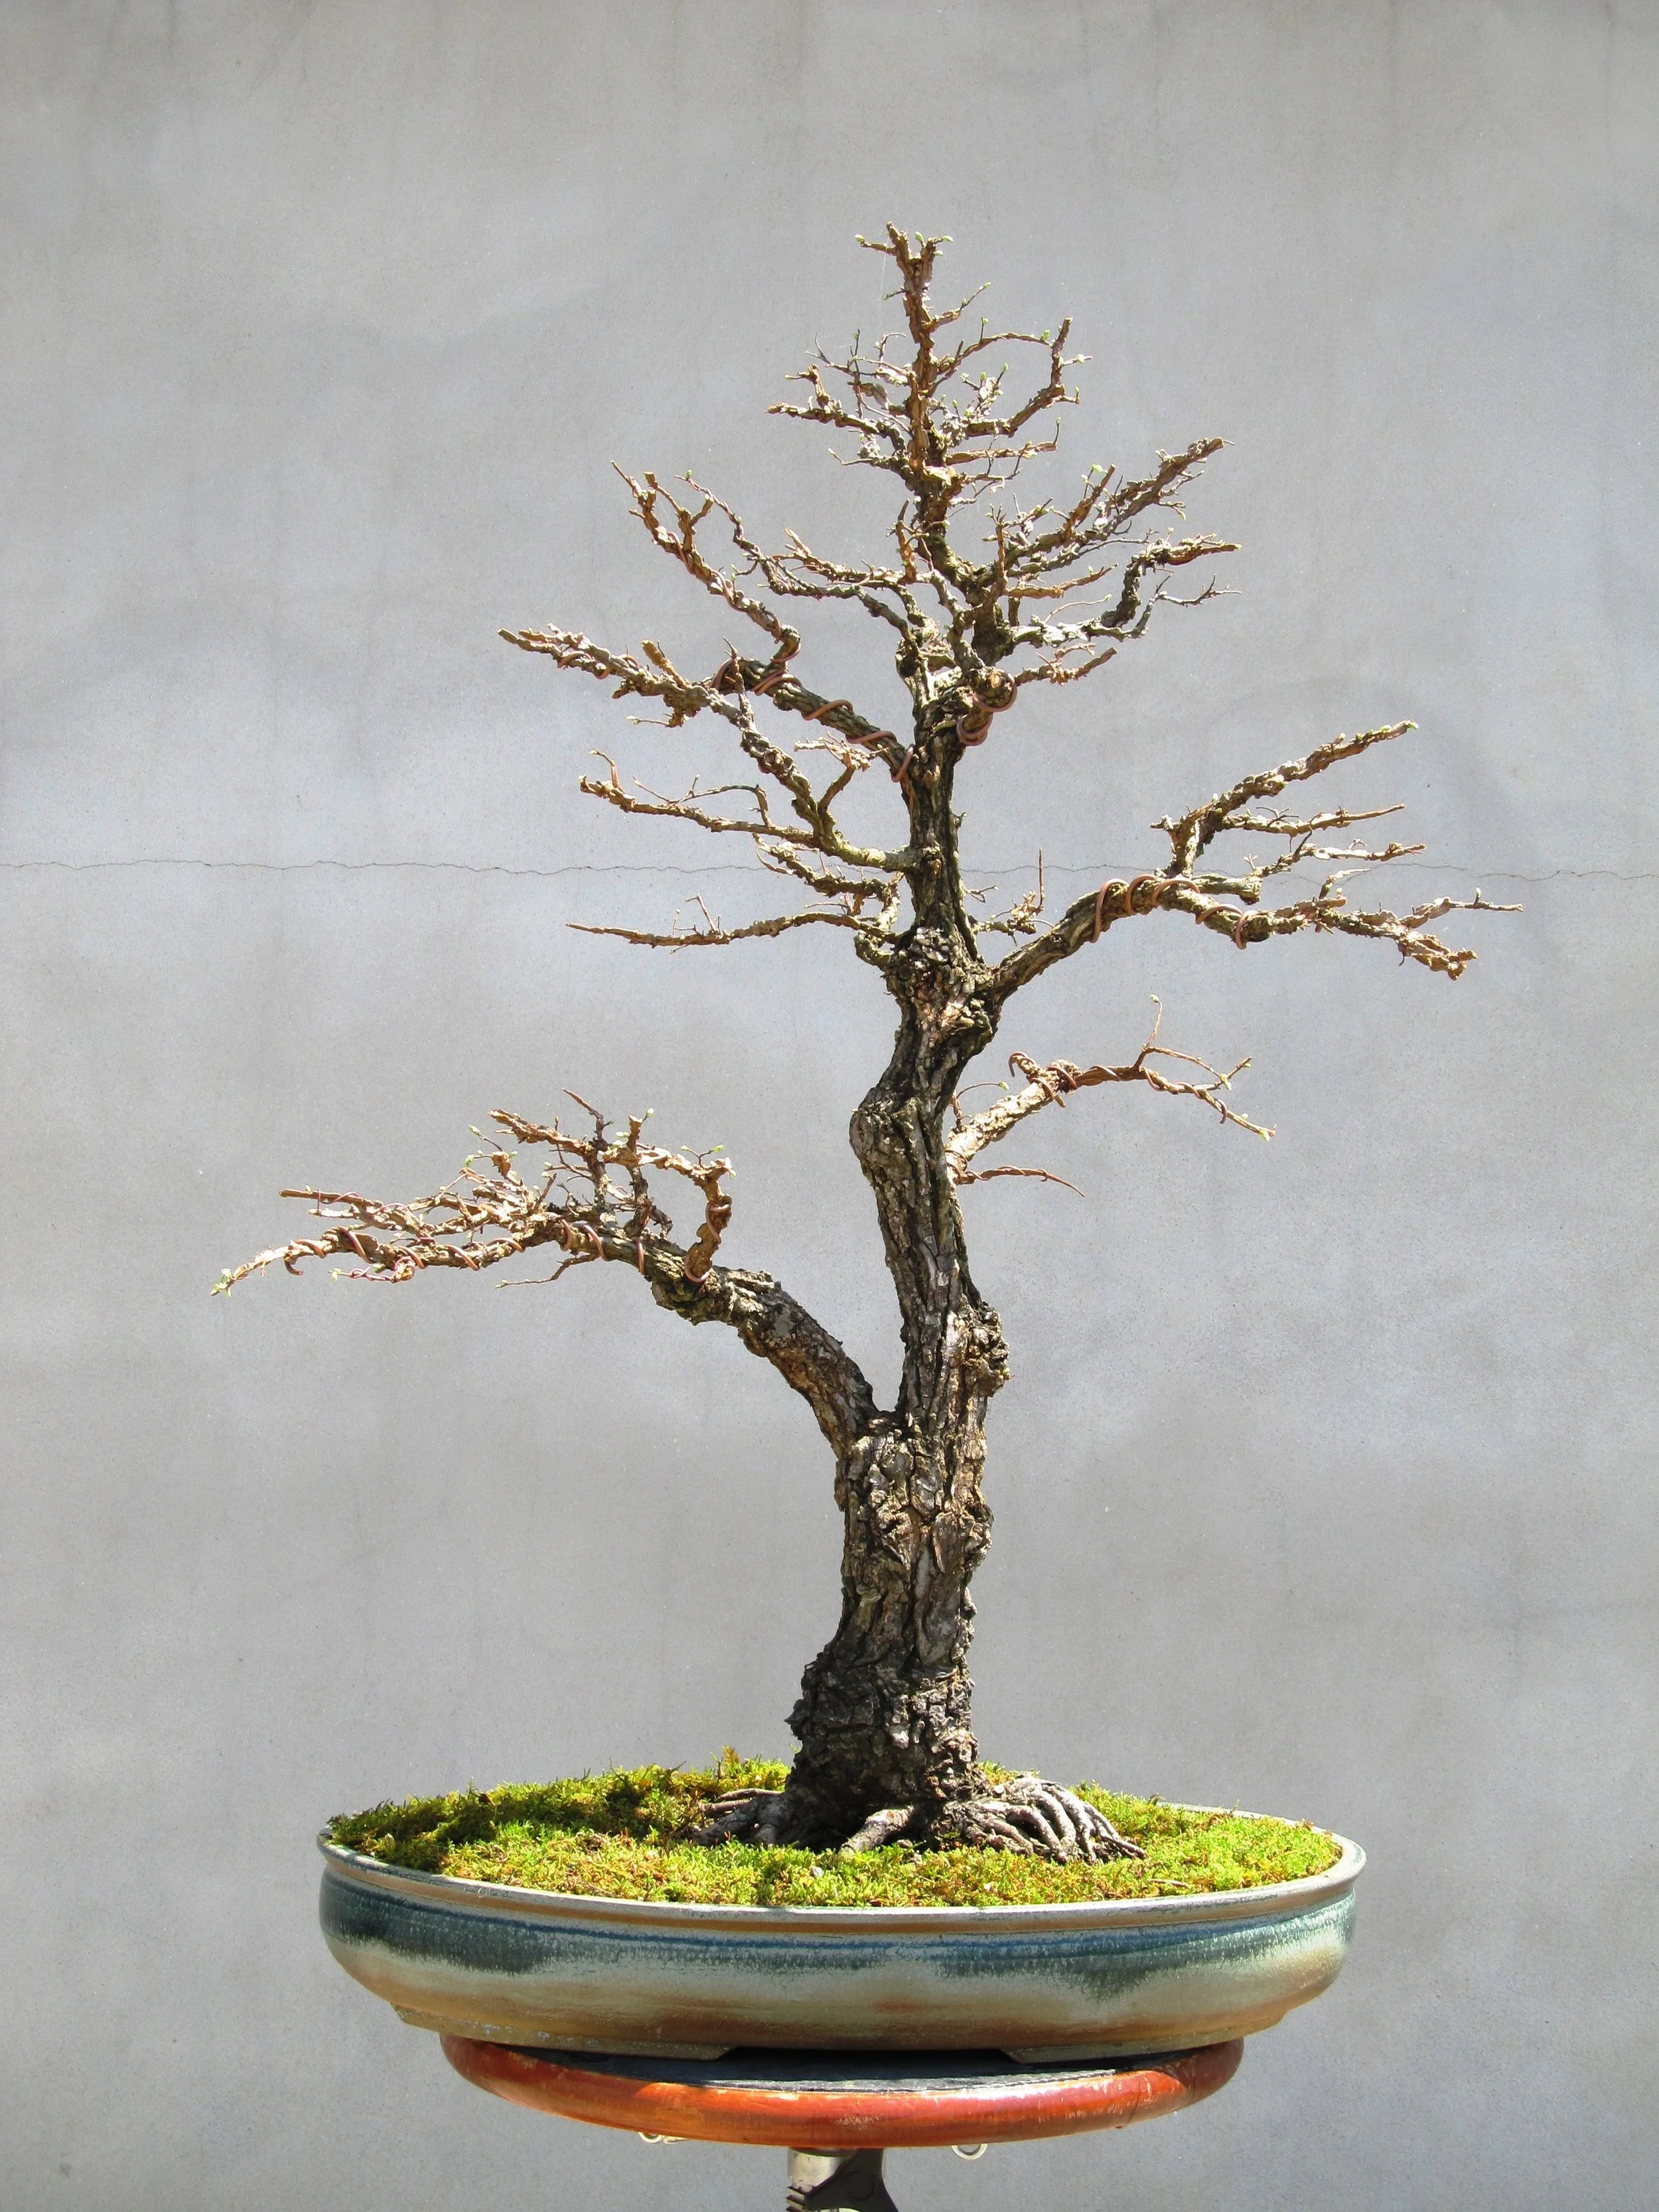
Later that same year one of the new parts I was hoping for did emerge, as can be seen in the following images:
July 2011
July 2011
A new sprout popped out in a place where a branch was much desired, promising to provide visual interest in a space that was a noticeable void in the tree’s design. Initially, when such a fortunate sprout occurs, the branch is allowed to grow freely and become strong and established.
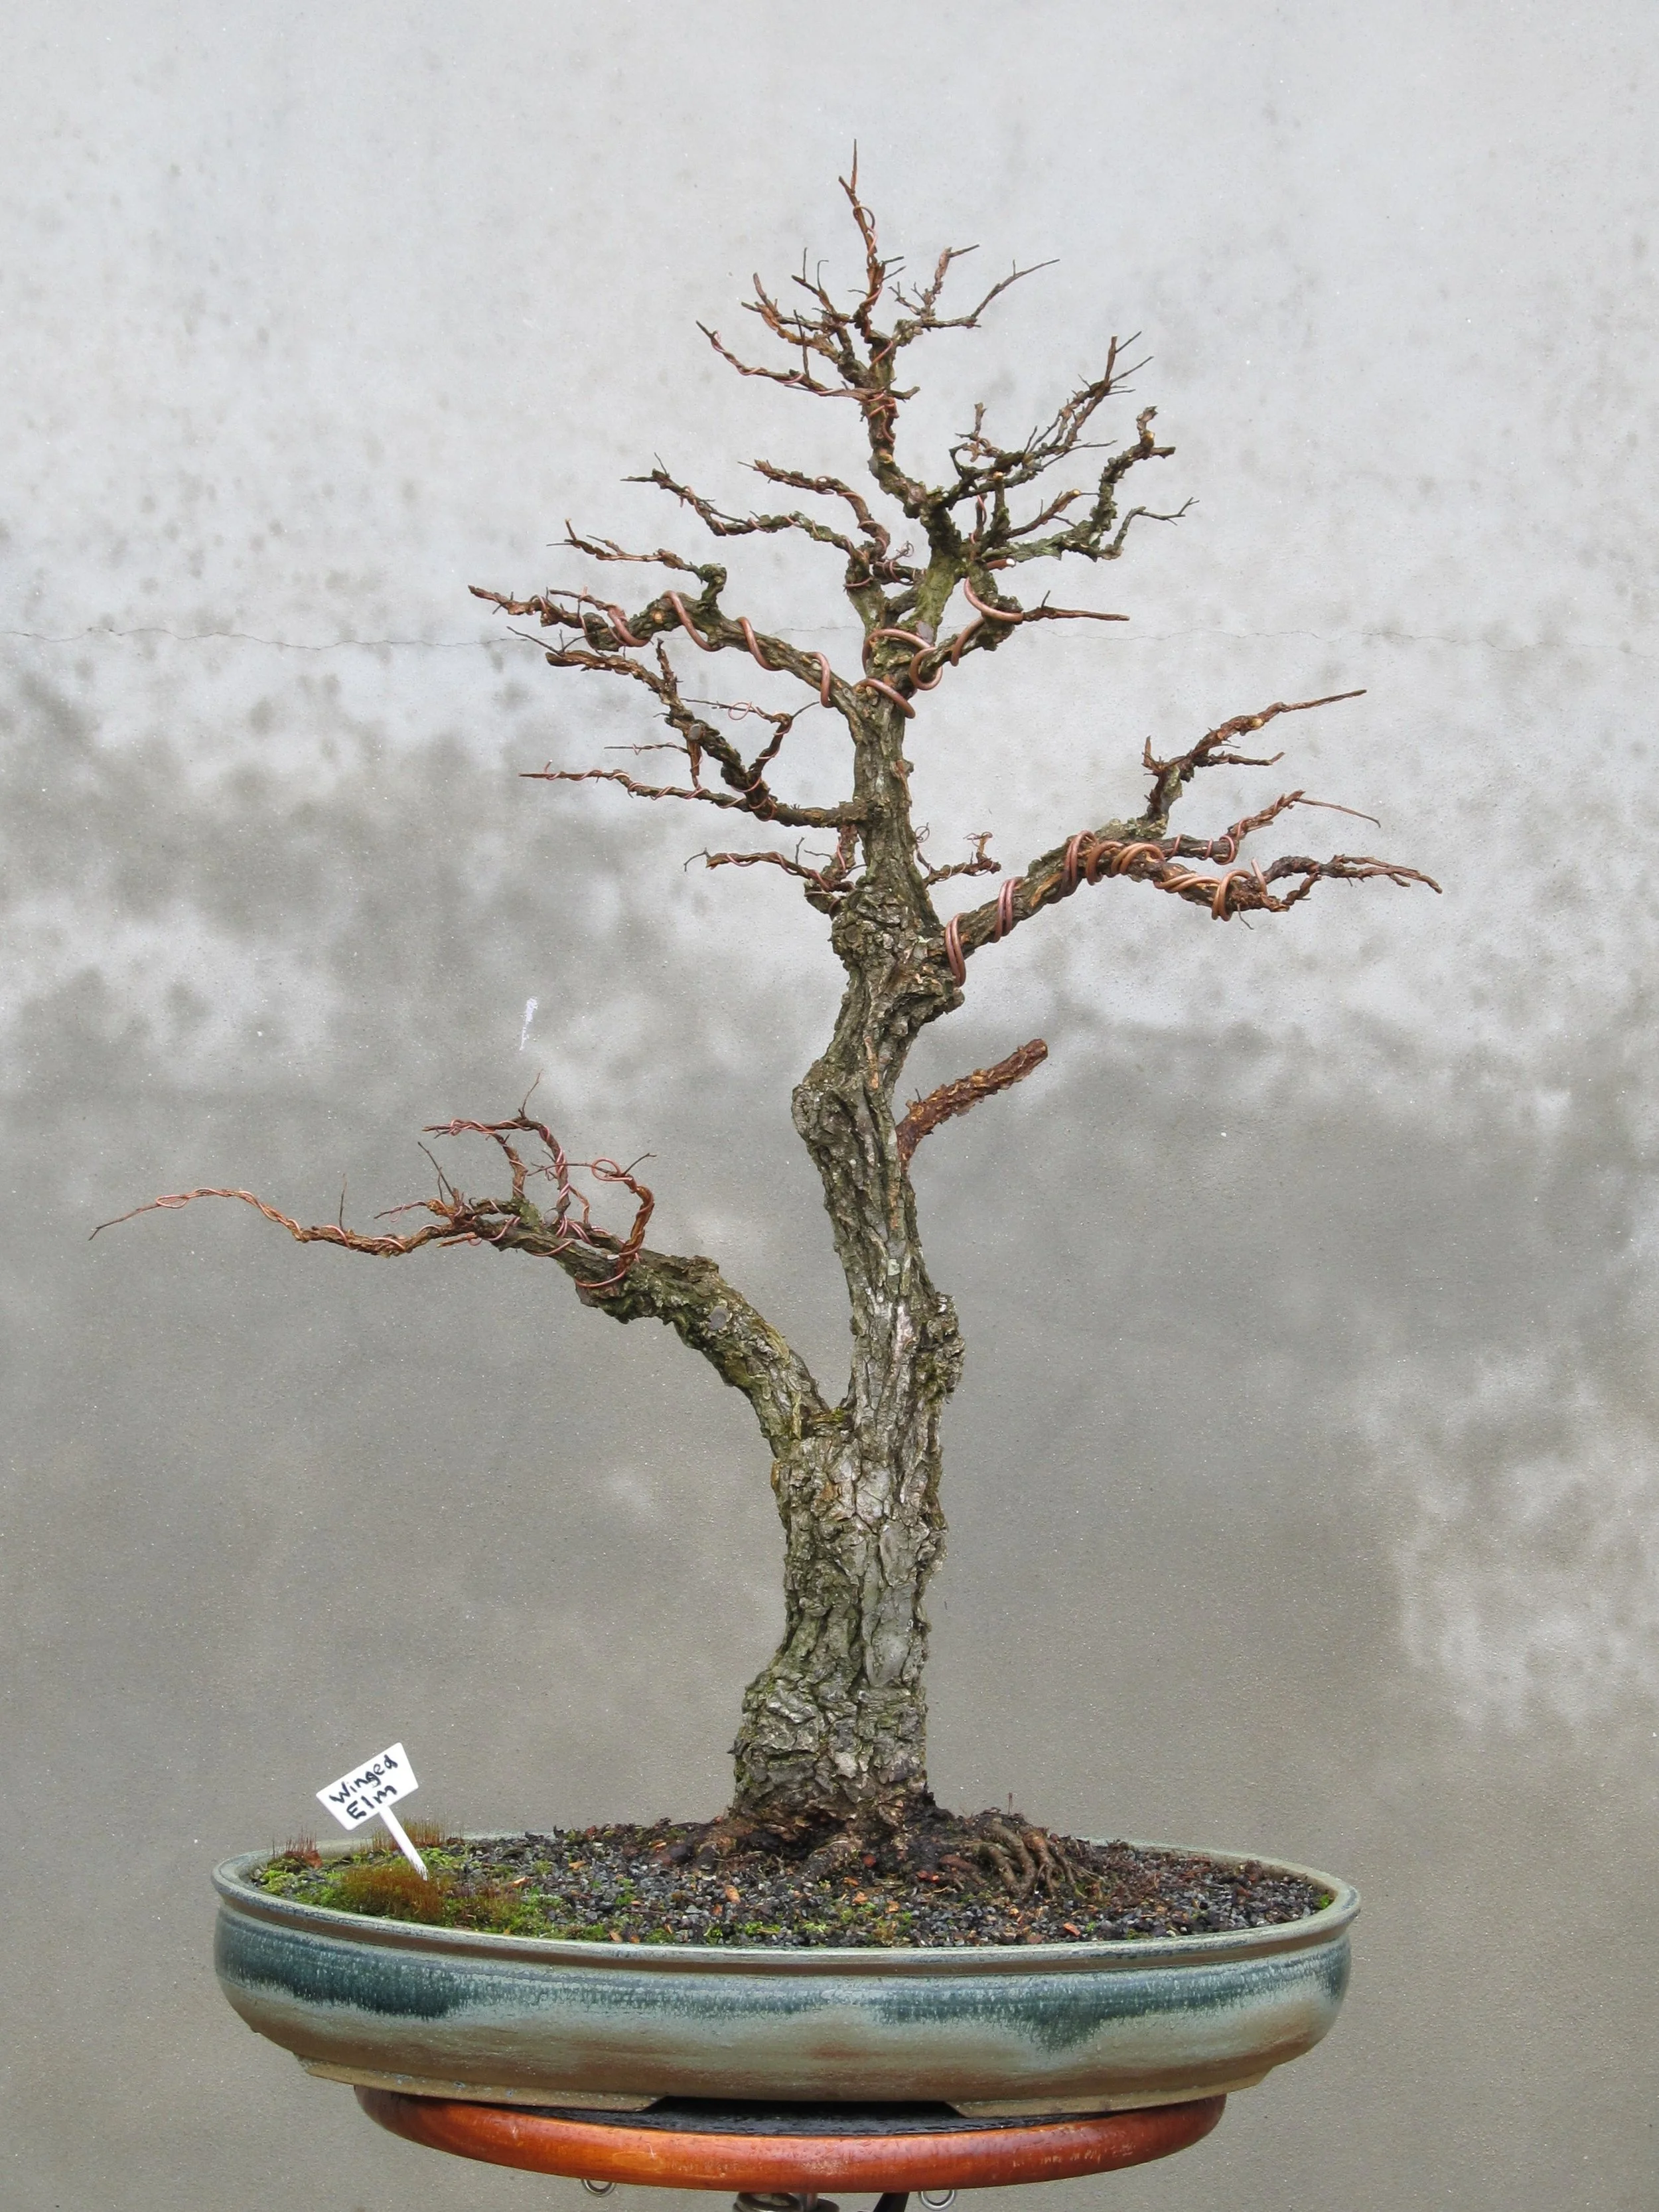
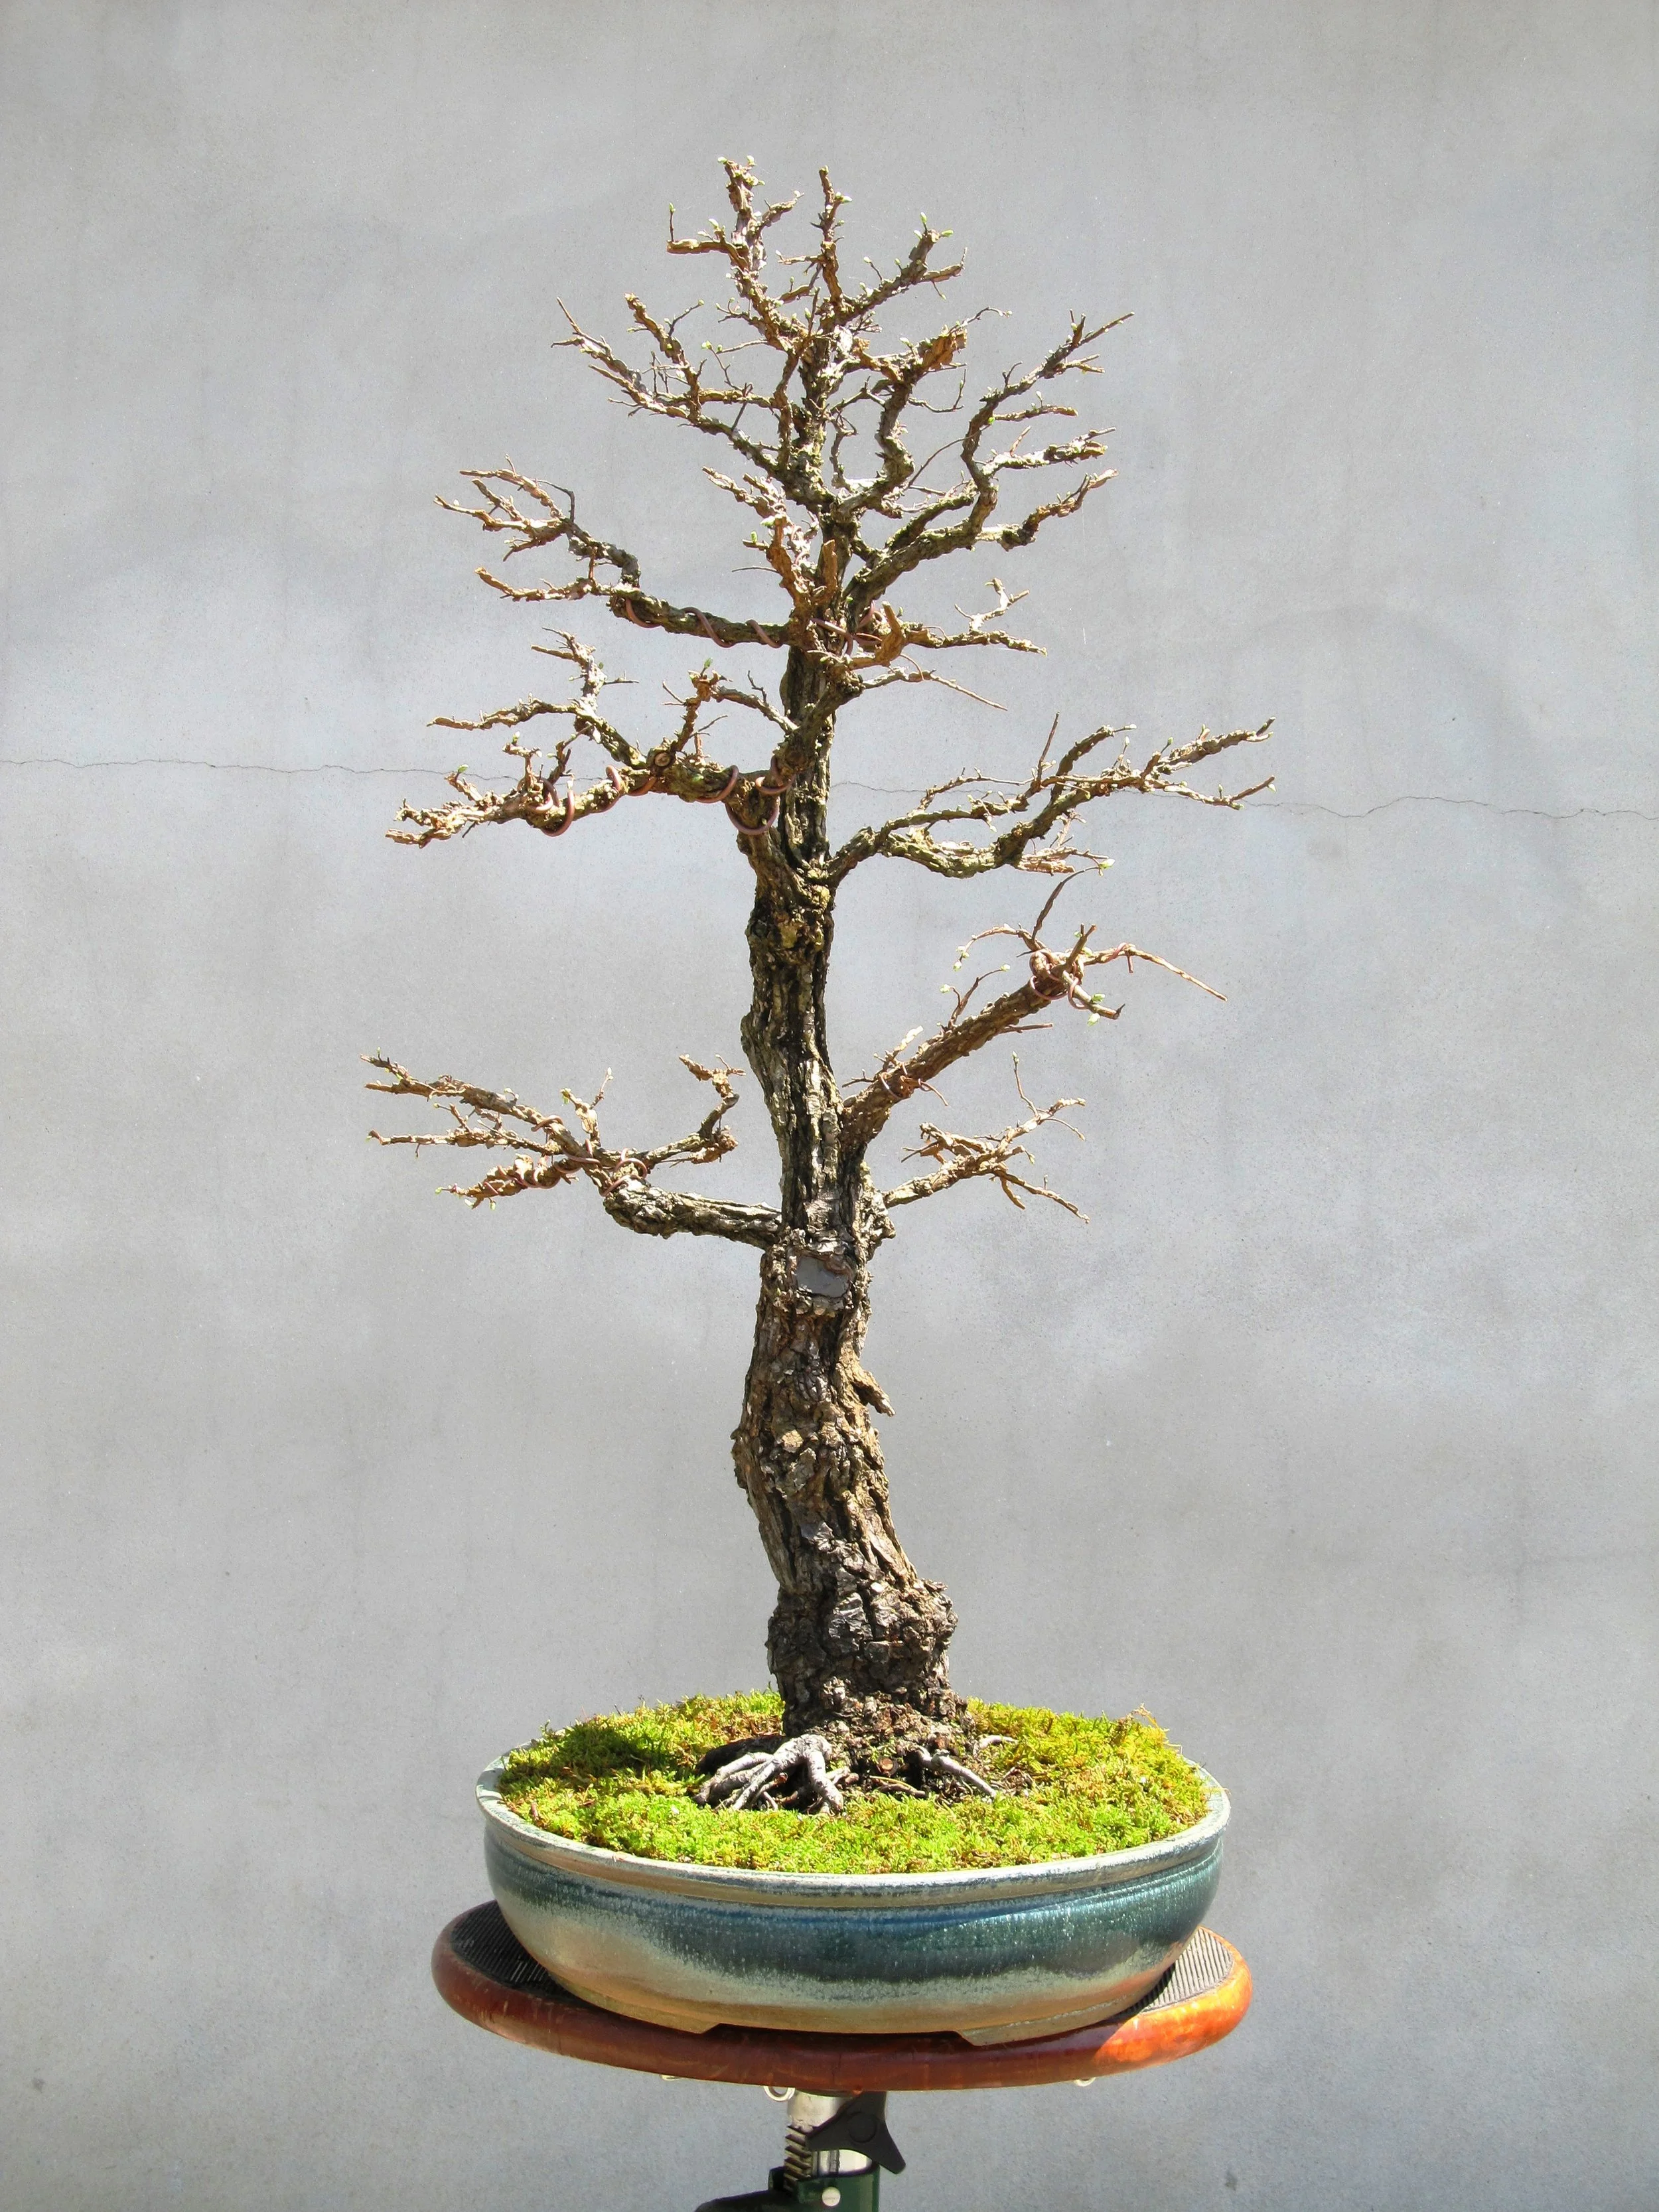
Here is the tree’s appearance as it was just prior to the next year’s growing season (note the wings on the new branch):
February 2012
February 2012
Another set of images from later the same year tracks the progress of the new branch as it continues to develop strongly. The branch has been wired for the first time in order to begin introducing movement. The wire is put on loosely so it can remain in place longer as the branch continues its rapid development:
June 2012
June 2012
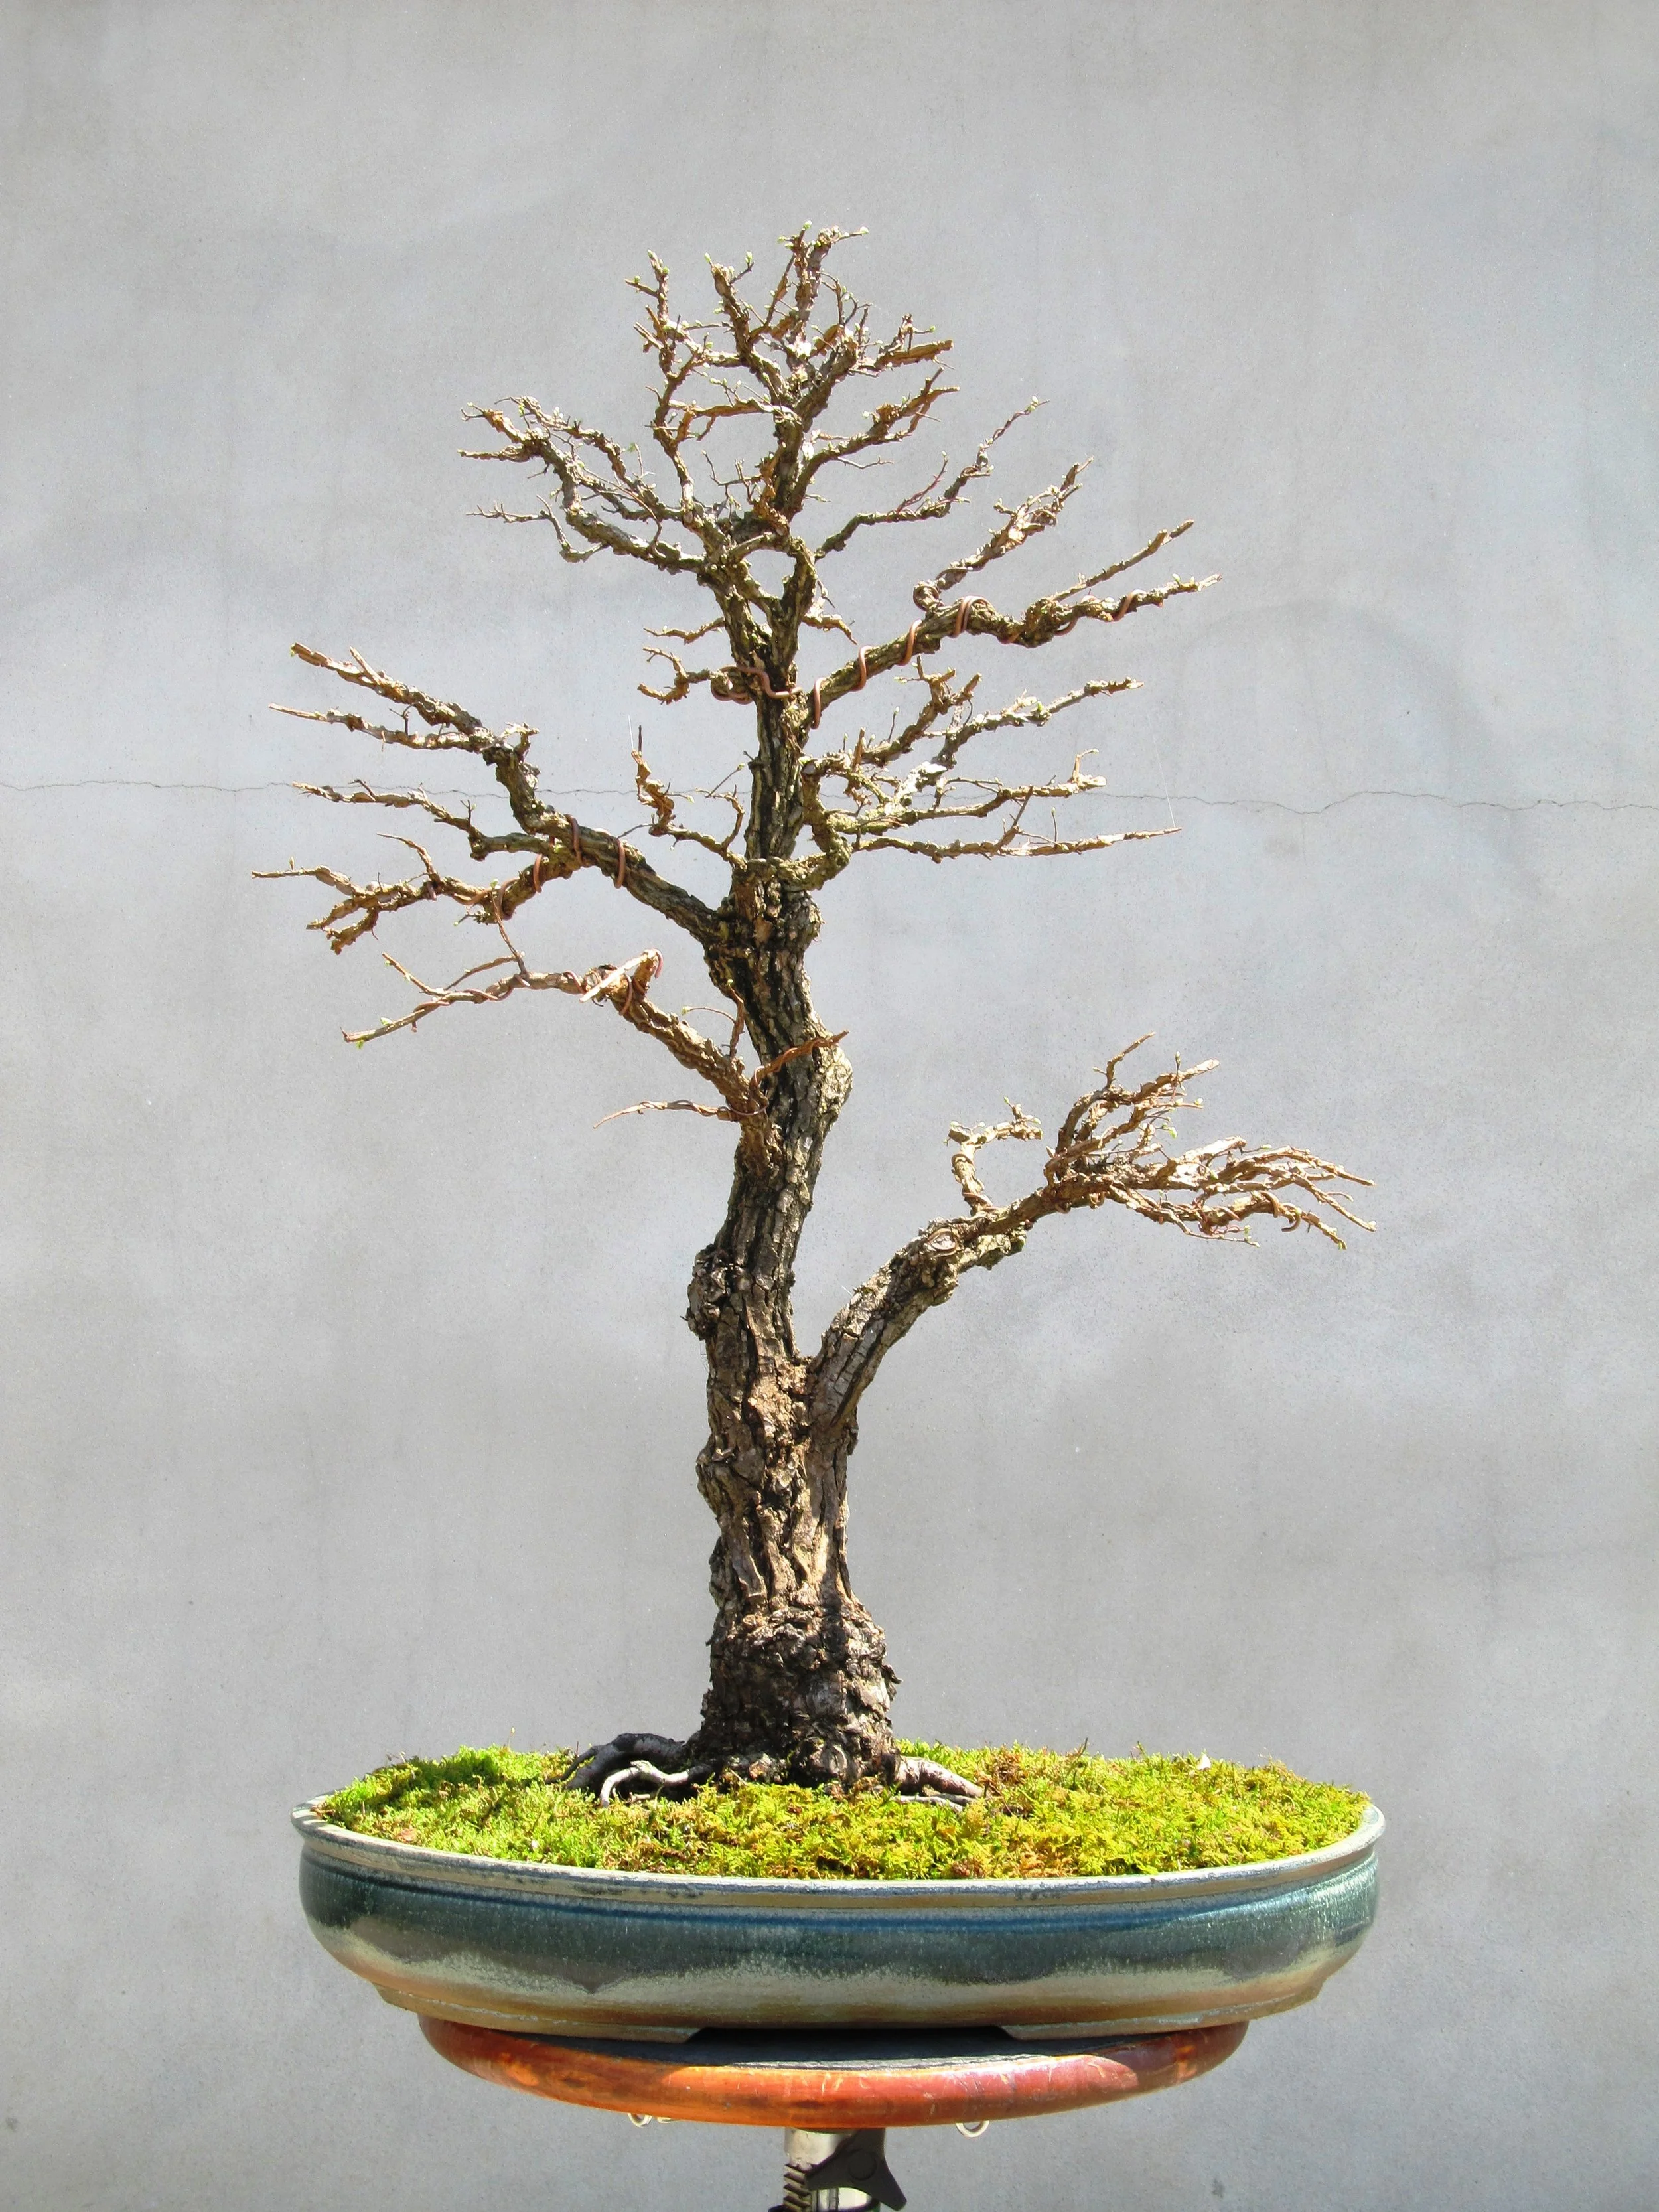
The next two images were made following a work session half a year later, in January. It can be seen that the wire has been removed from the new branch and that branch has been dramatically shortened. The decision to shorten it came about once the branch reached an acceptable size in diameter. Now the work on this branch will shift to developing secondary and eventually tertiary branching coming off of it, in order to give it the right look. Note that all the while this new branch has been in development, work has simultaneously continued to improve the definition of all branches on the tree:
January 2013
January 2013
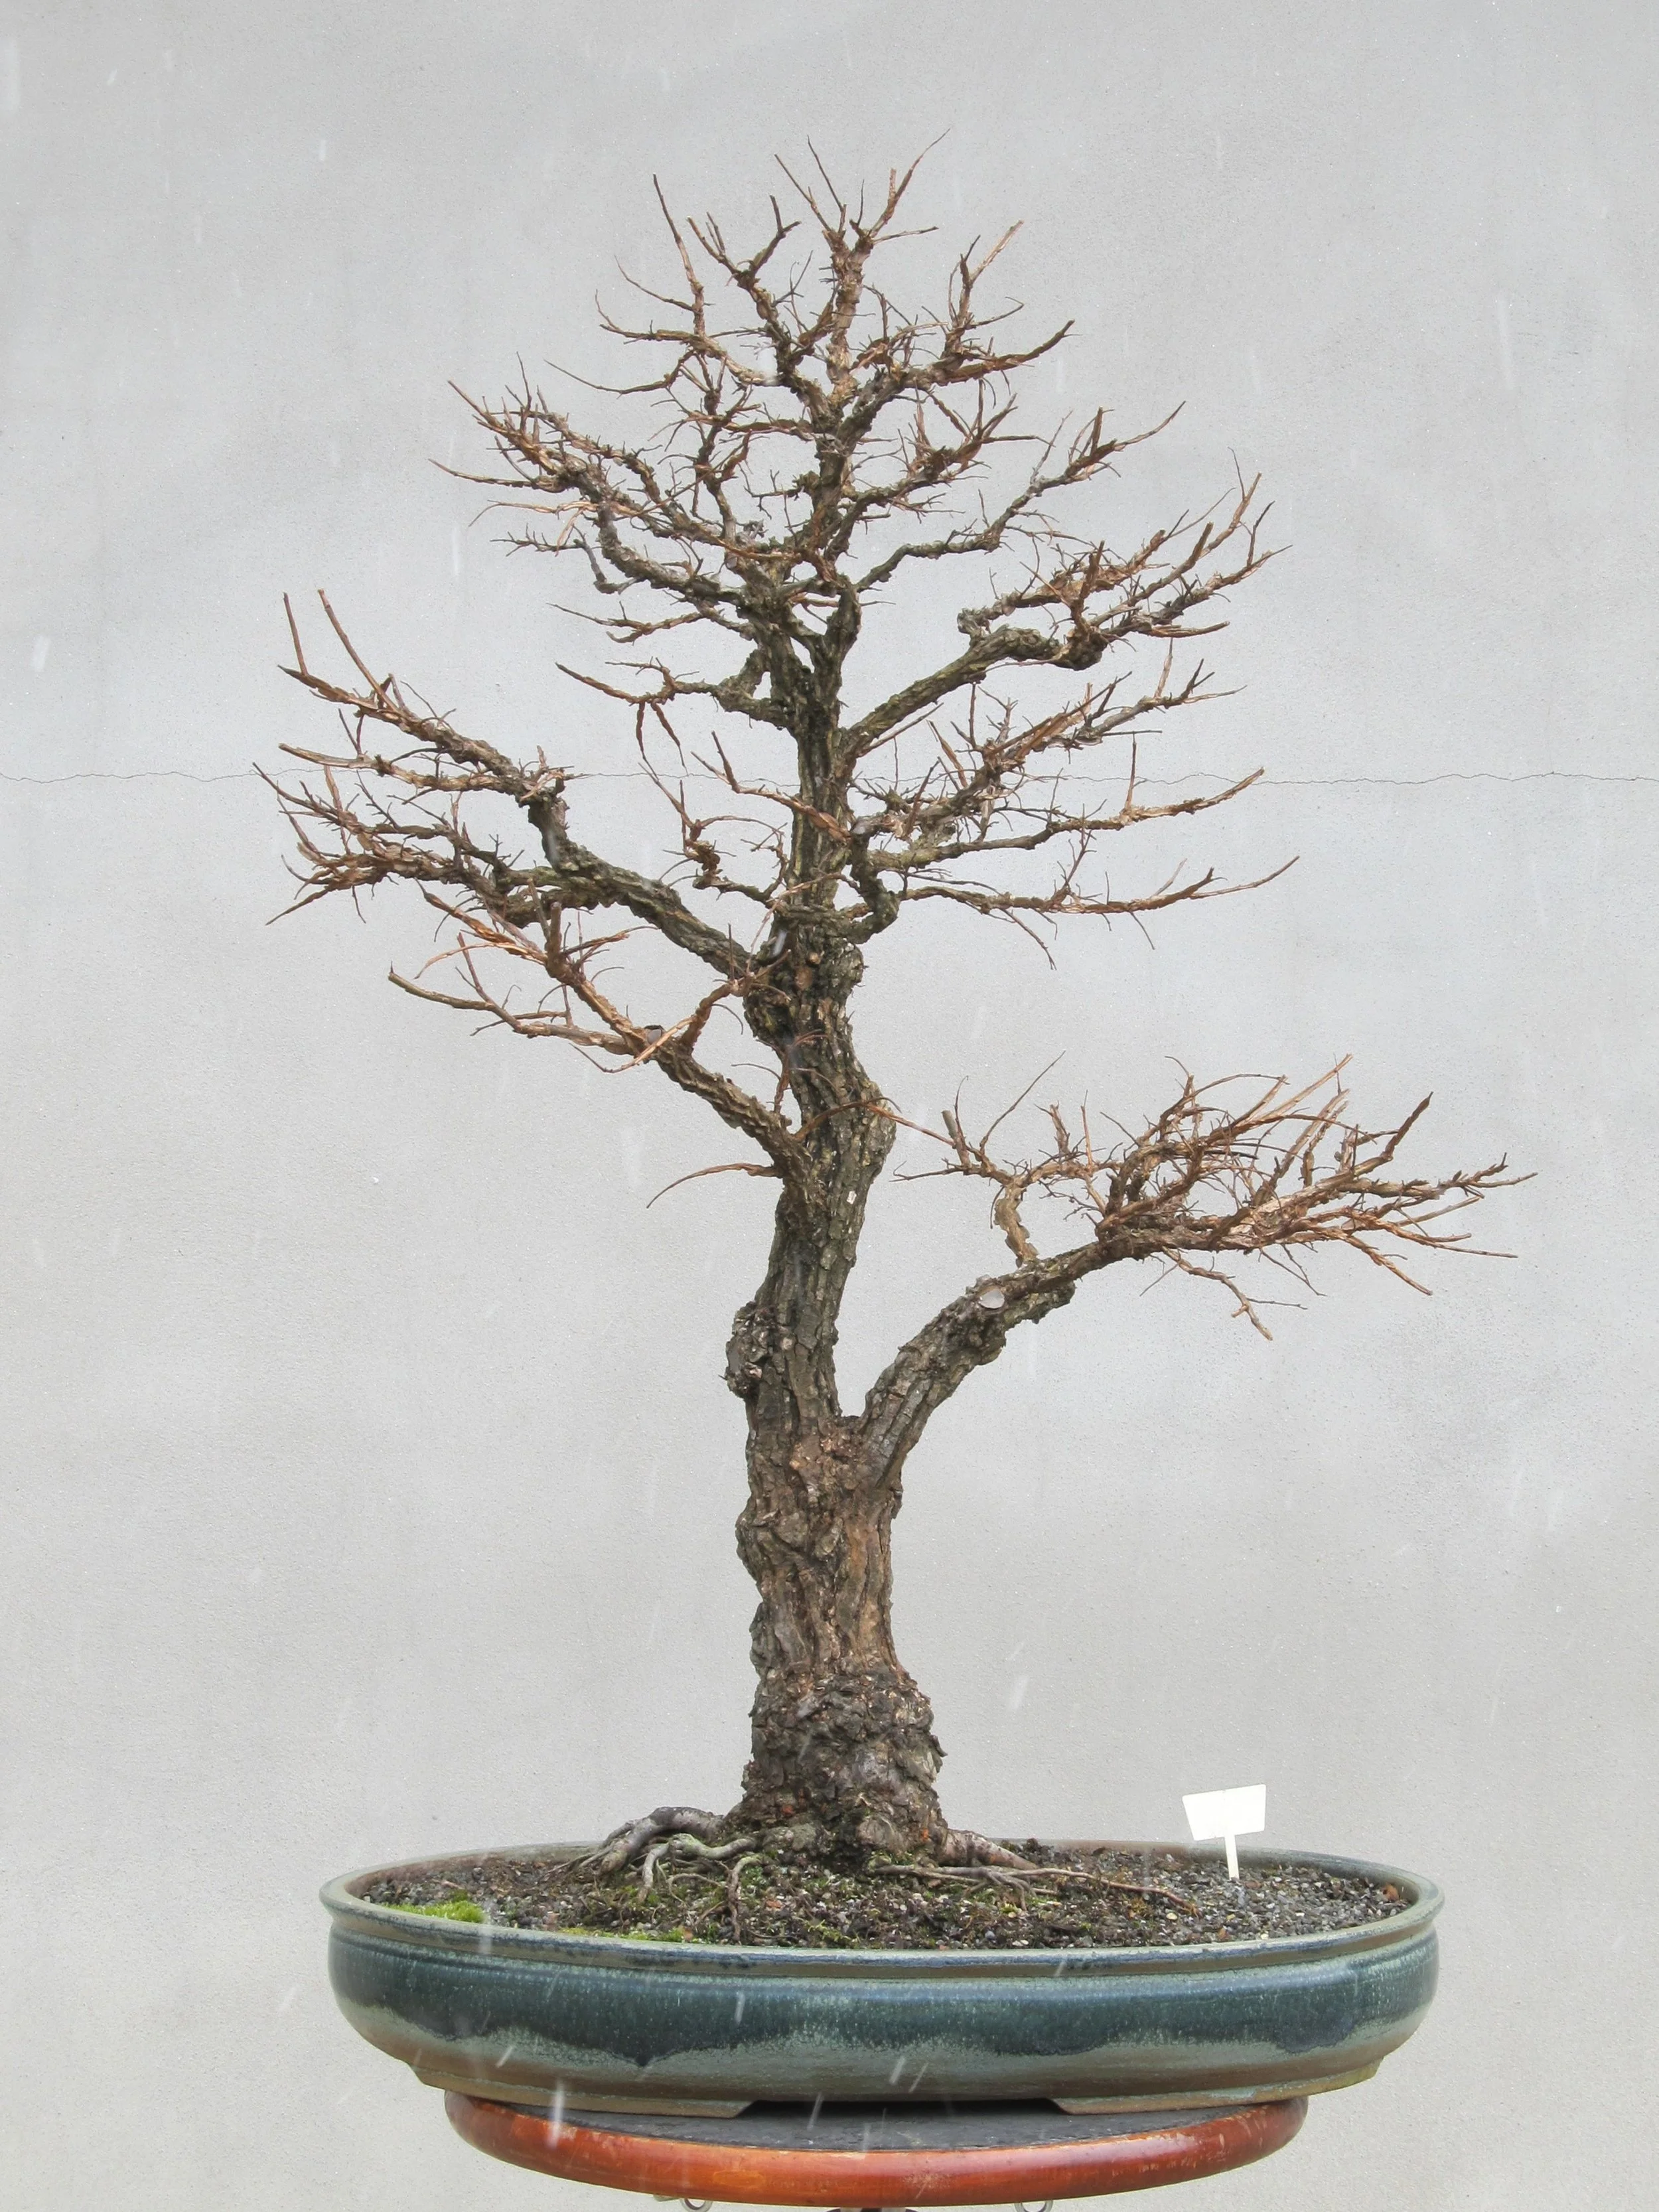
At the end of the 2013 growing season, for the first time, a set of four images were made to depict an in-the-round view of the winged elm:
May 2013
May 2013
May 2013
May 2013
I had begun to see this specimen as being equally presentable from two different vantage points. Hereafter the elm was styled with that desirable presentation flexibility in mind. Here’s another in-the-round set of images from early spring of 2015, showing the state of development prior to a styling session:
March 2015
March 2015
March 2015
March 2015
A corresponding set of images to the ones above, showing the results of that year’s spring styling:
April 2015
April 2015
April 2015
April 2015
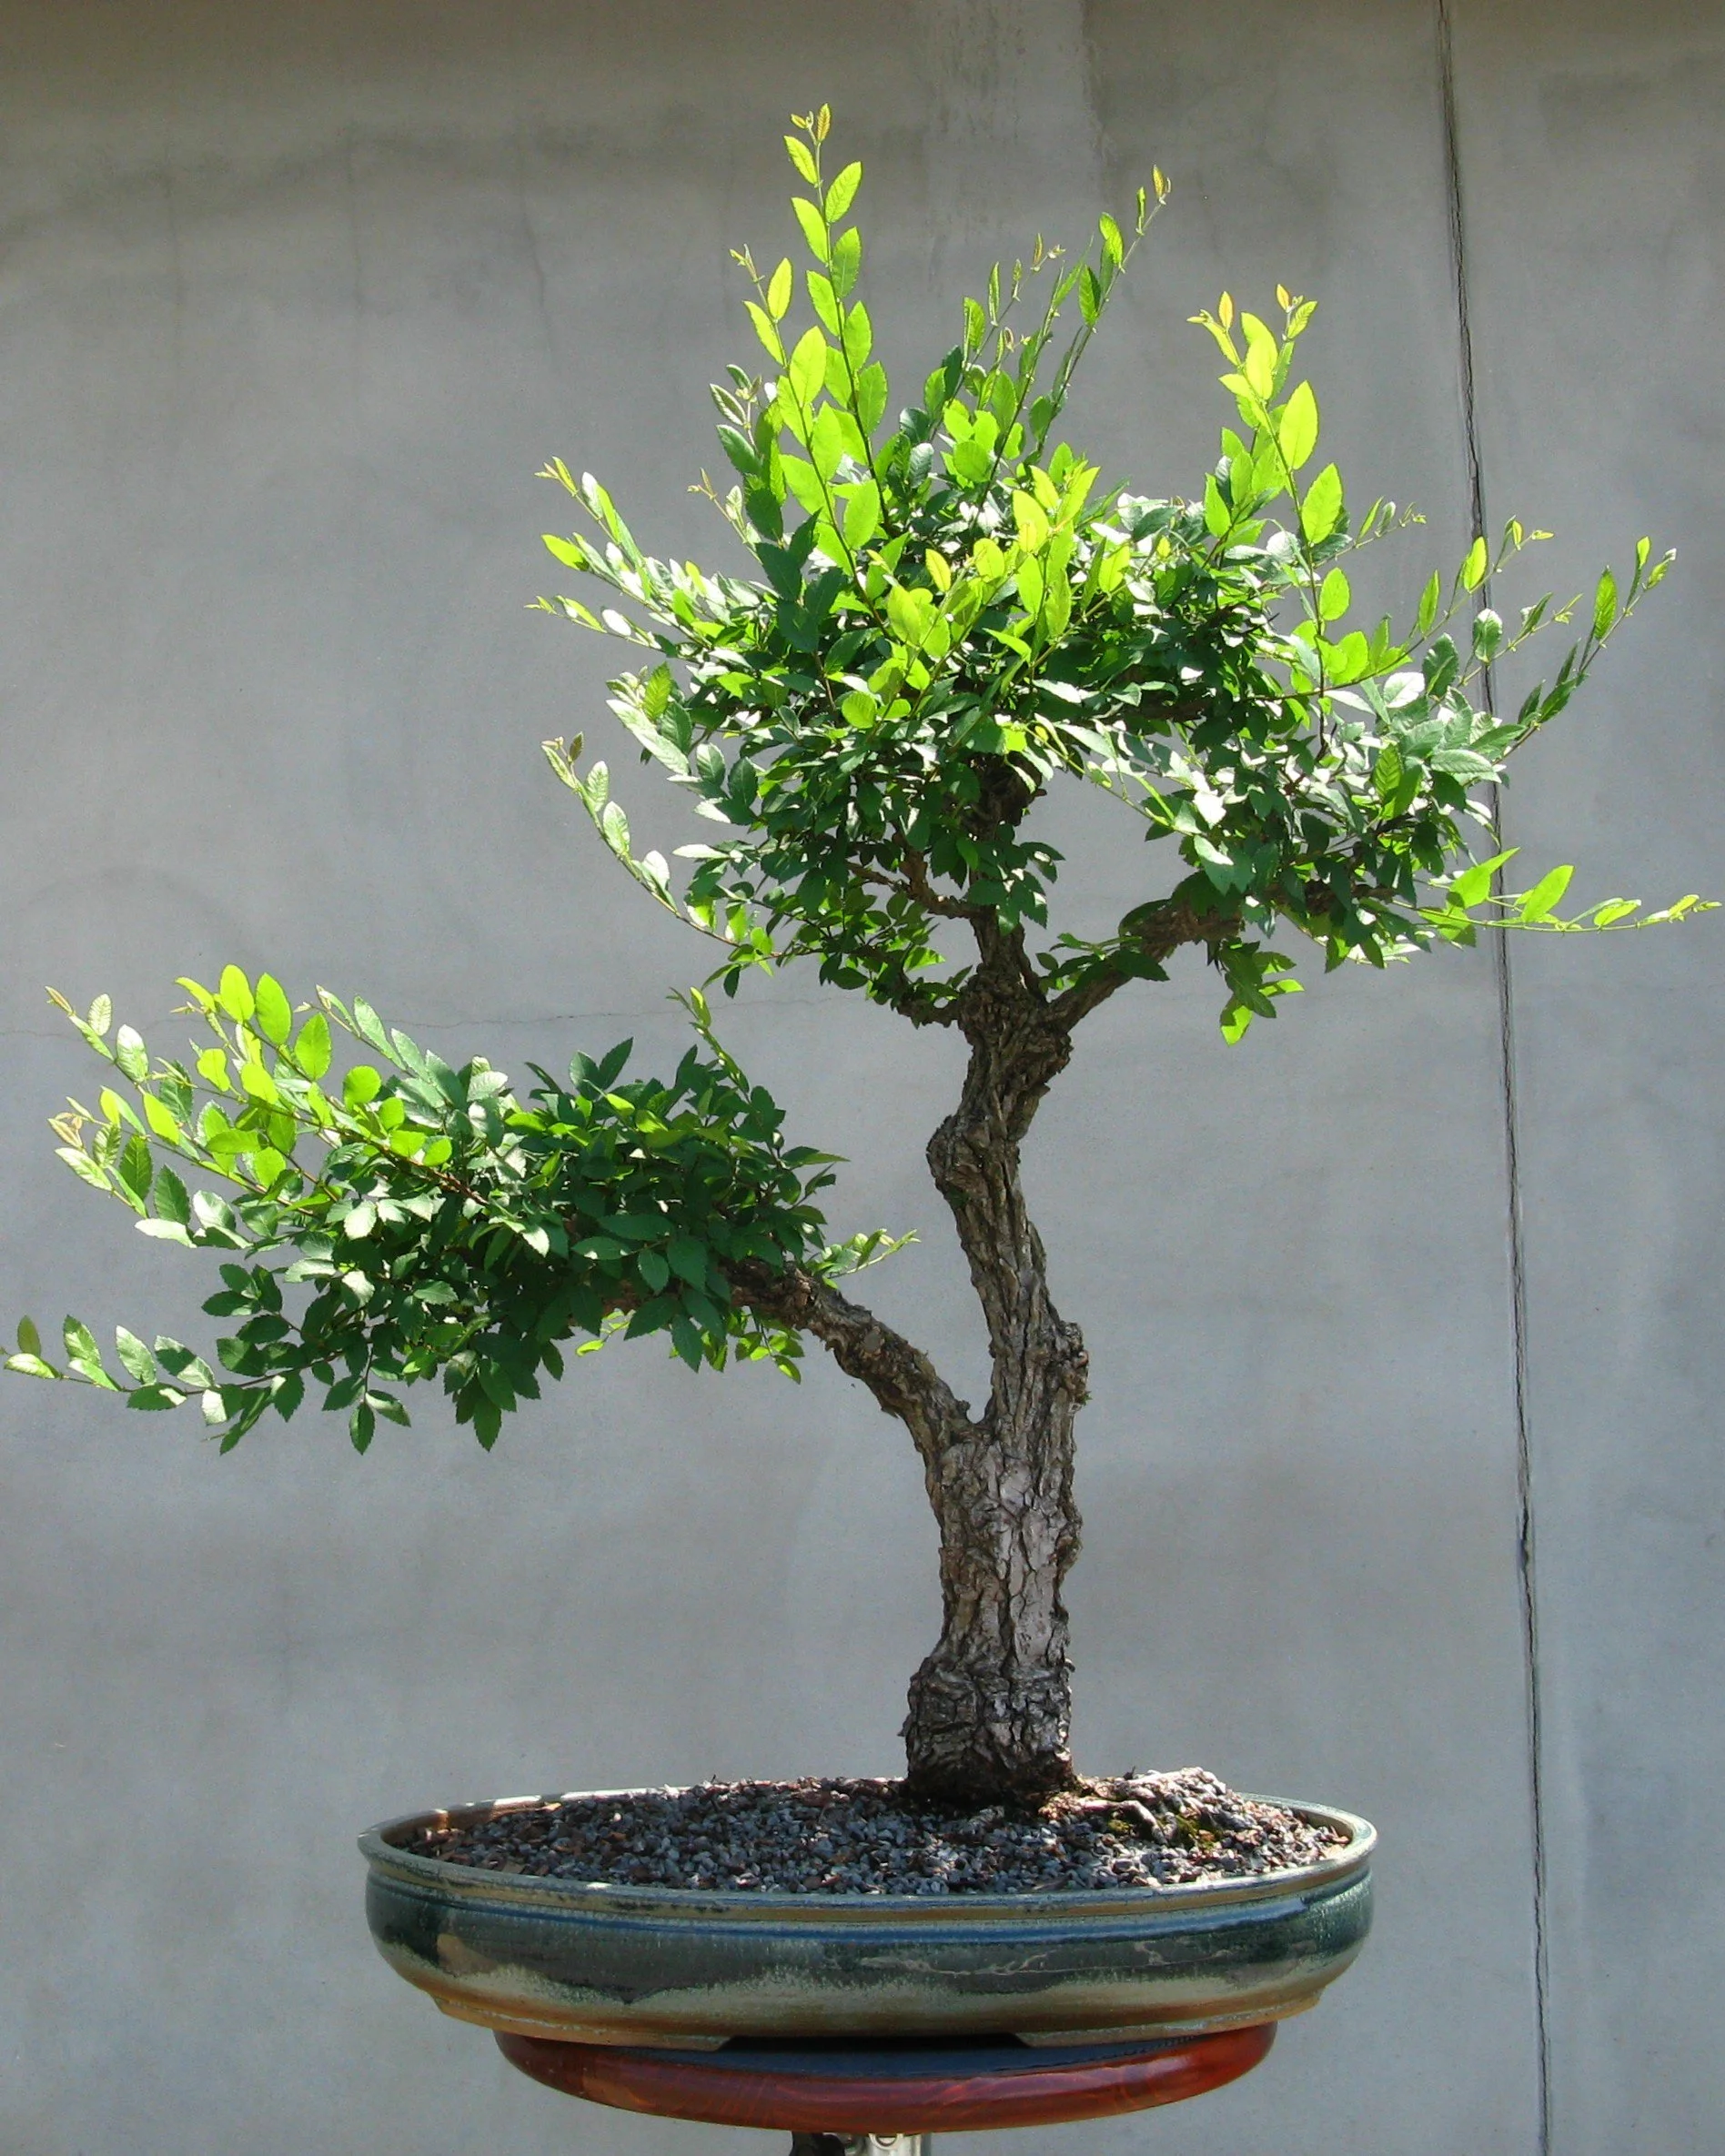
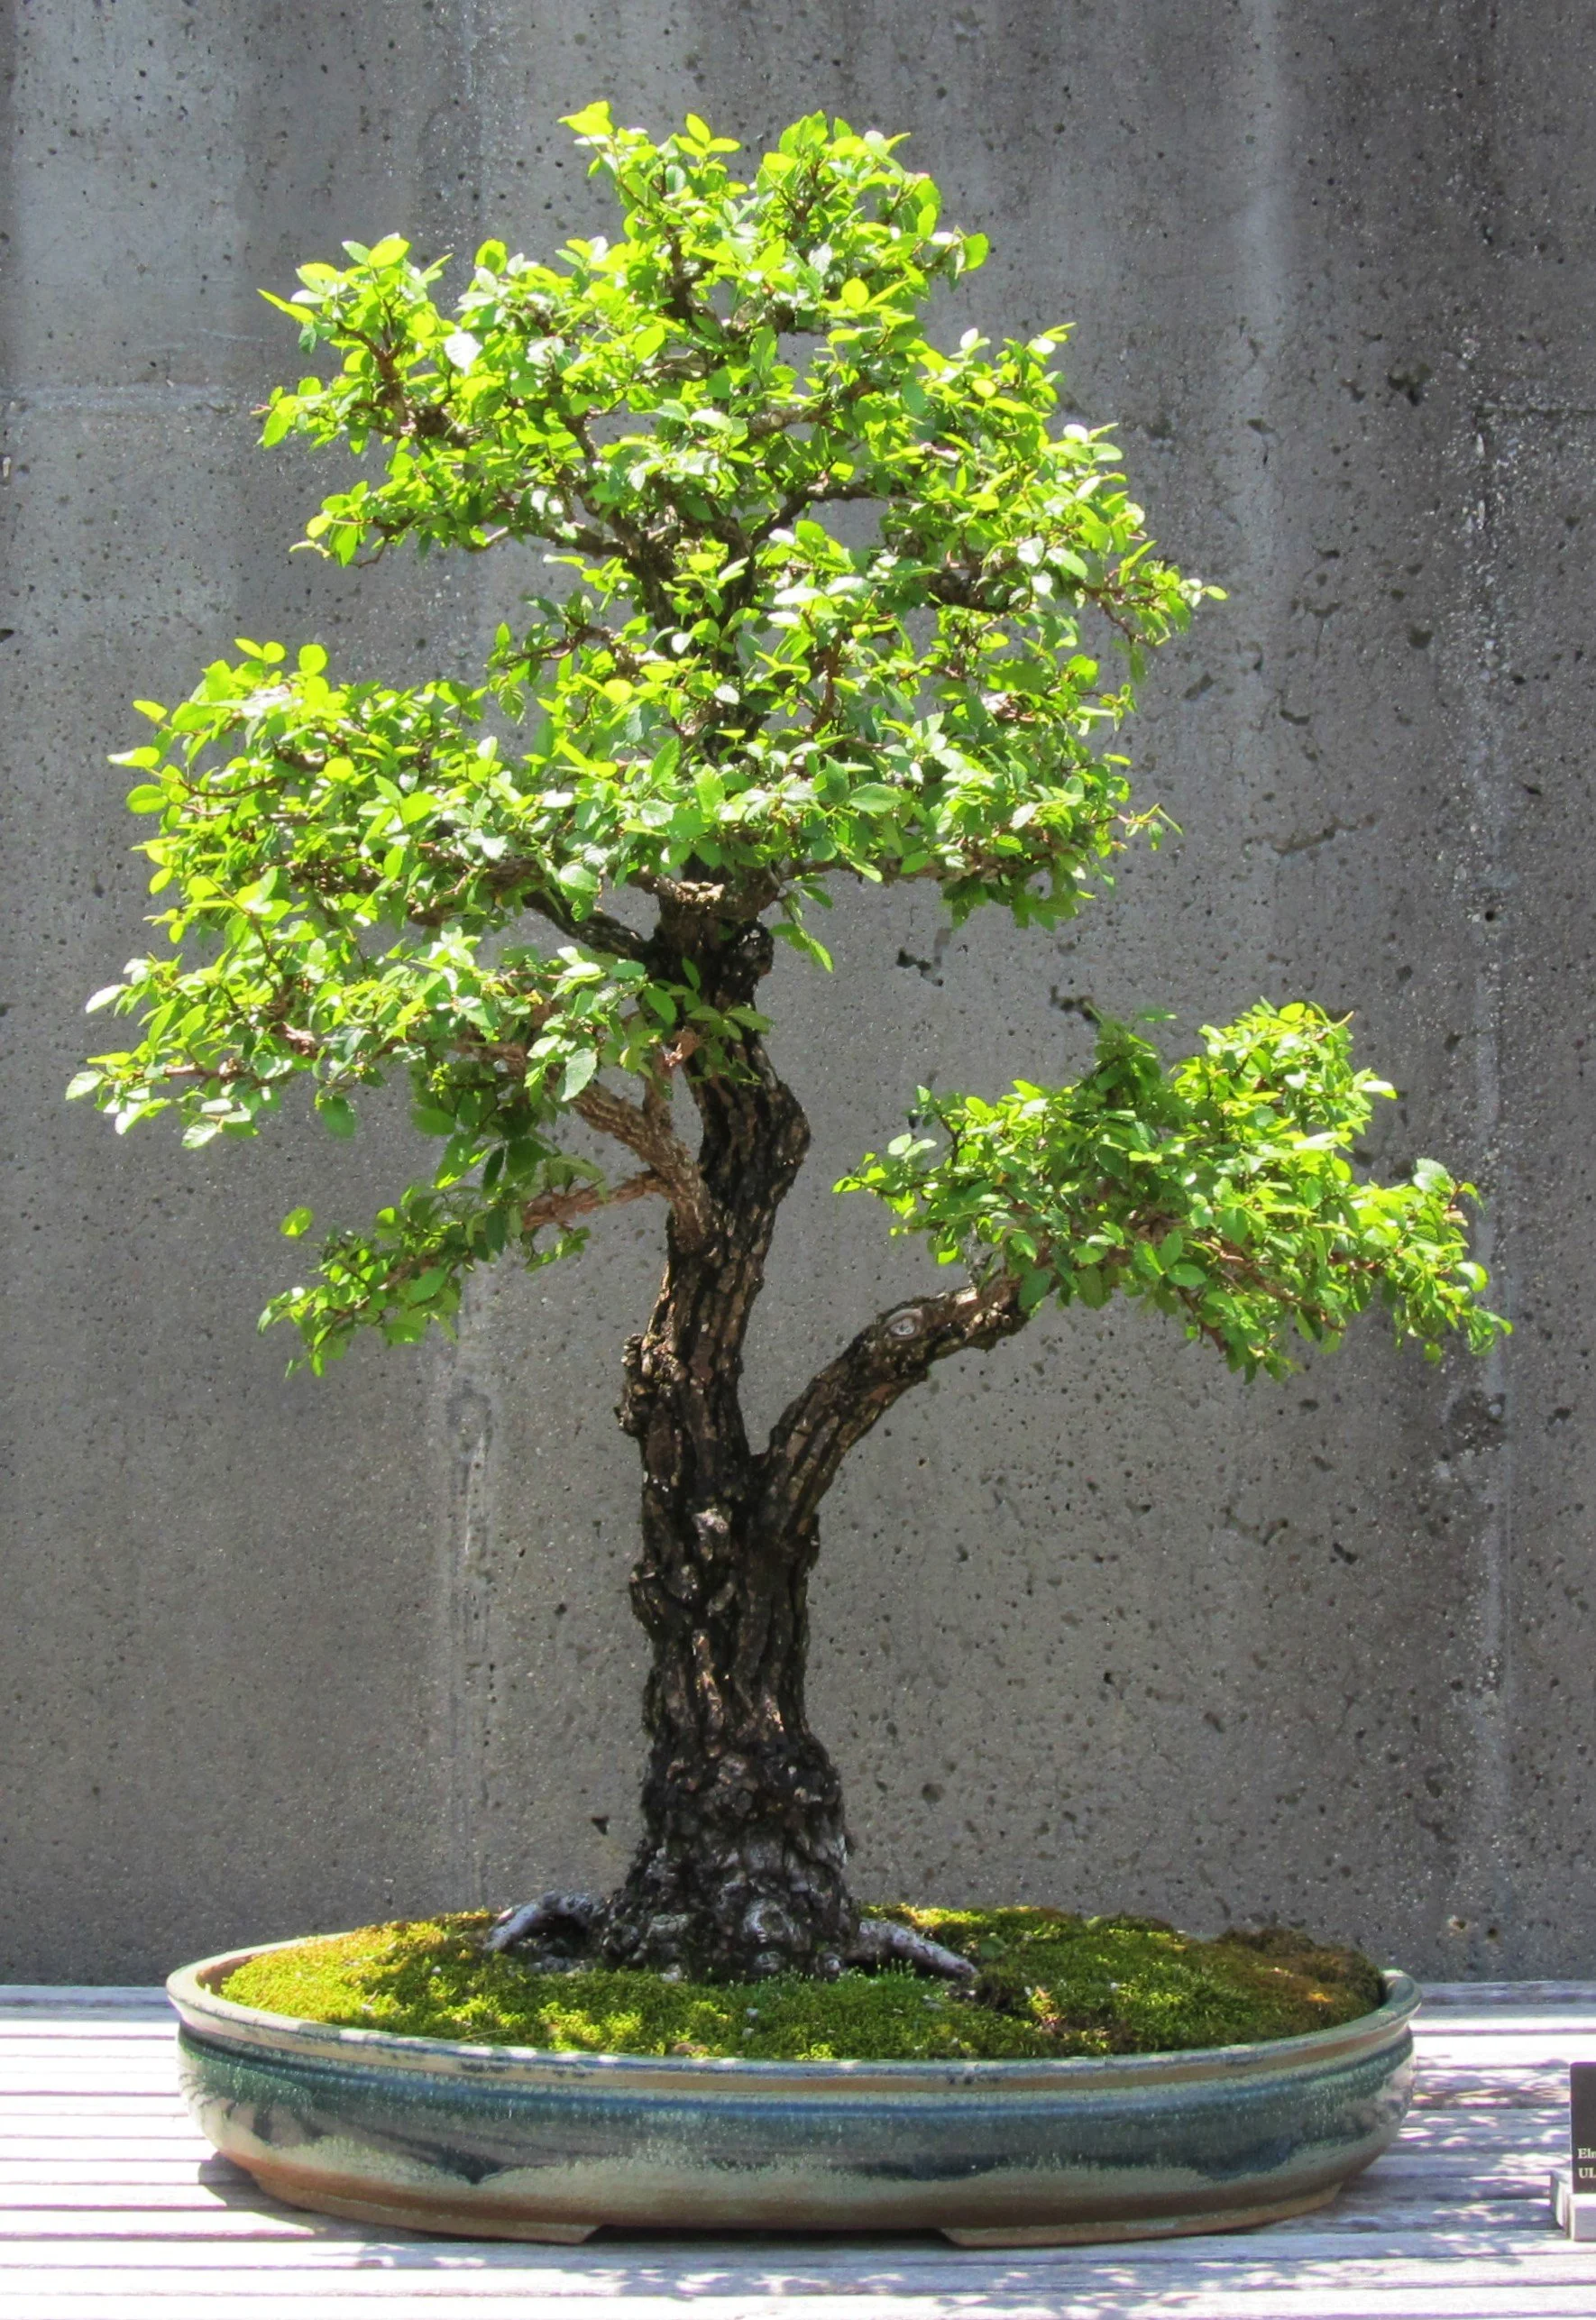
That same spring the winged elm made its return to display in the bonsai garden after a six-year hiatus. Both of the following images were made in the month of April, just two weeks apart:
April 2015
April 2015
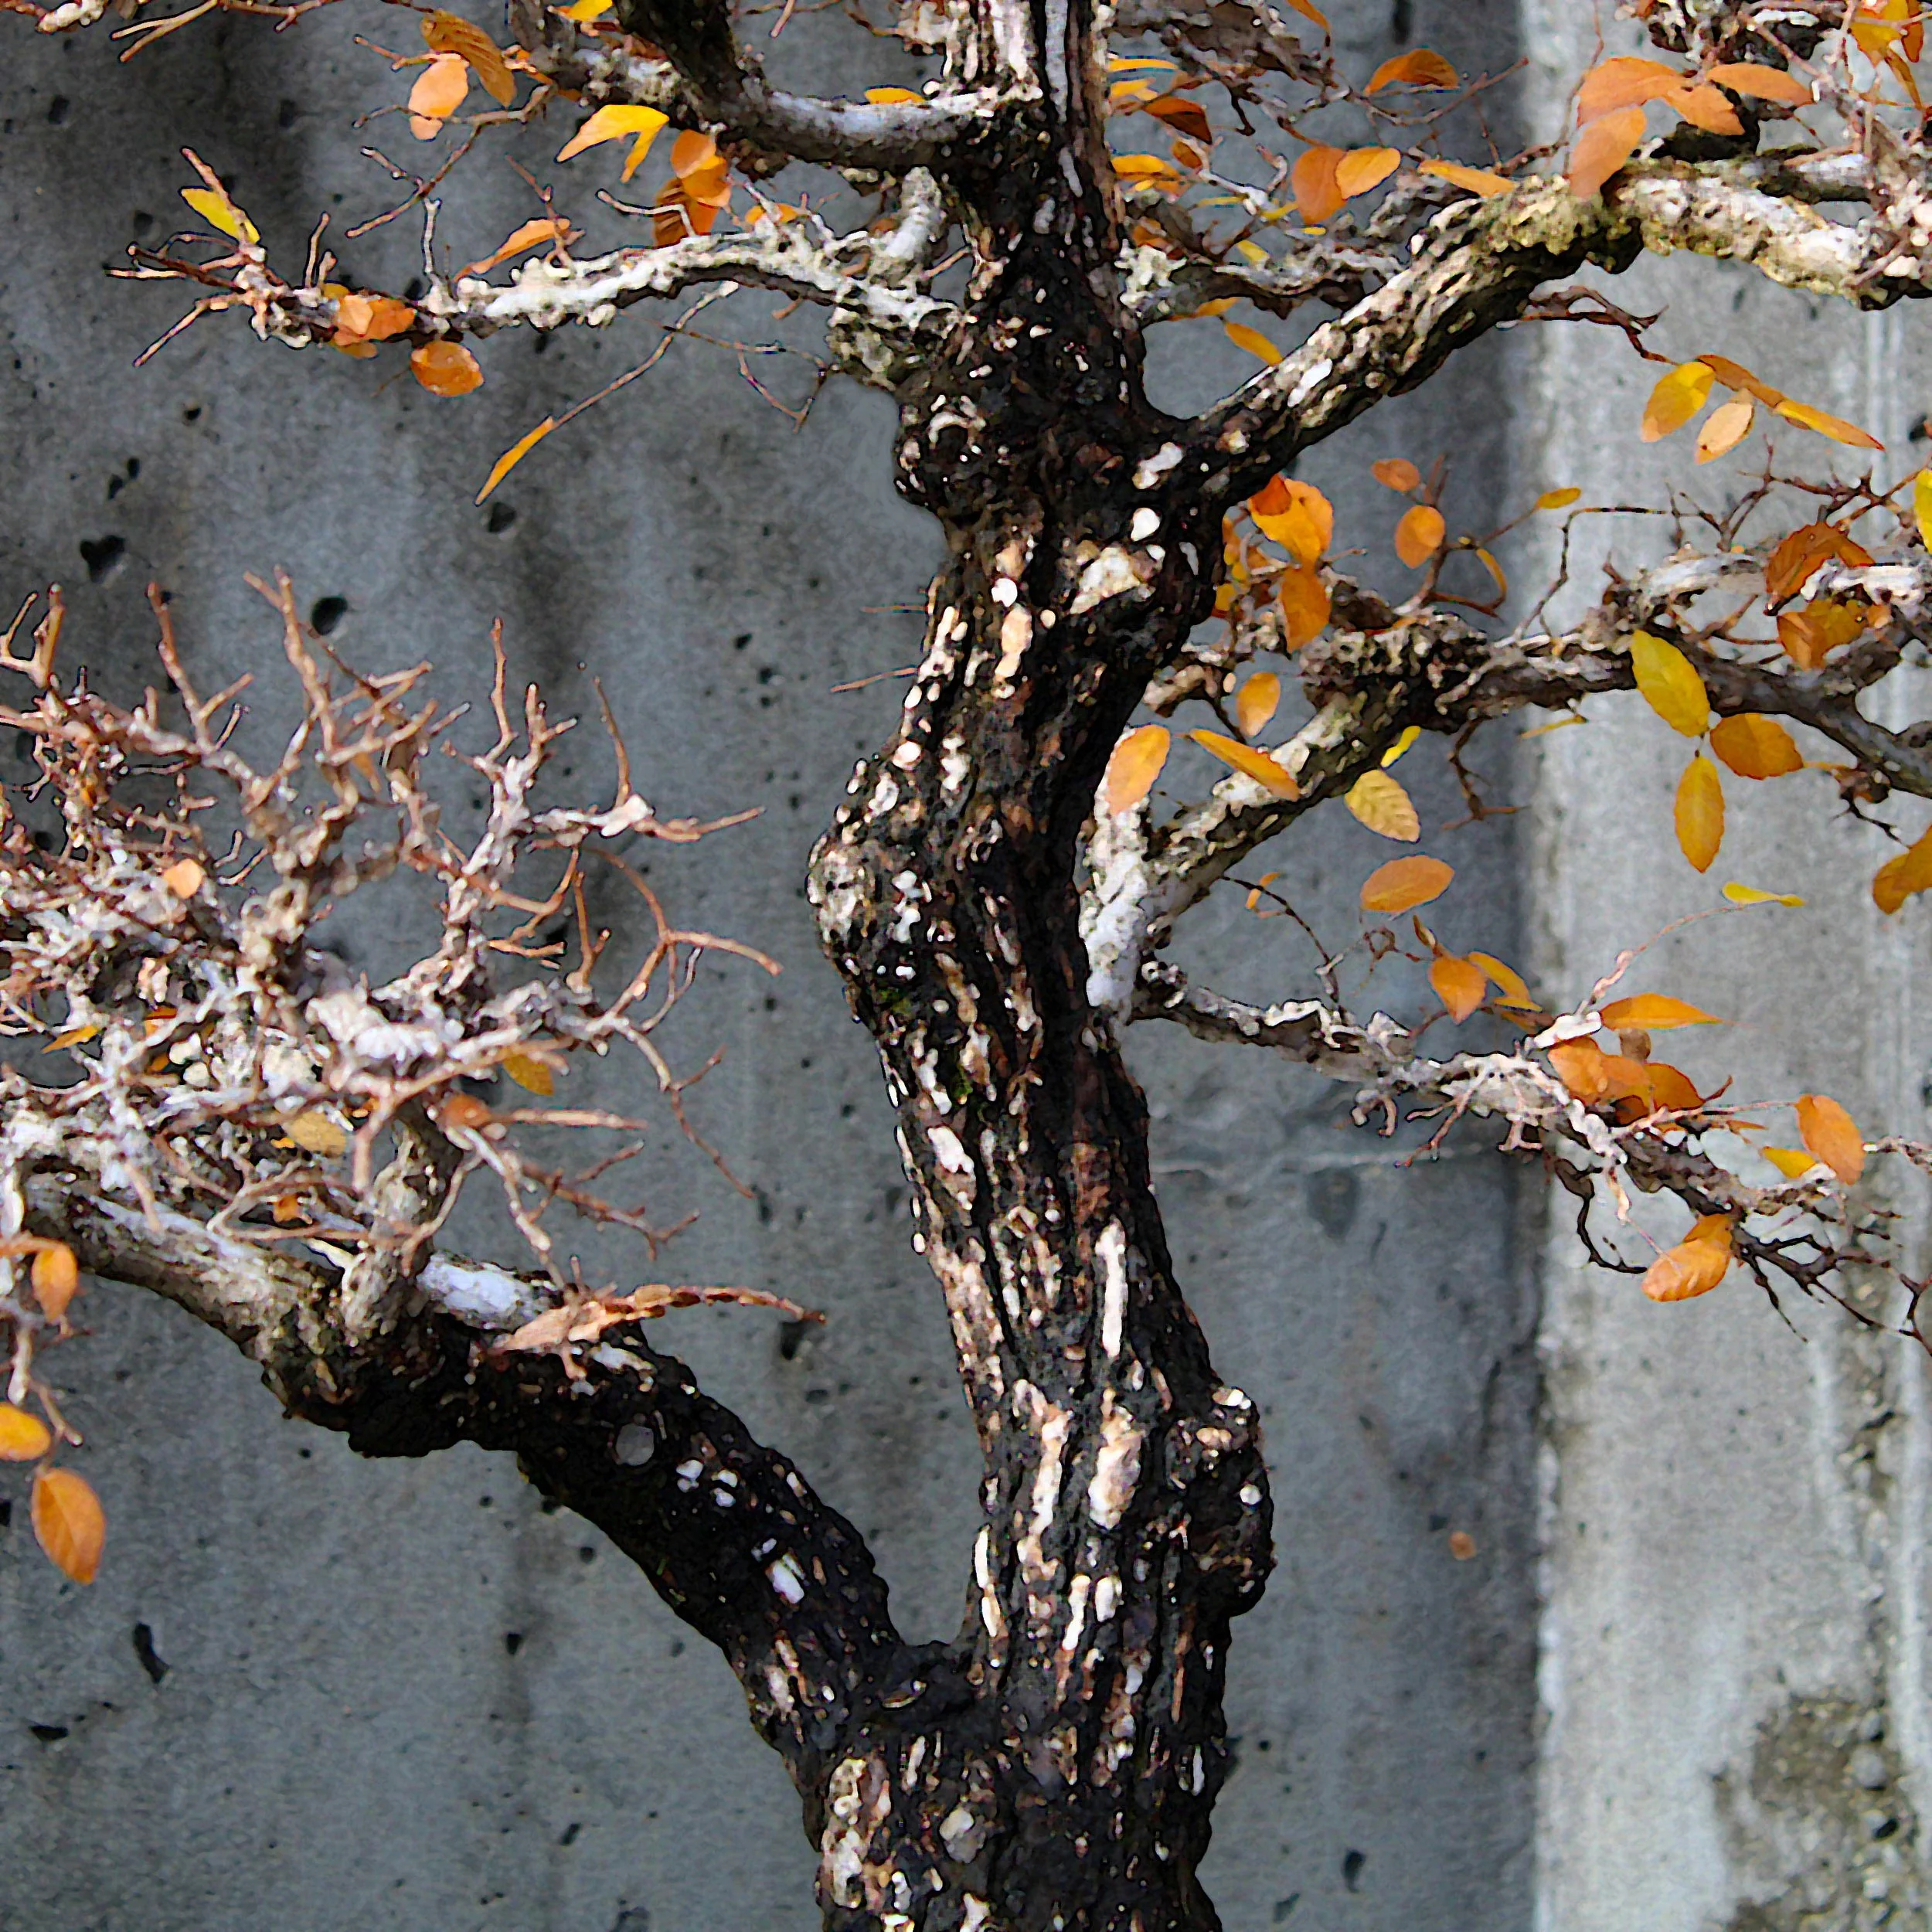
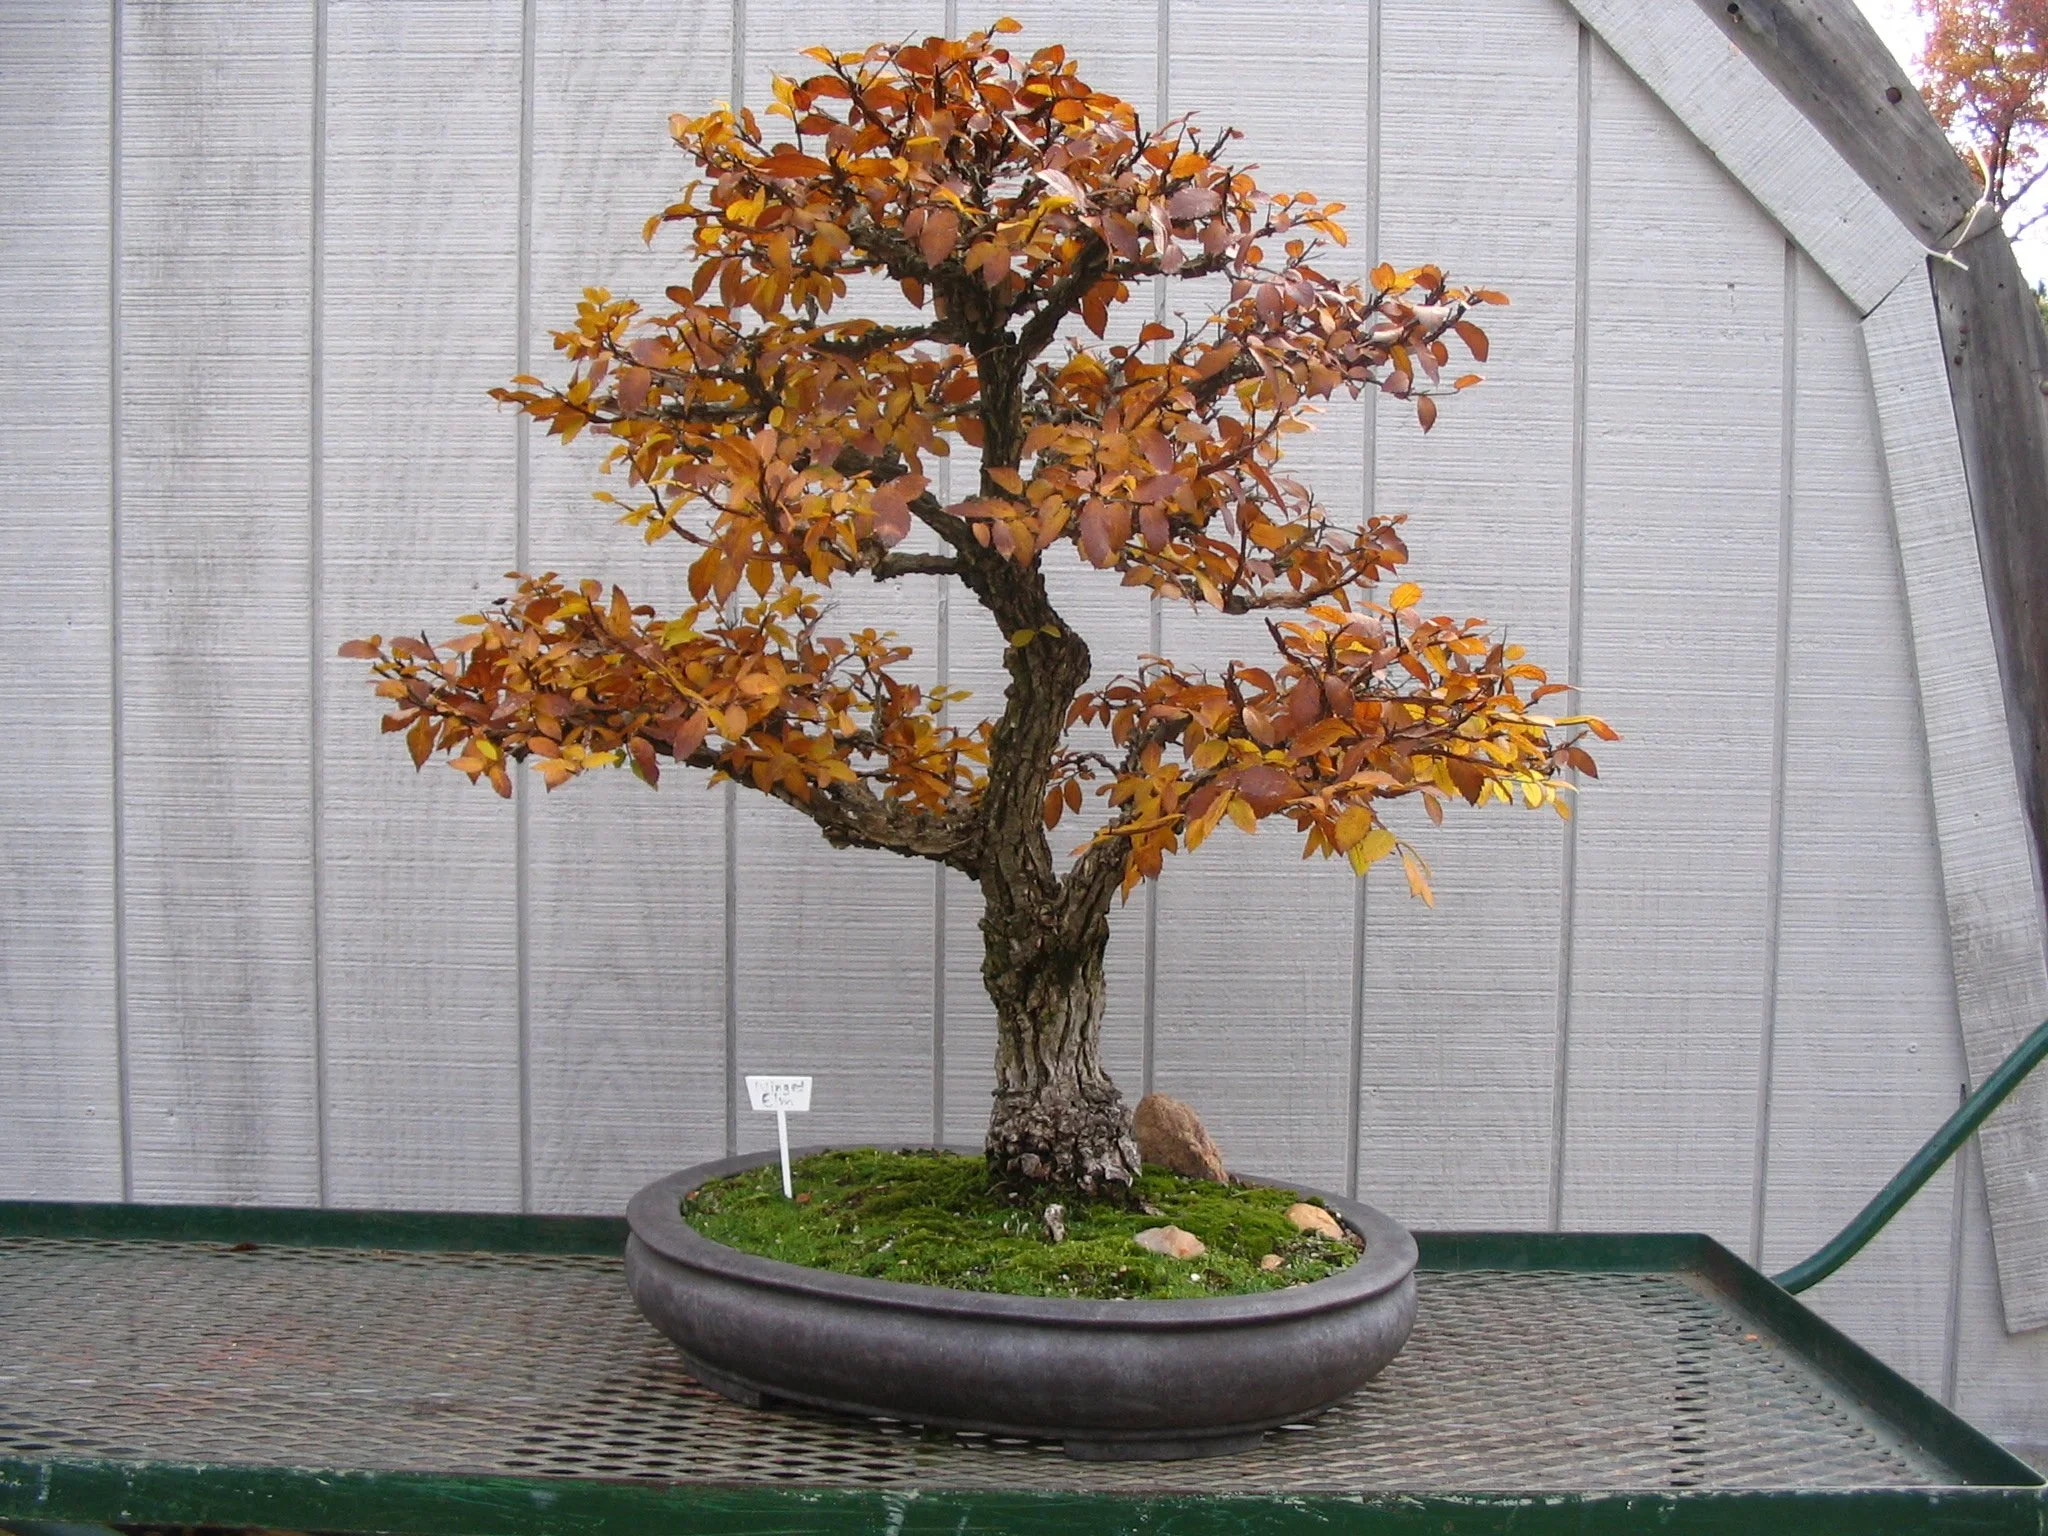
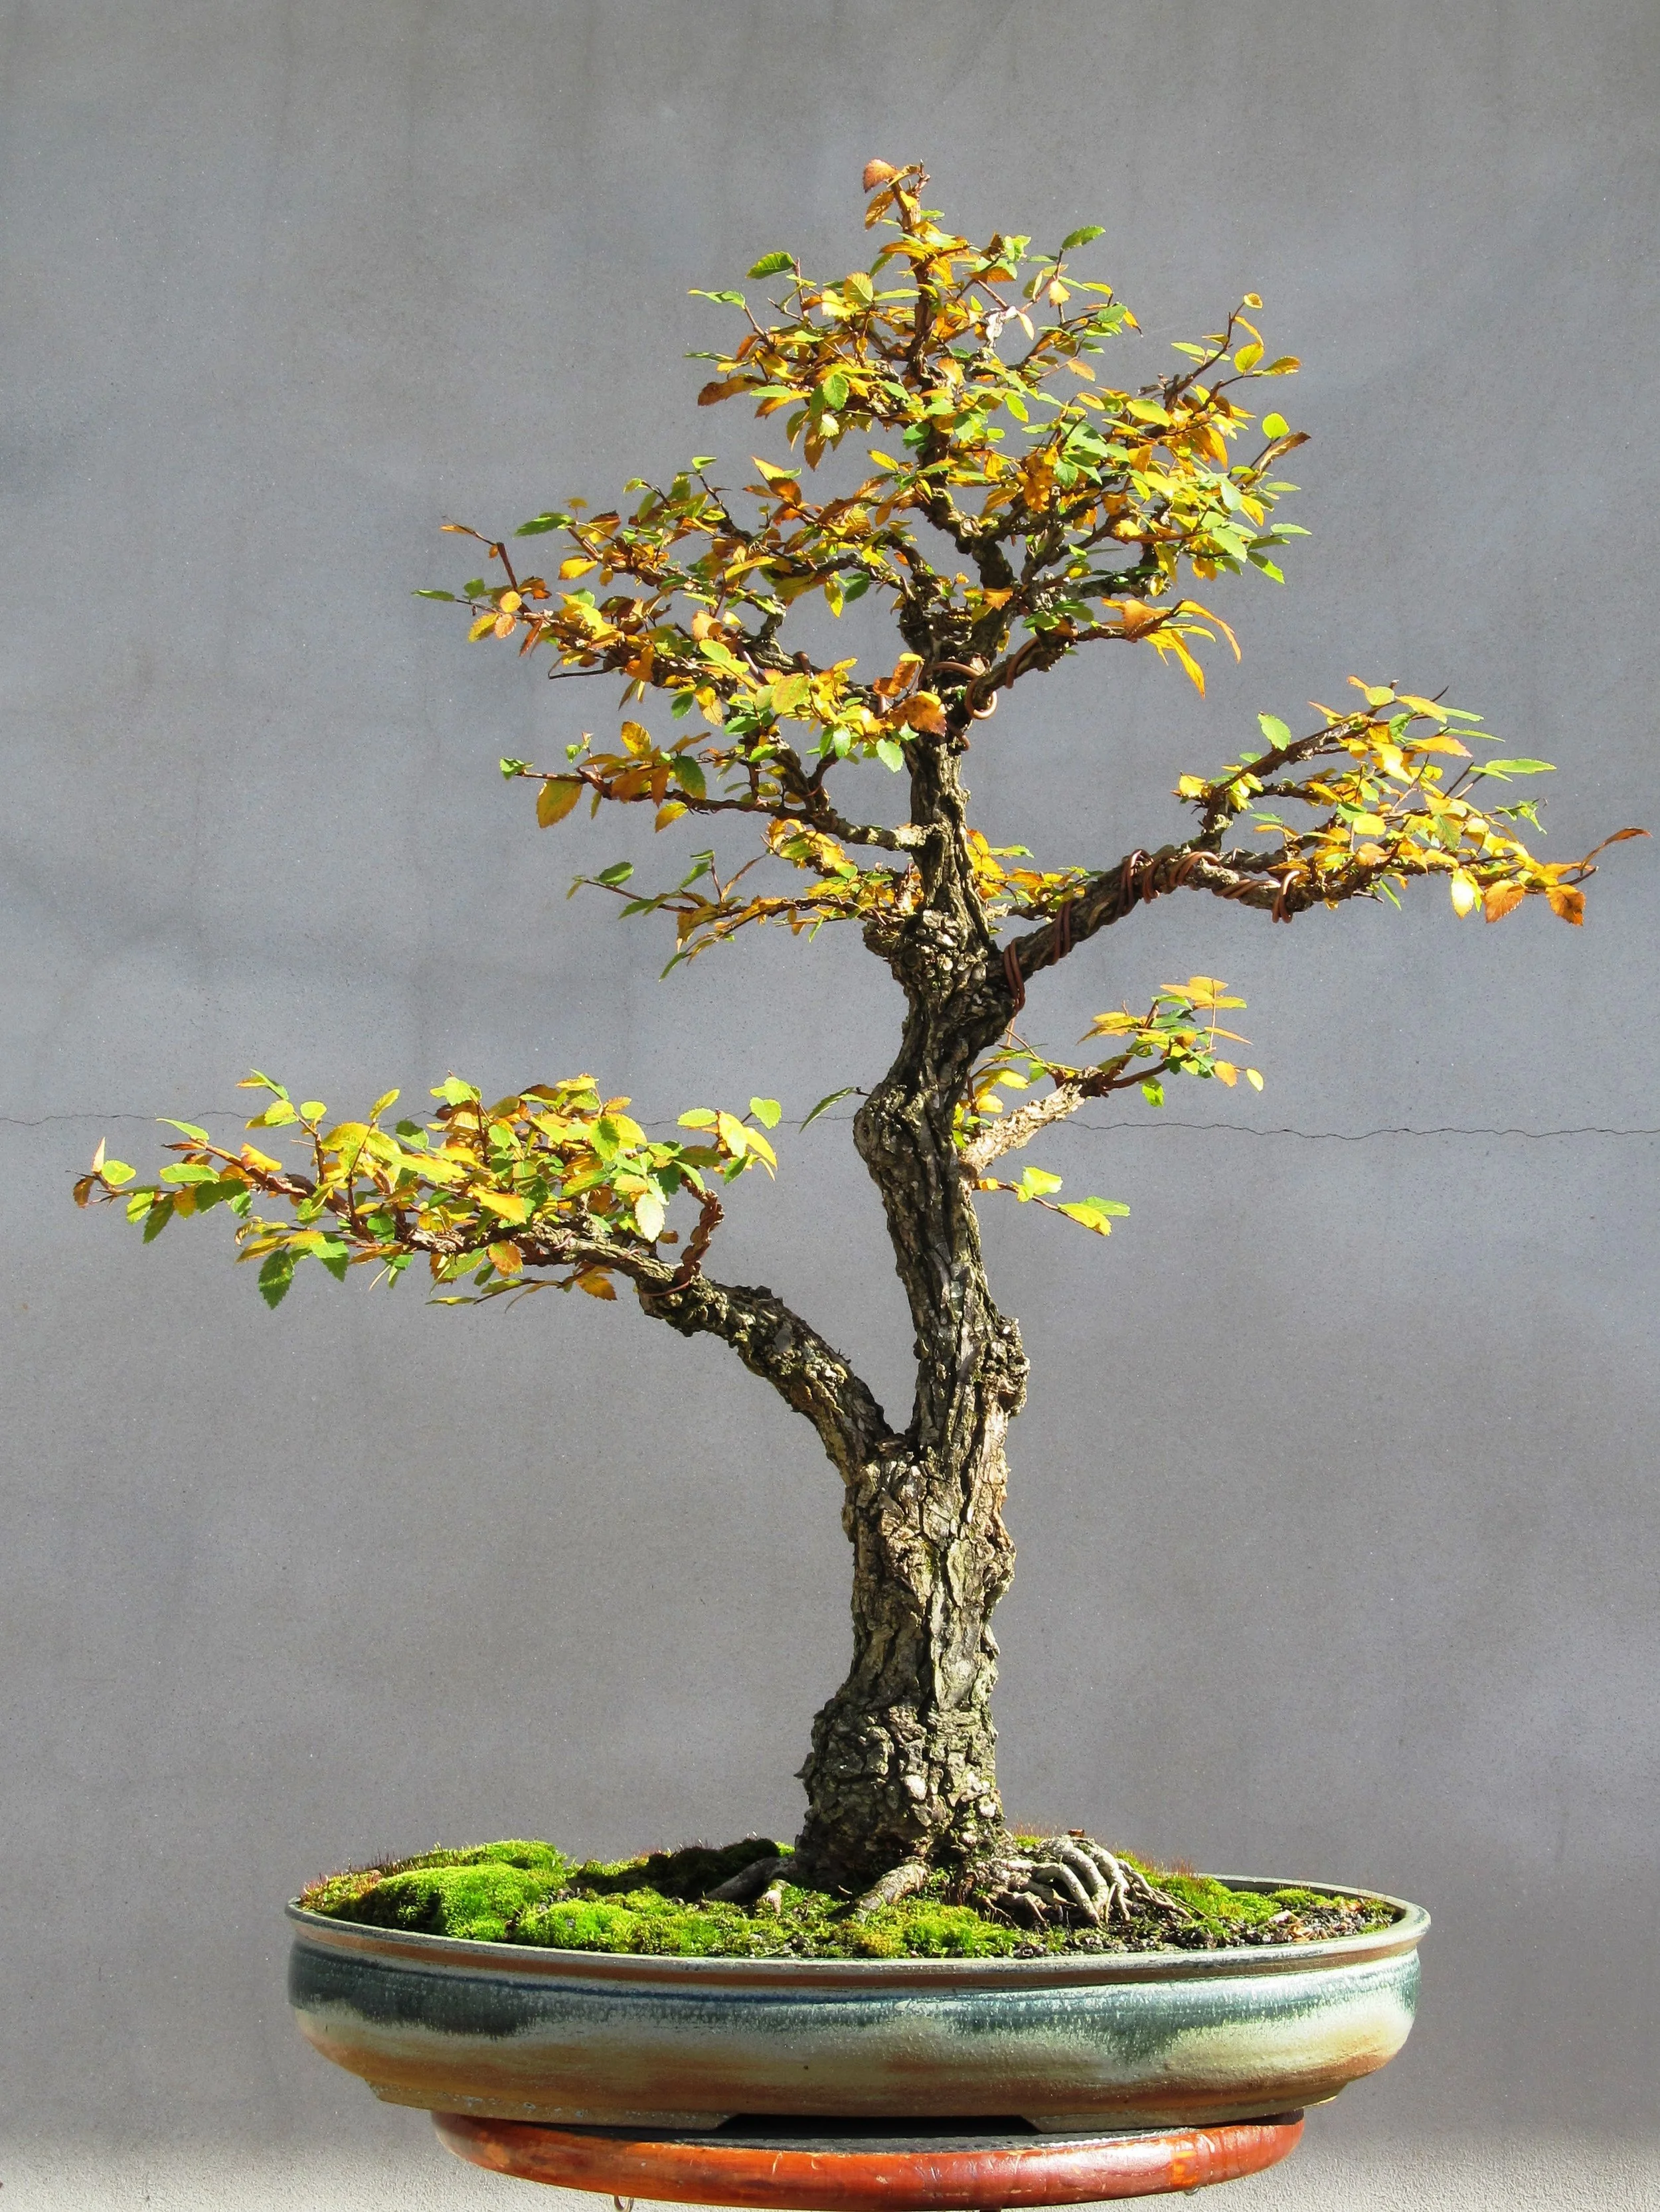
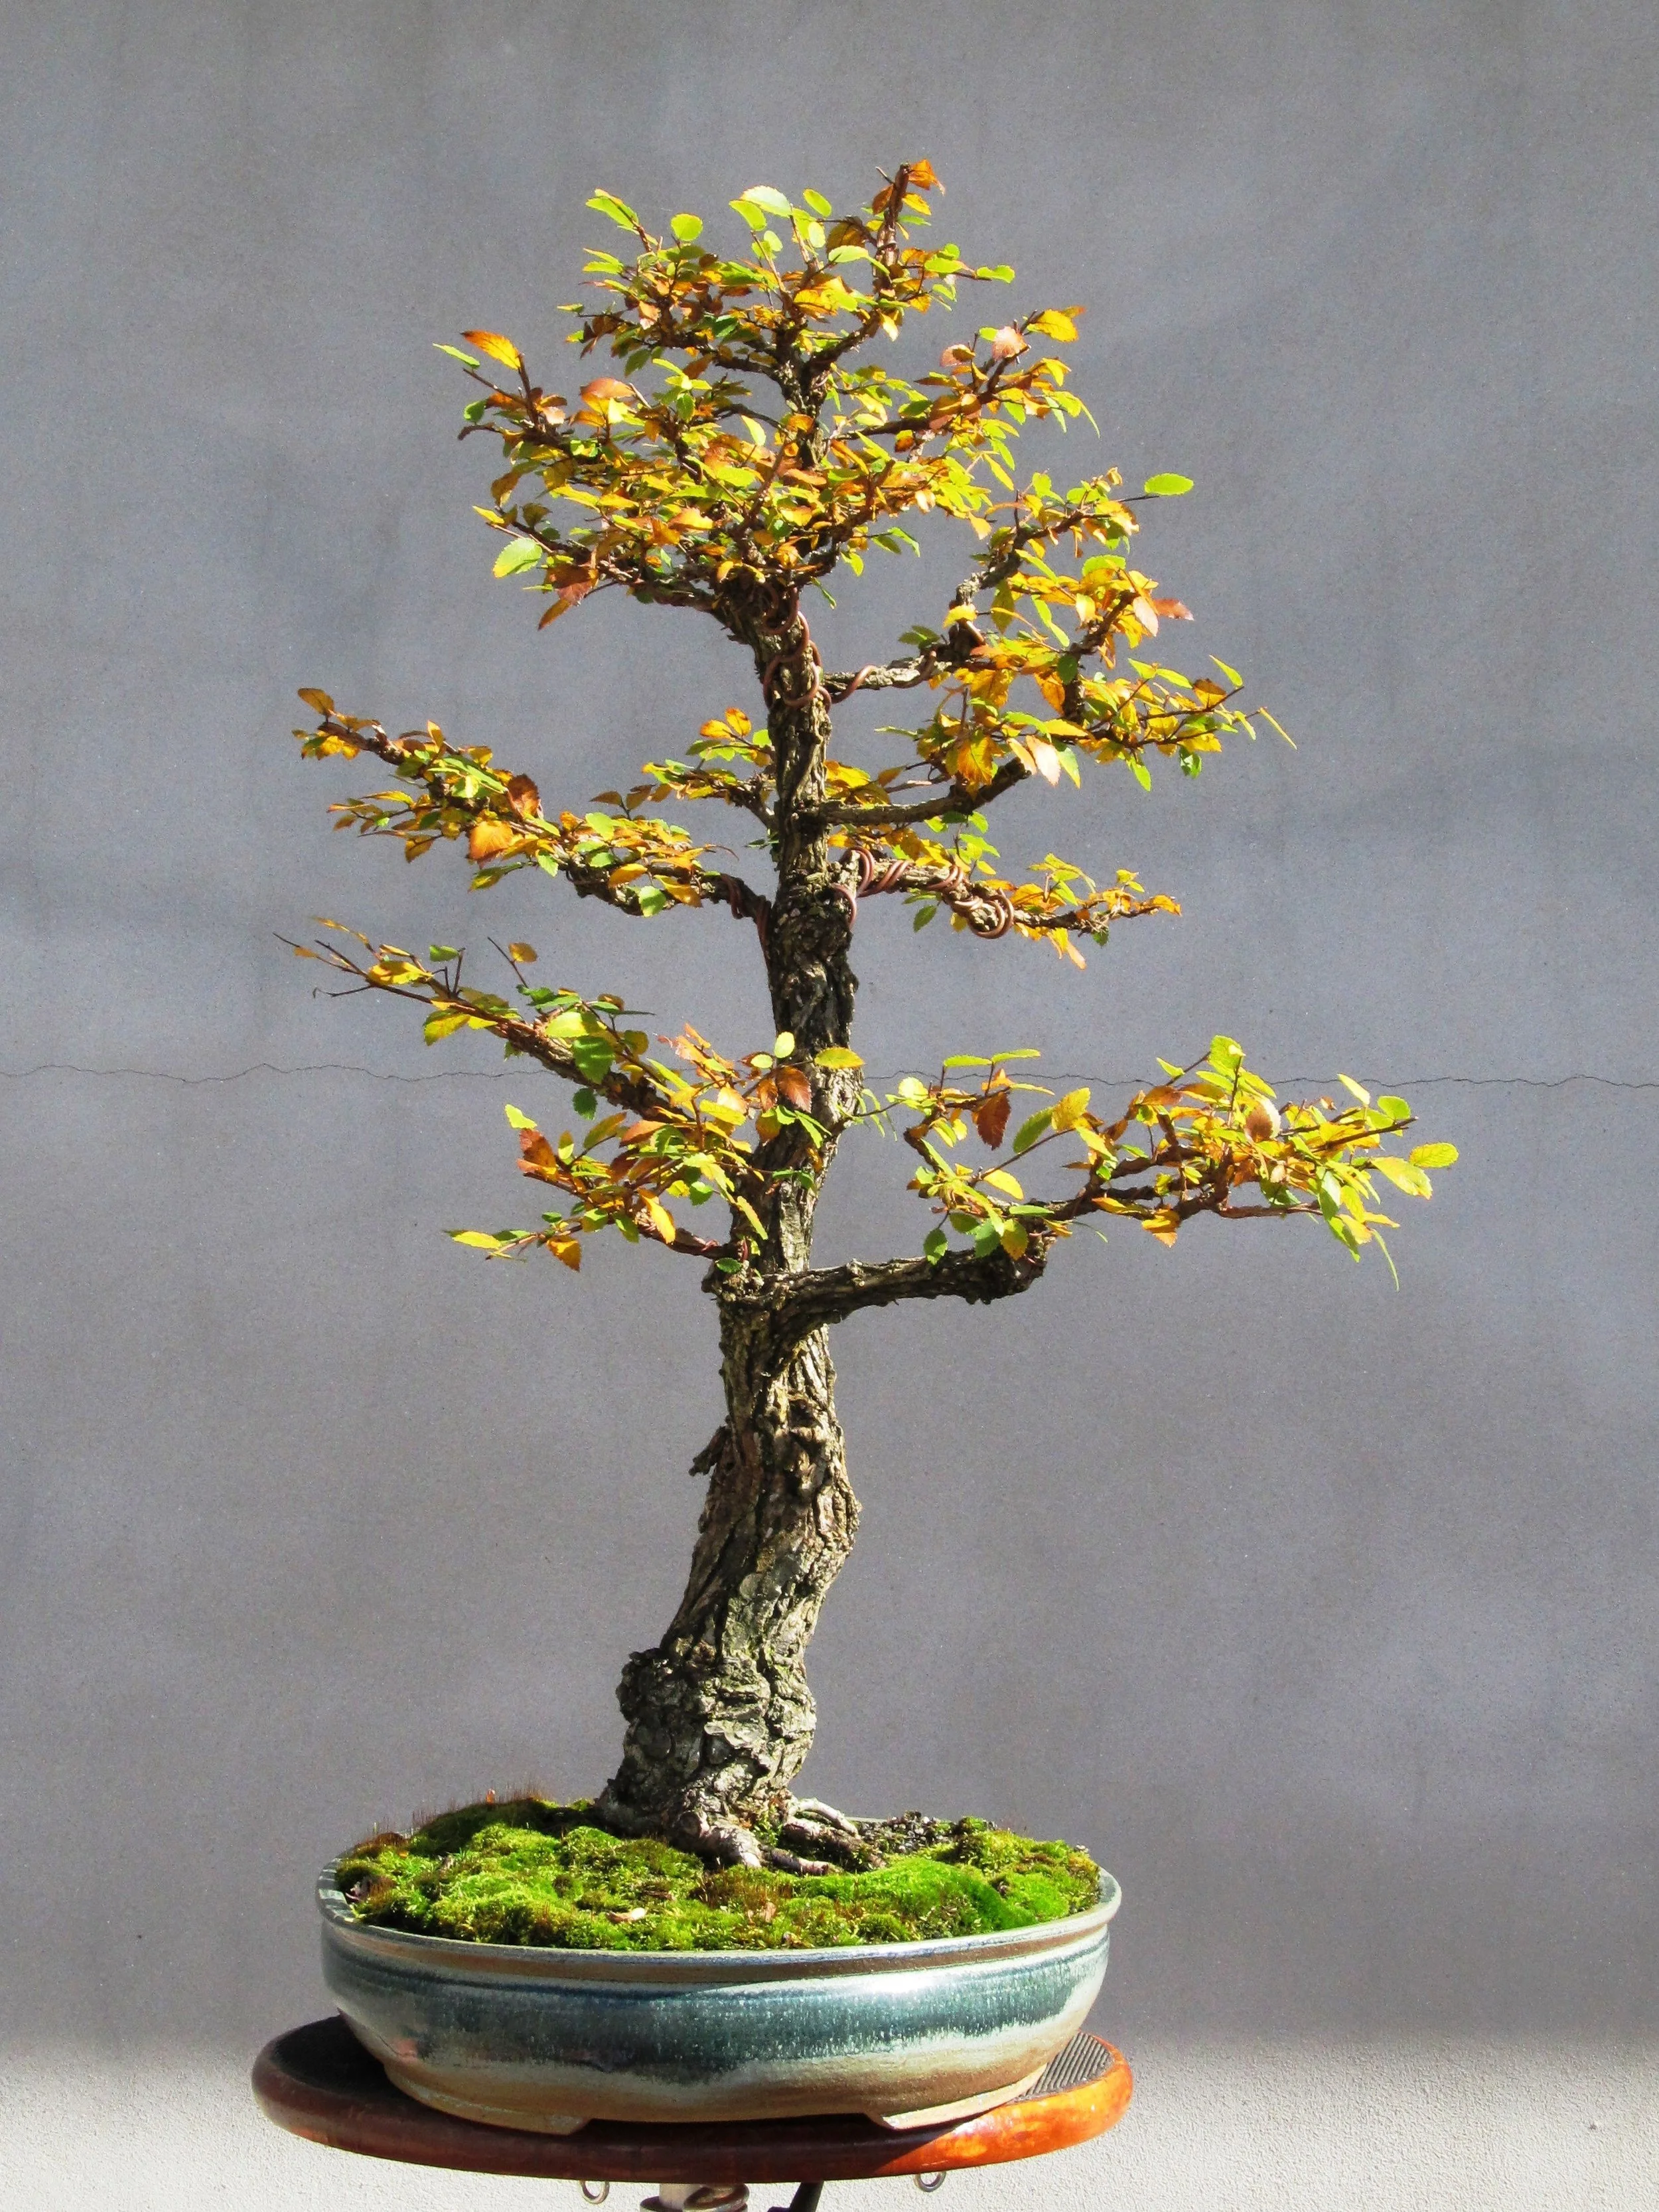
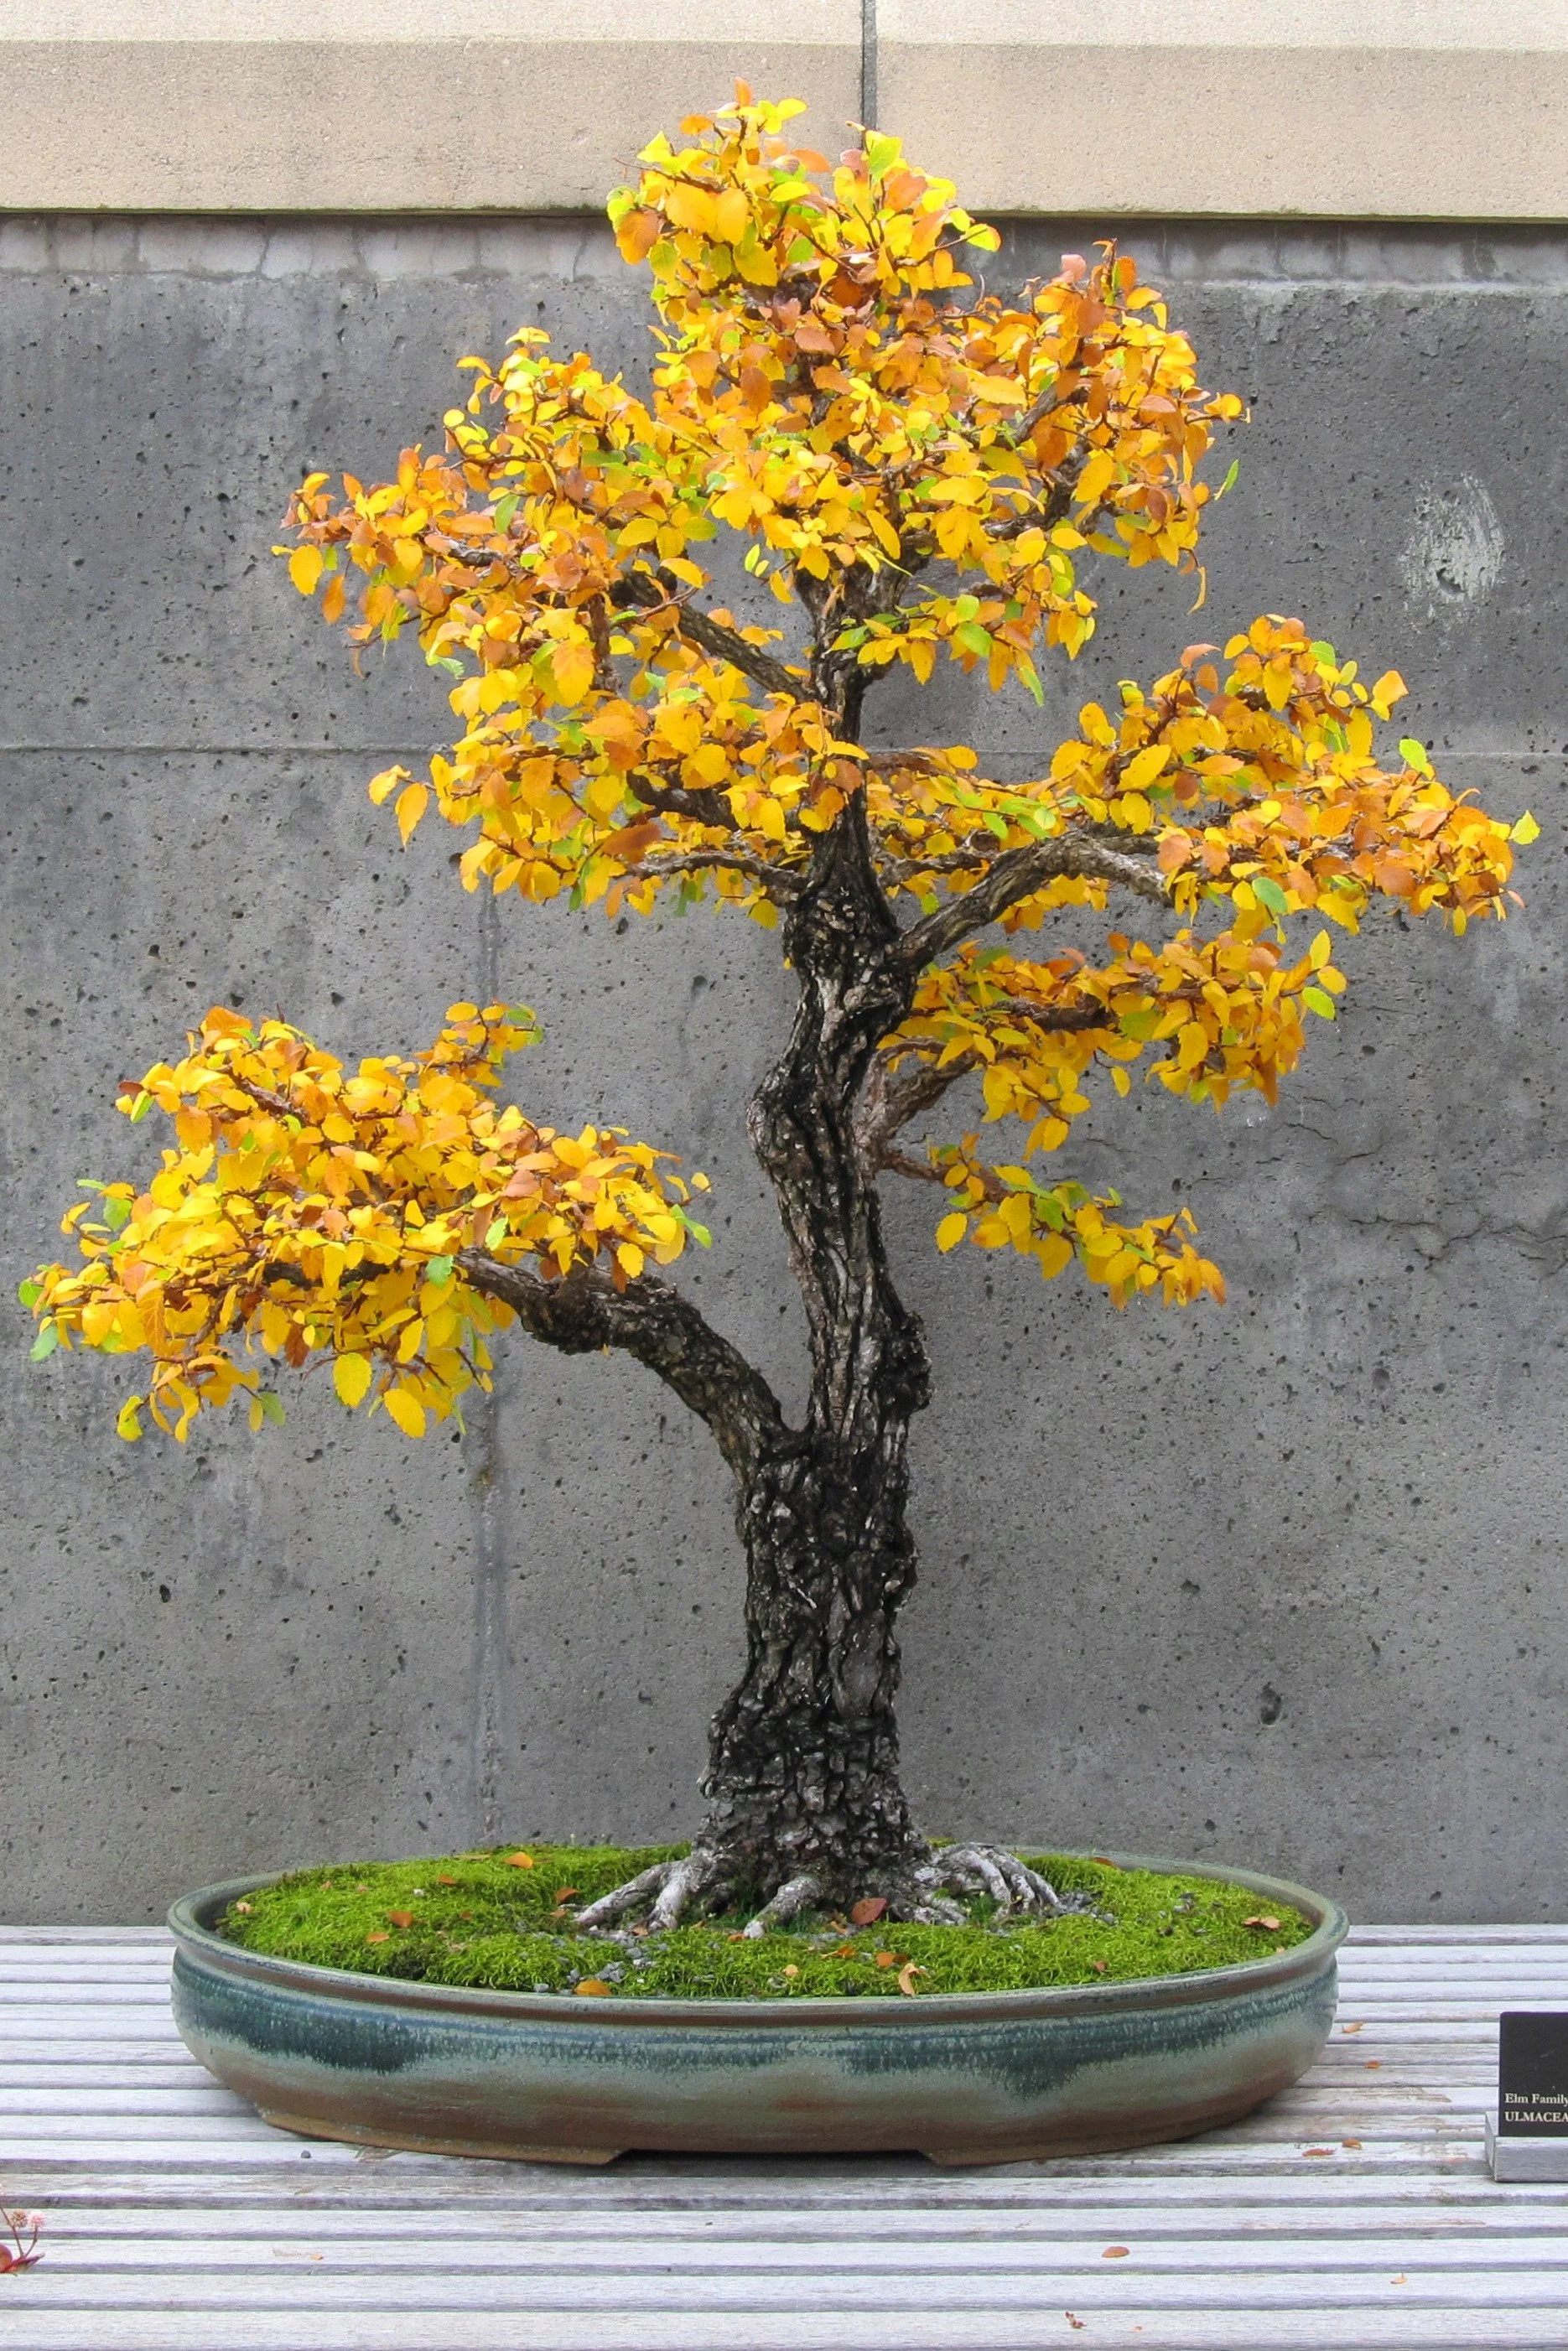
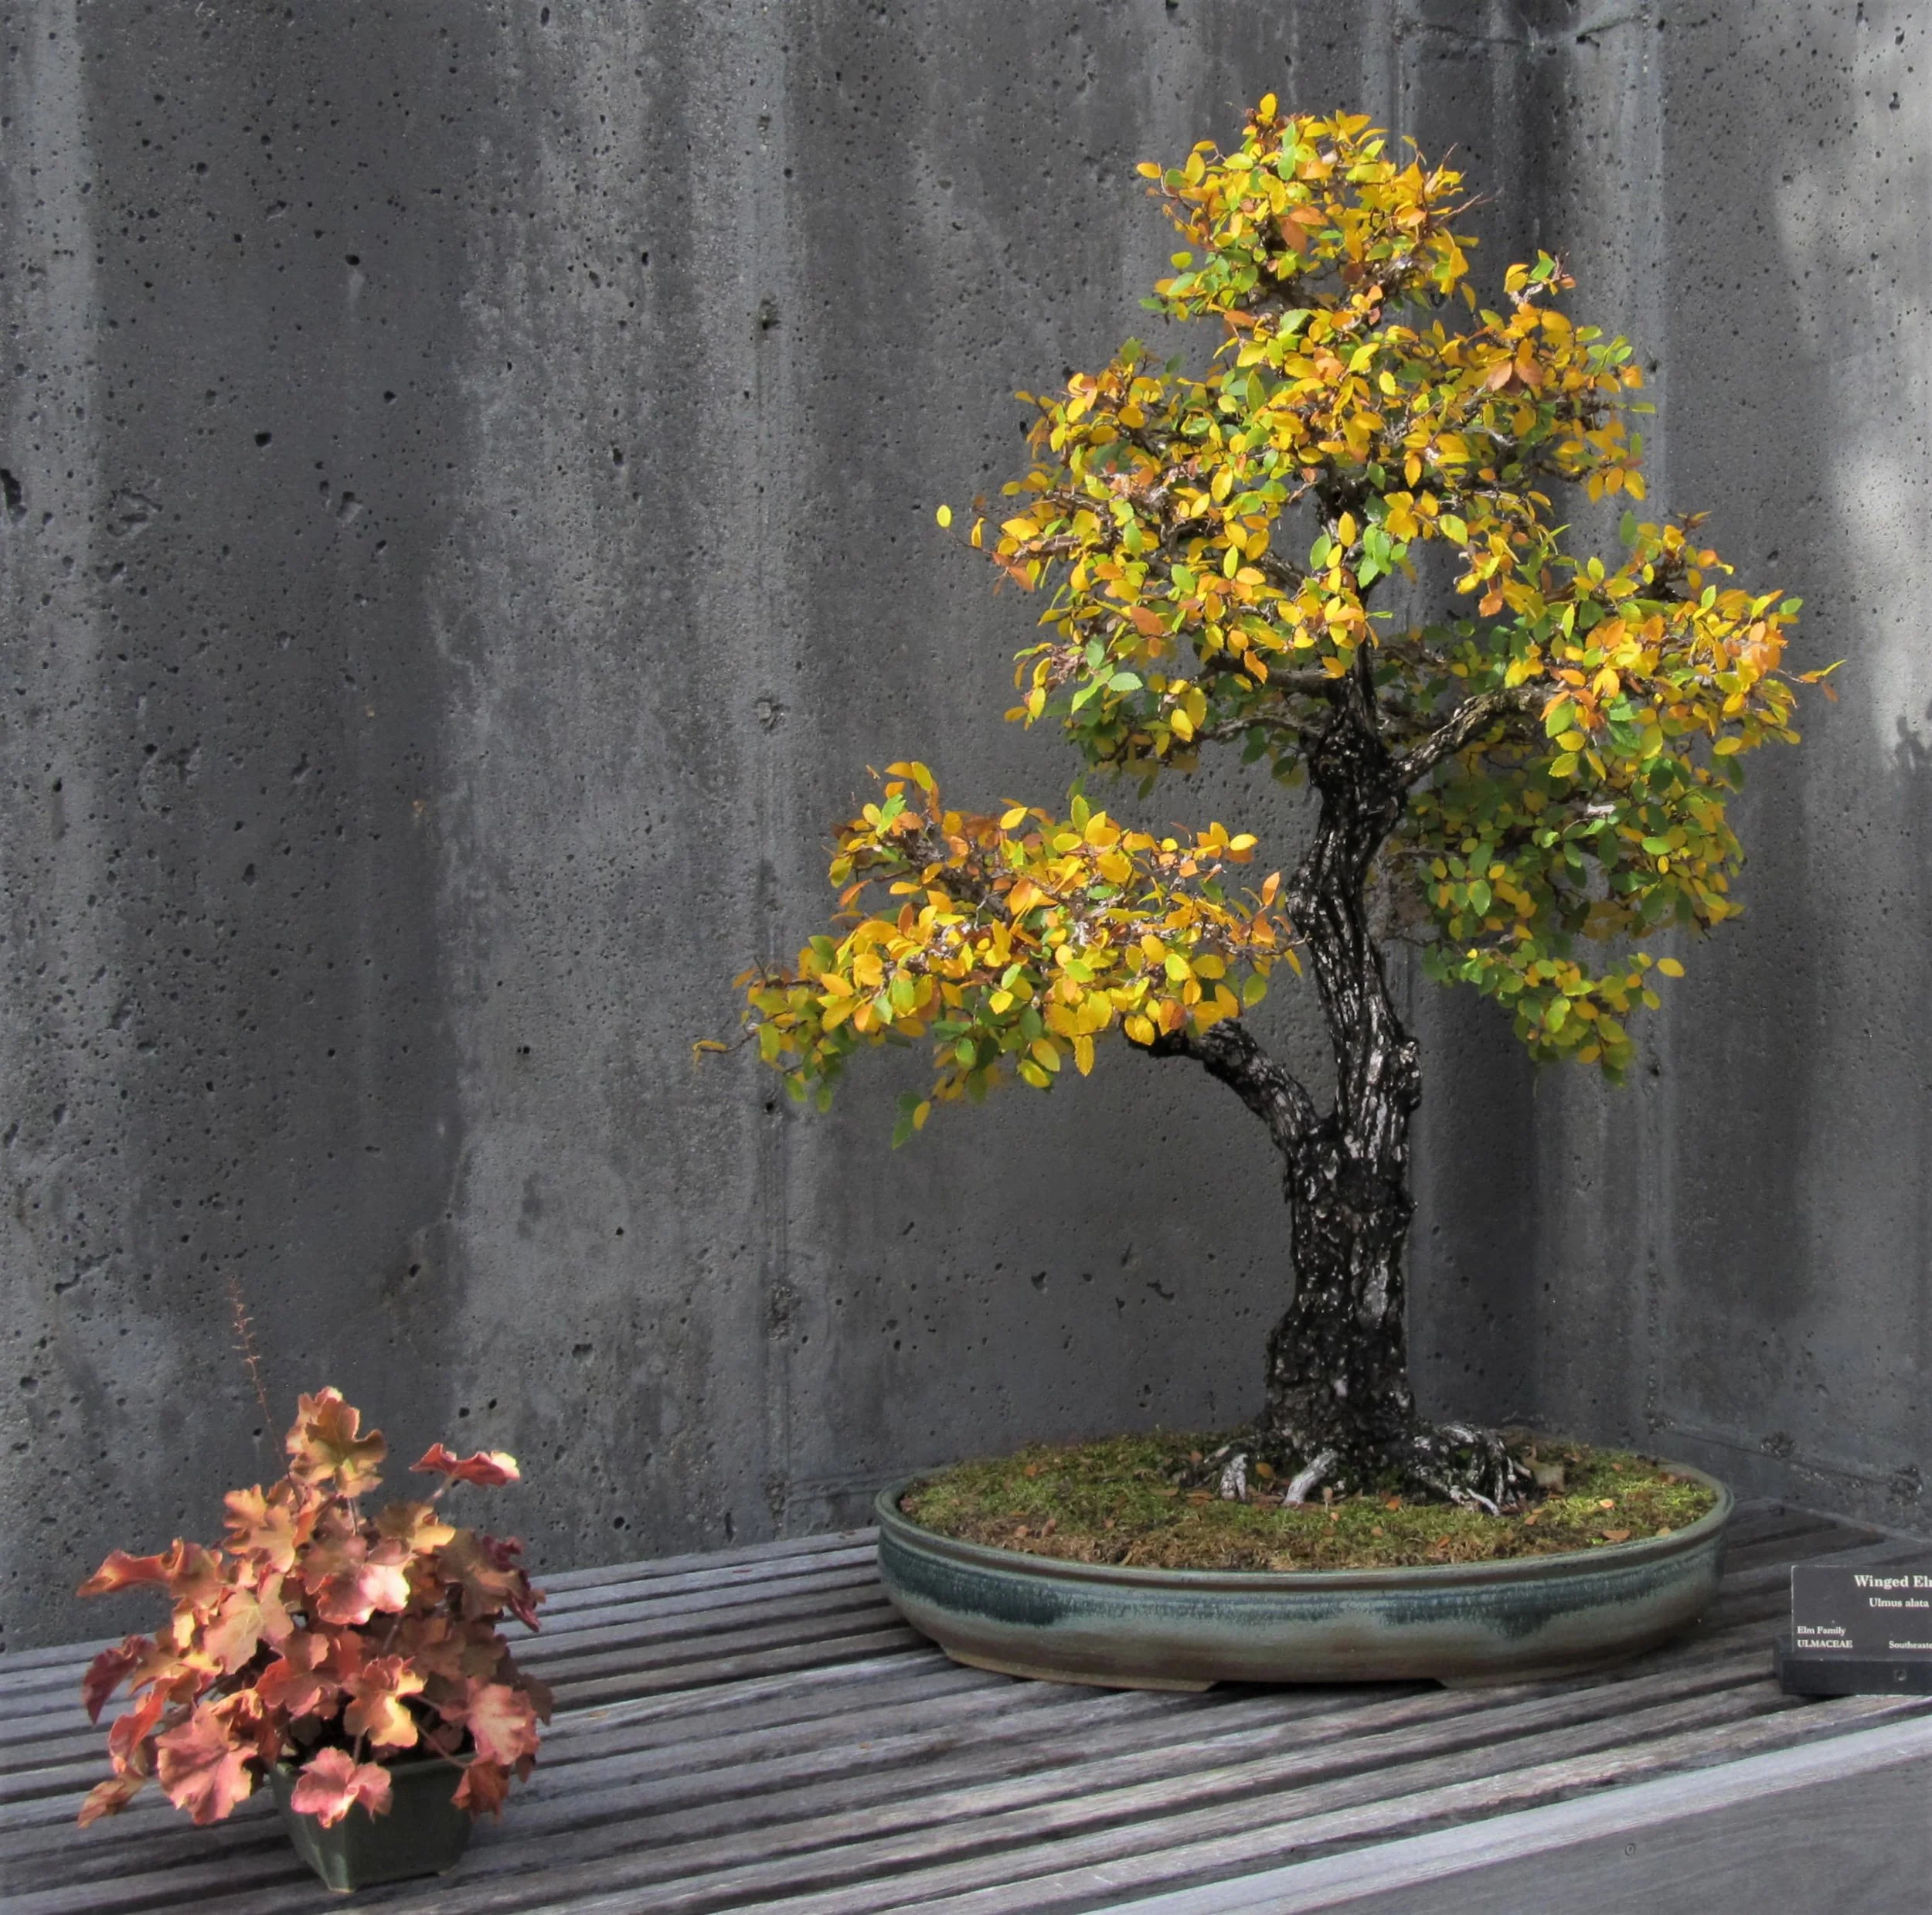
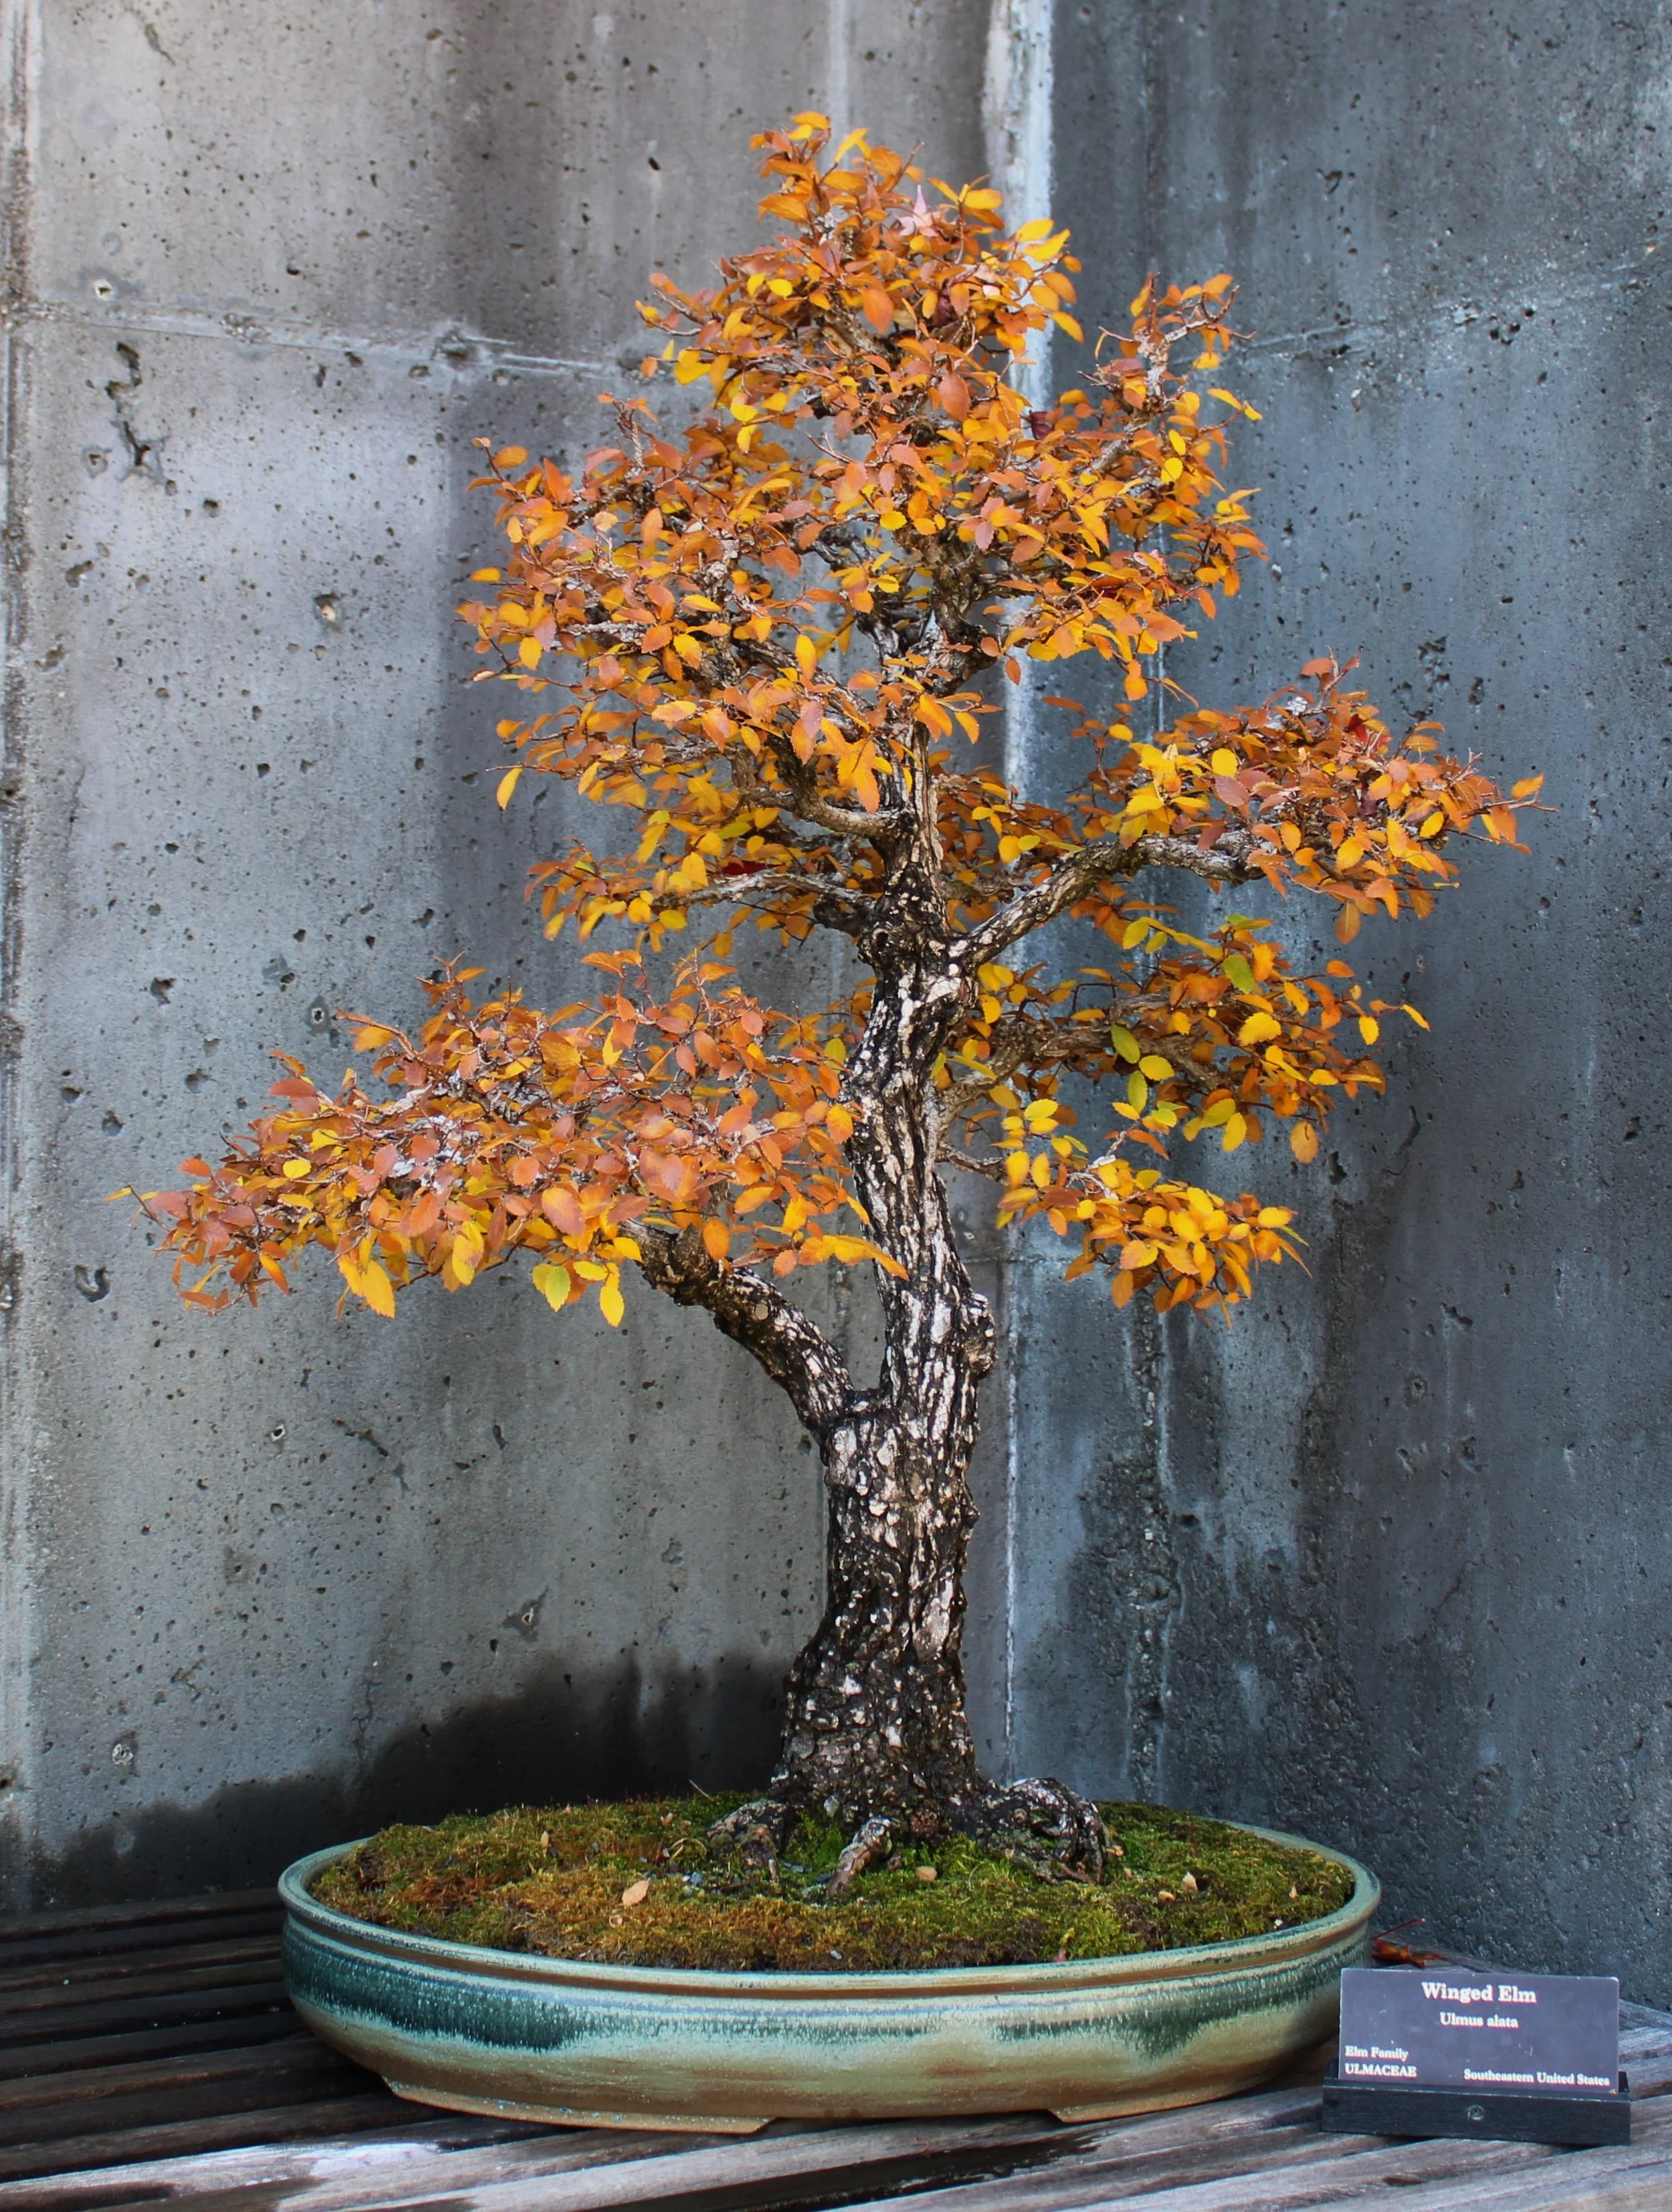
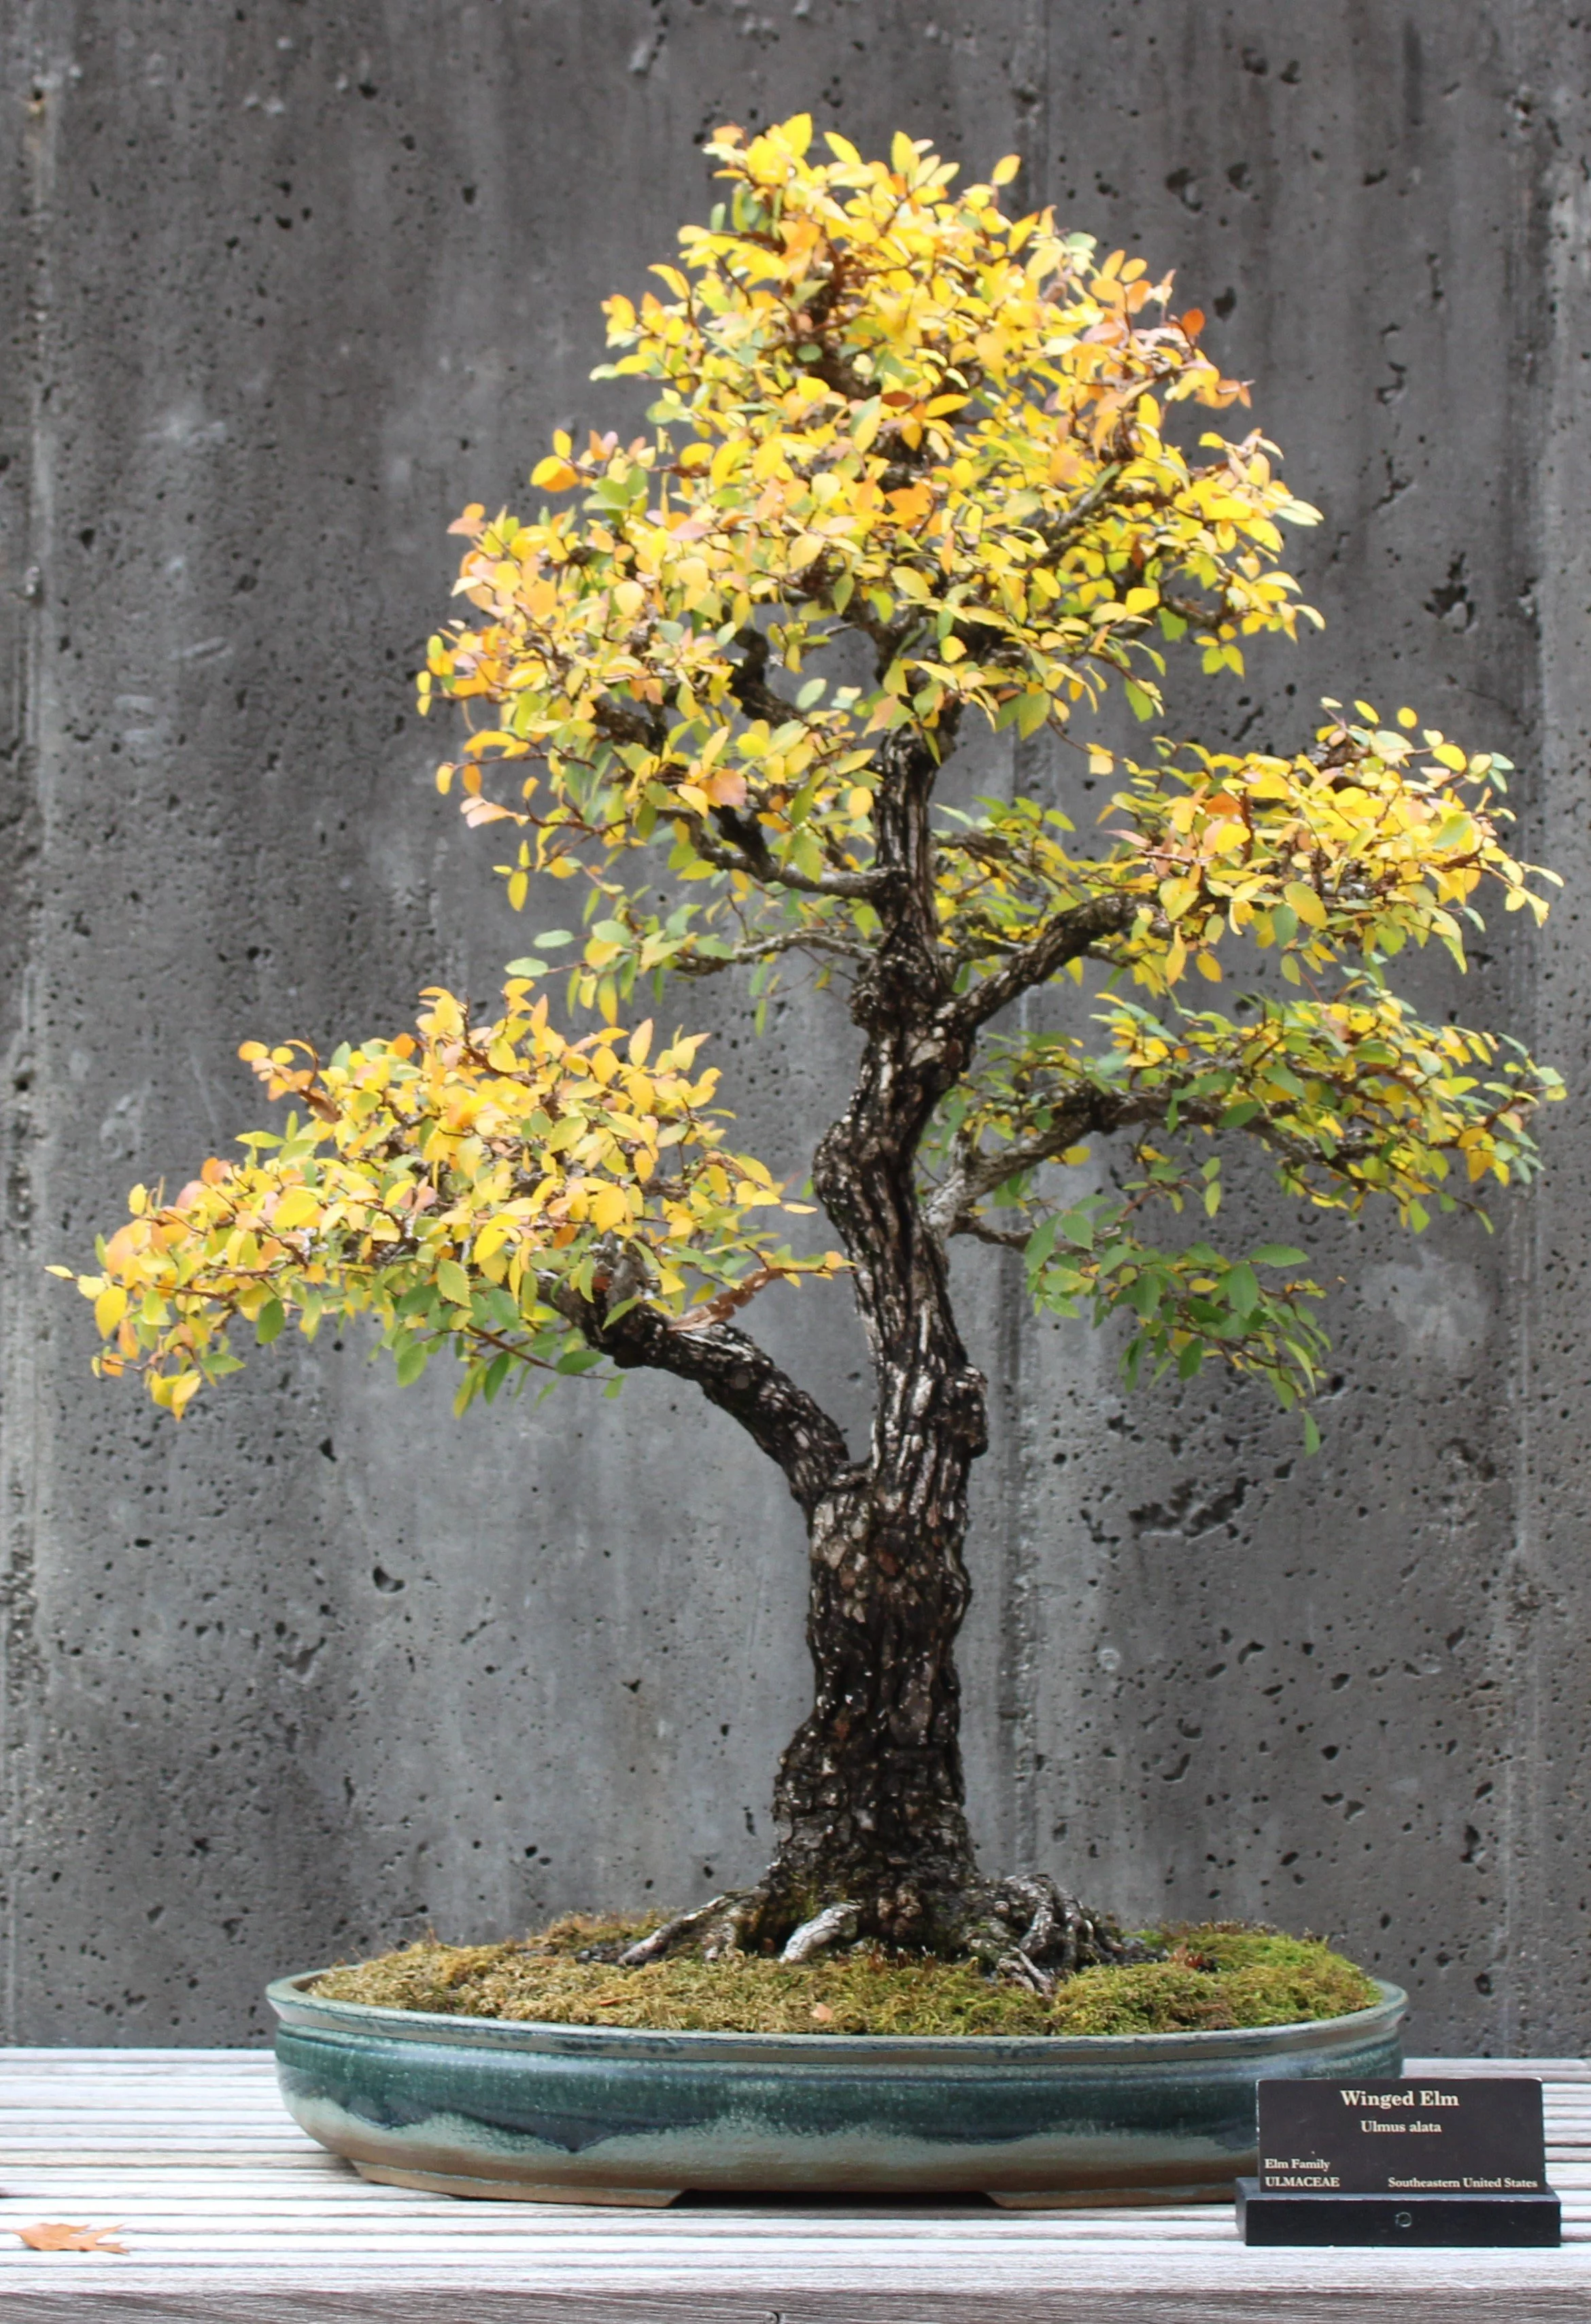
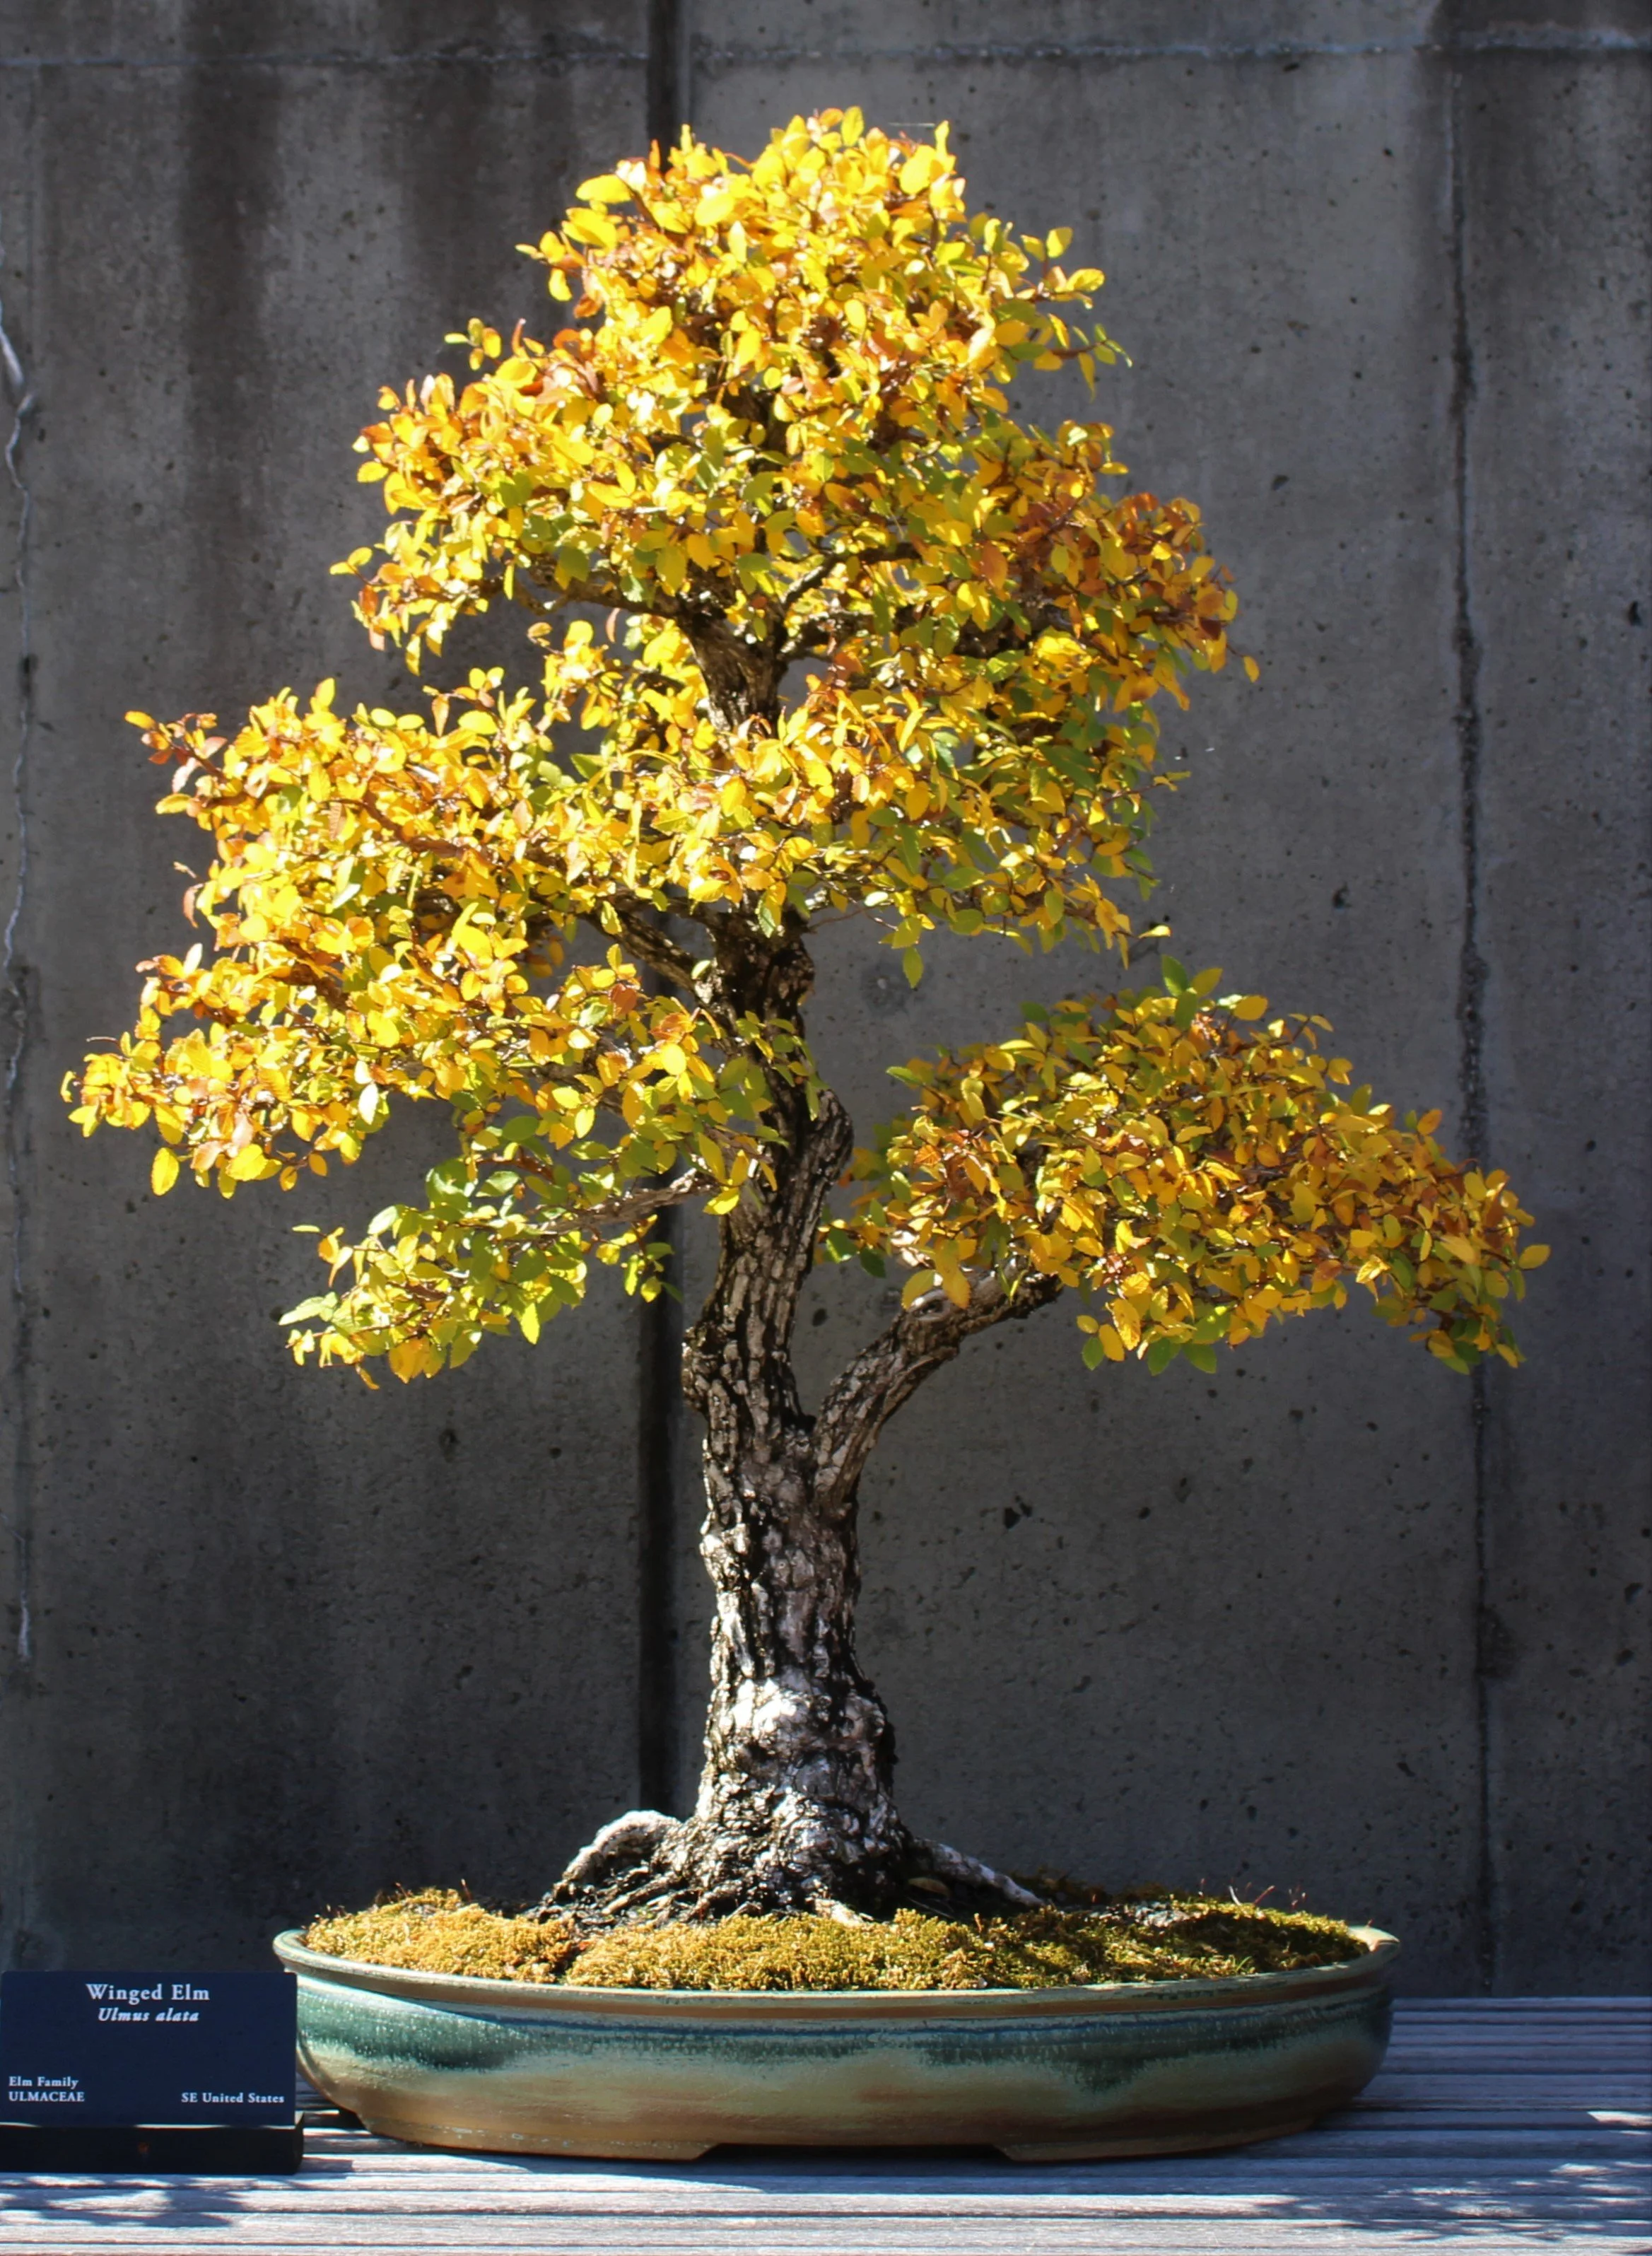
Our winged elm features year-round visual interest, but can look particularly appealing in autumn:
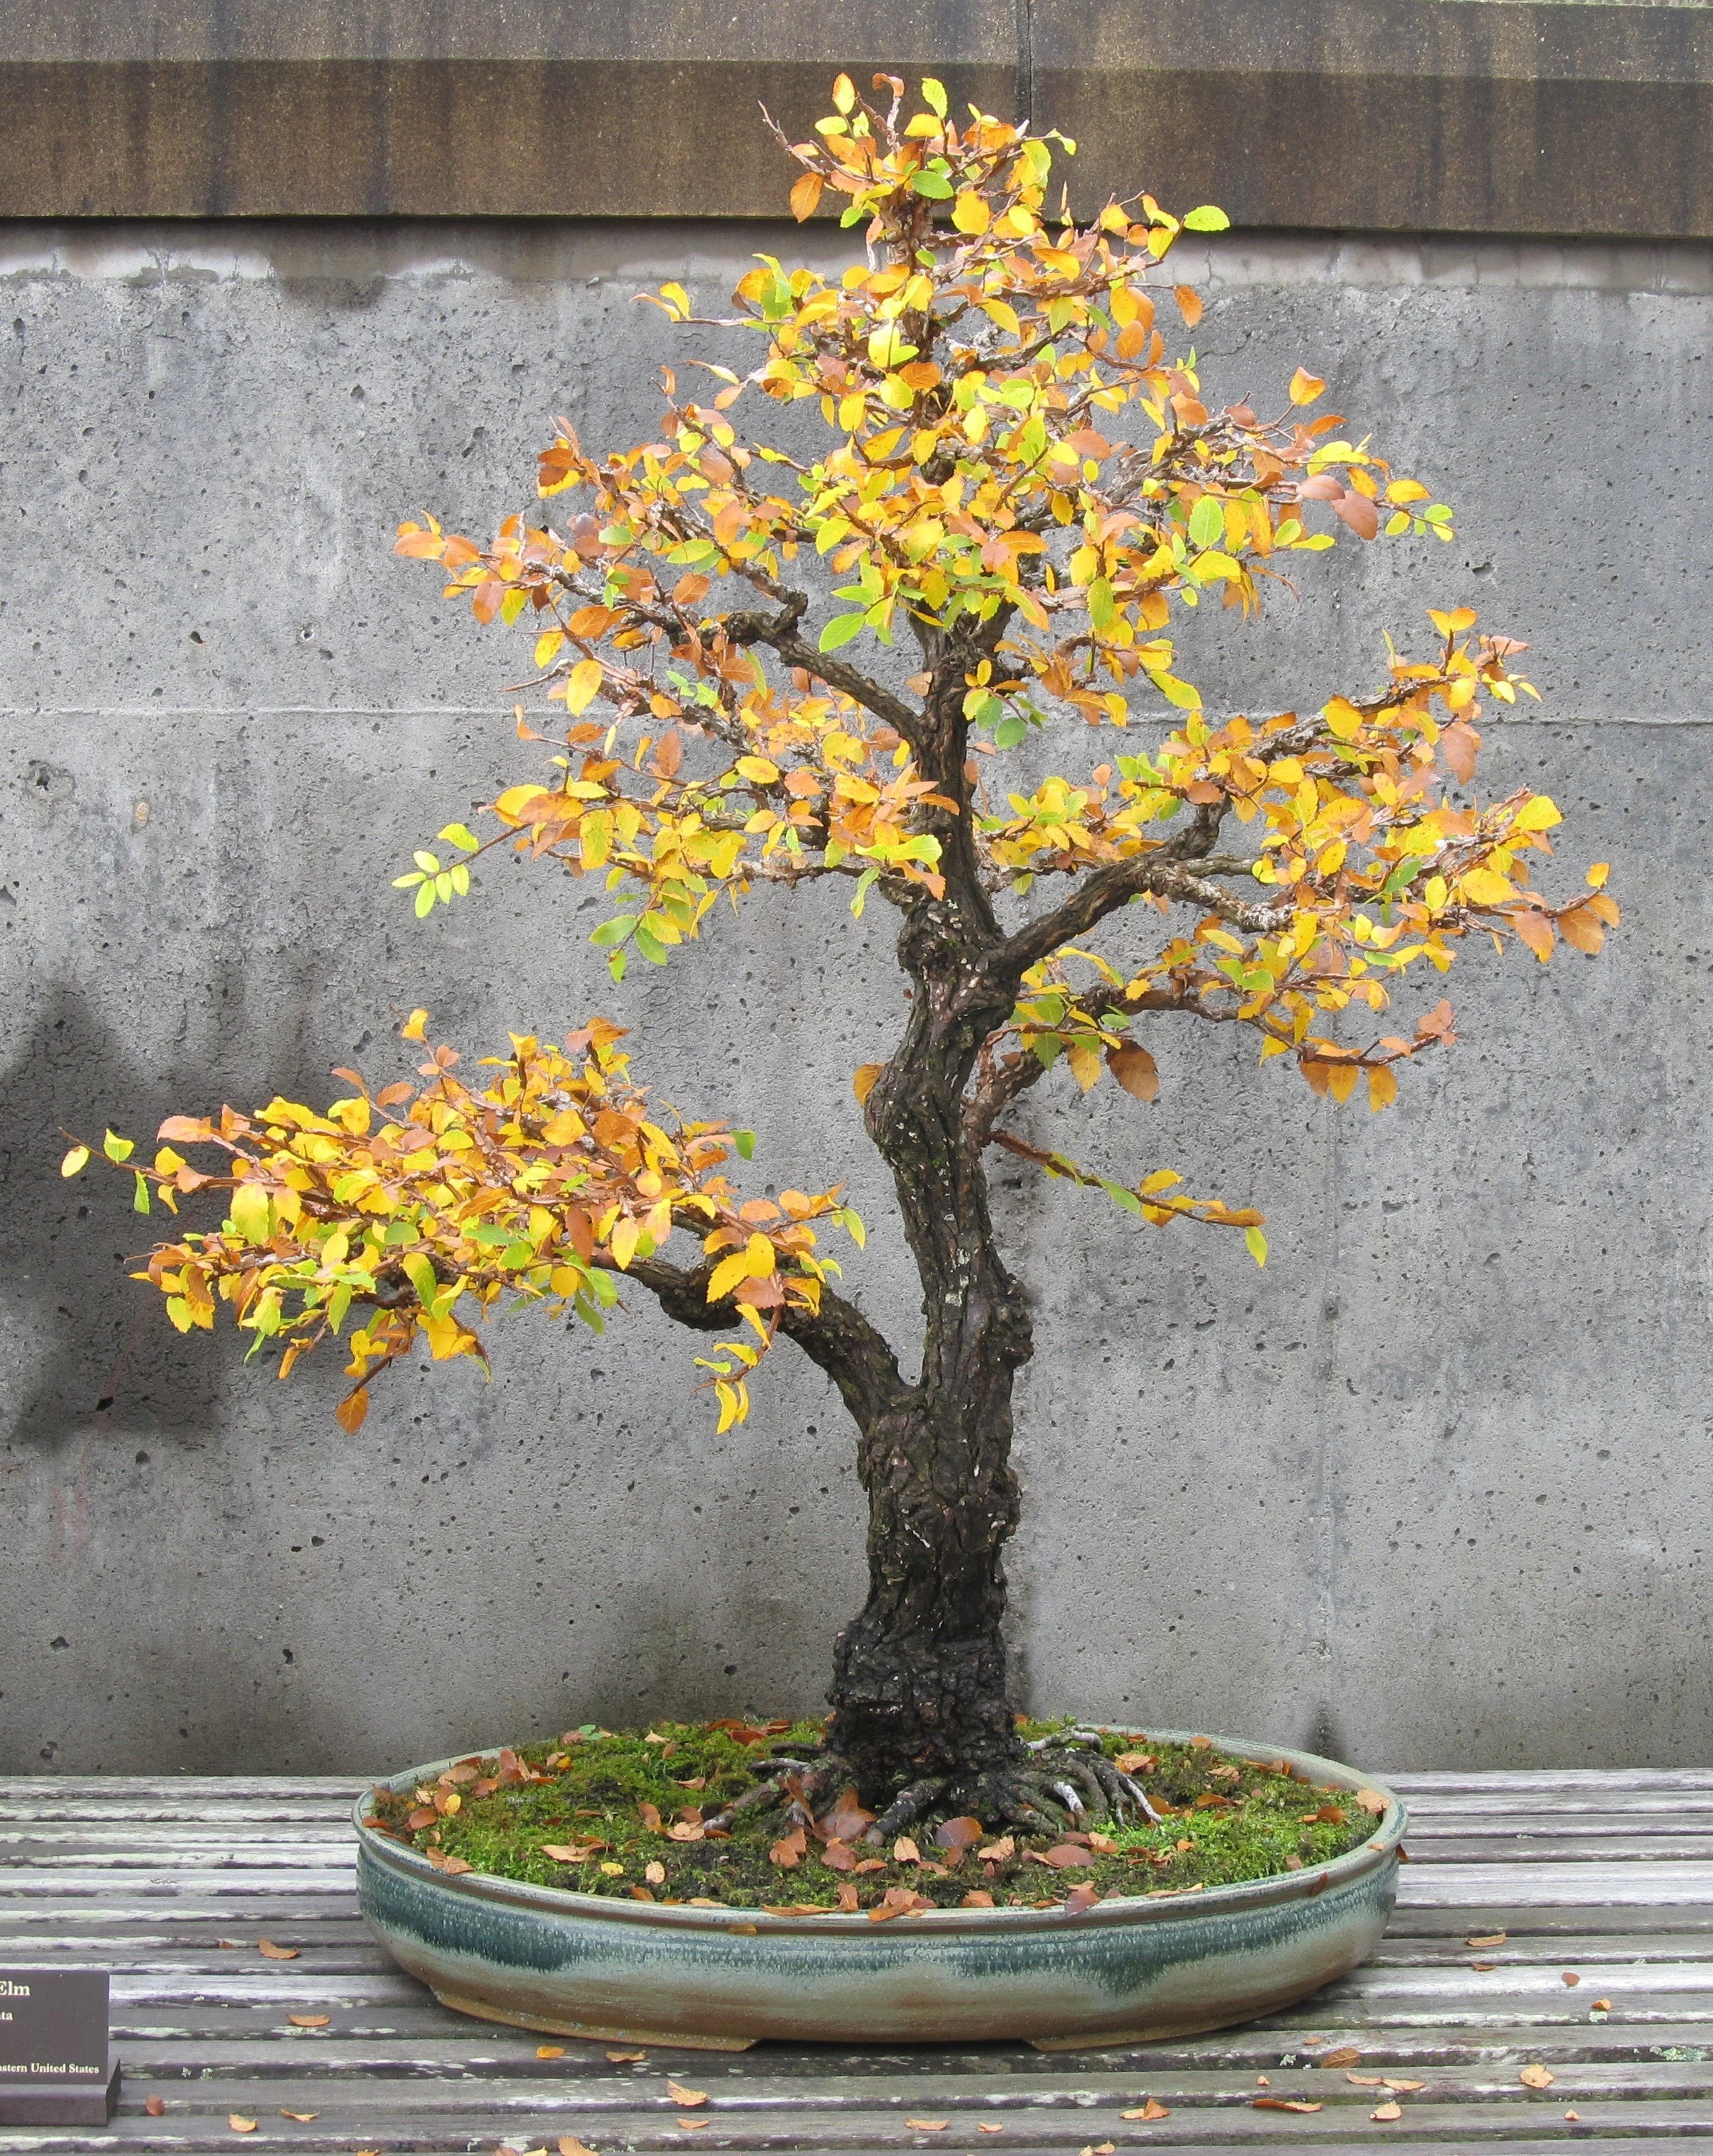
October 2015
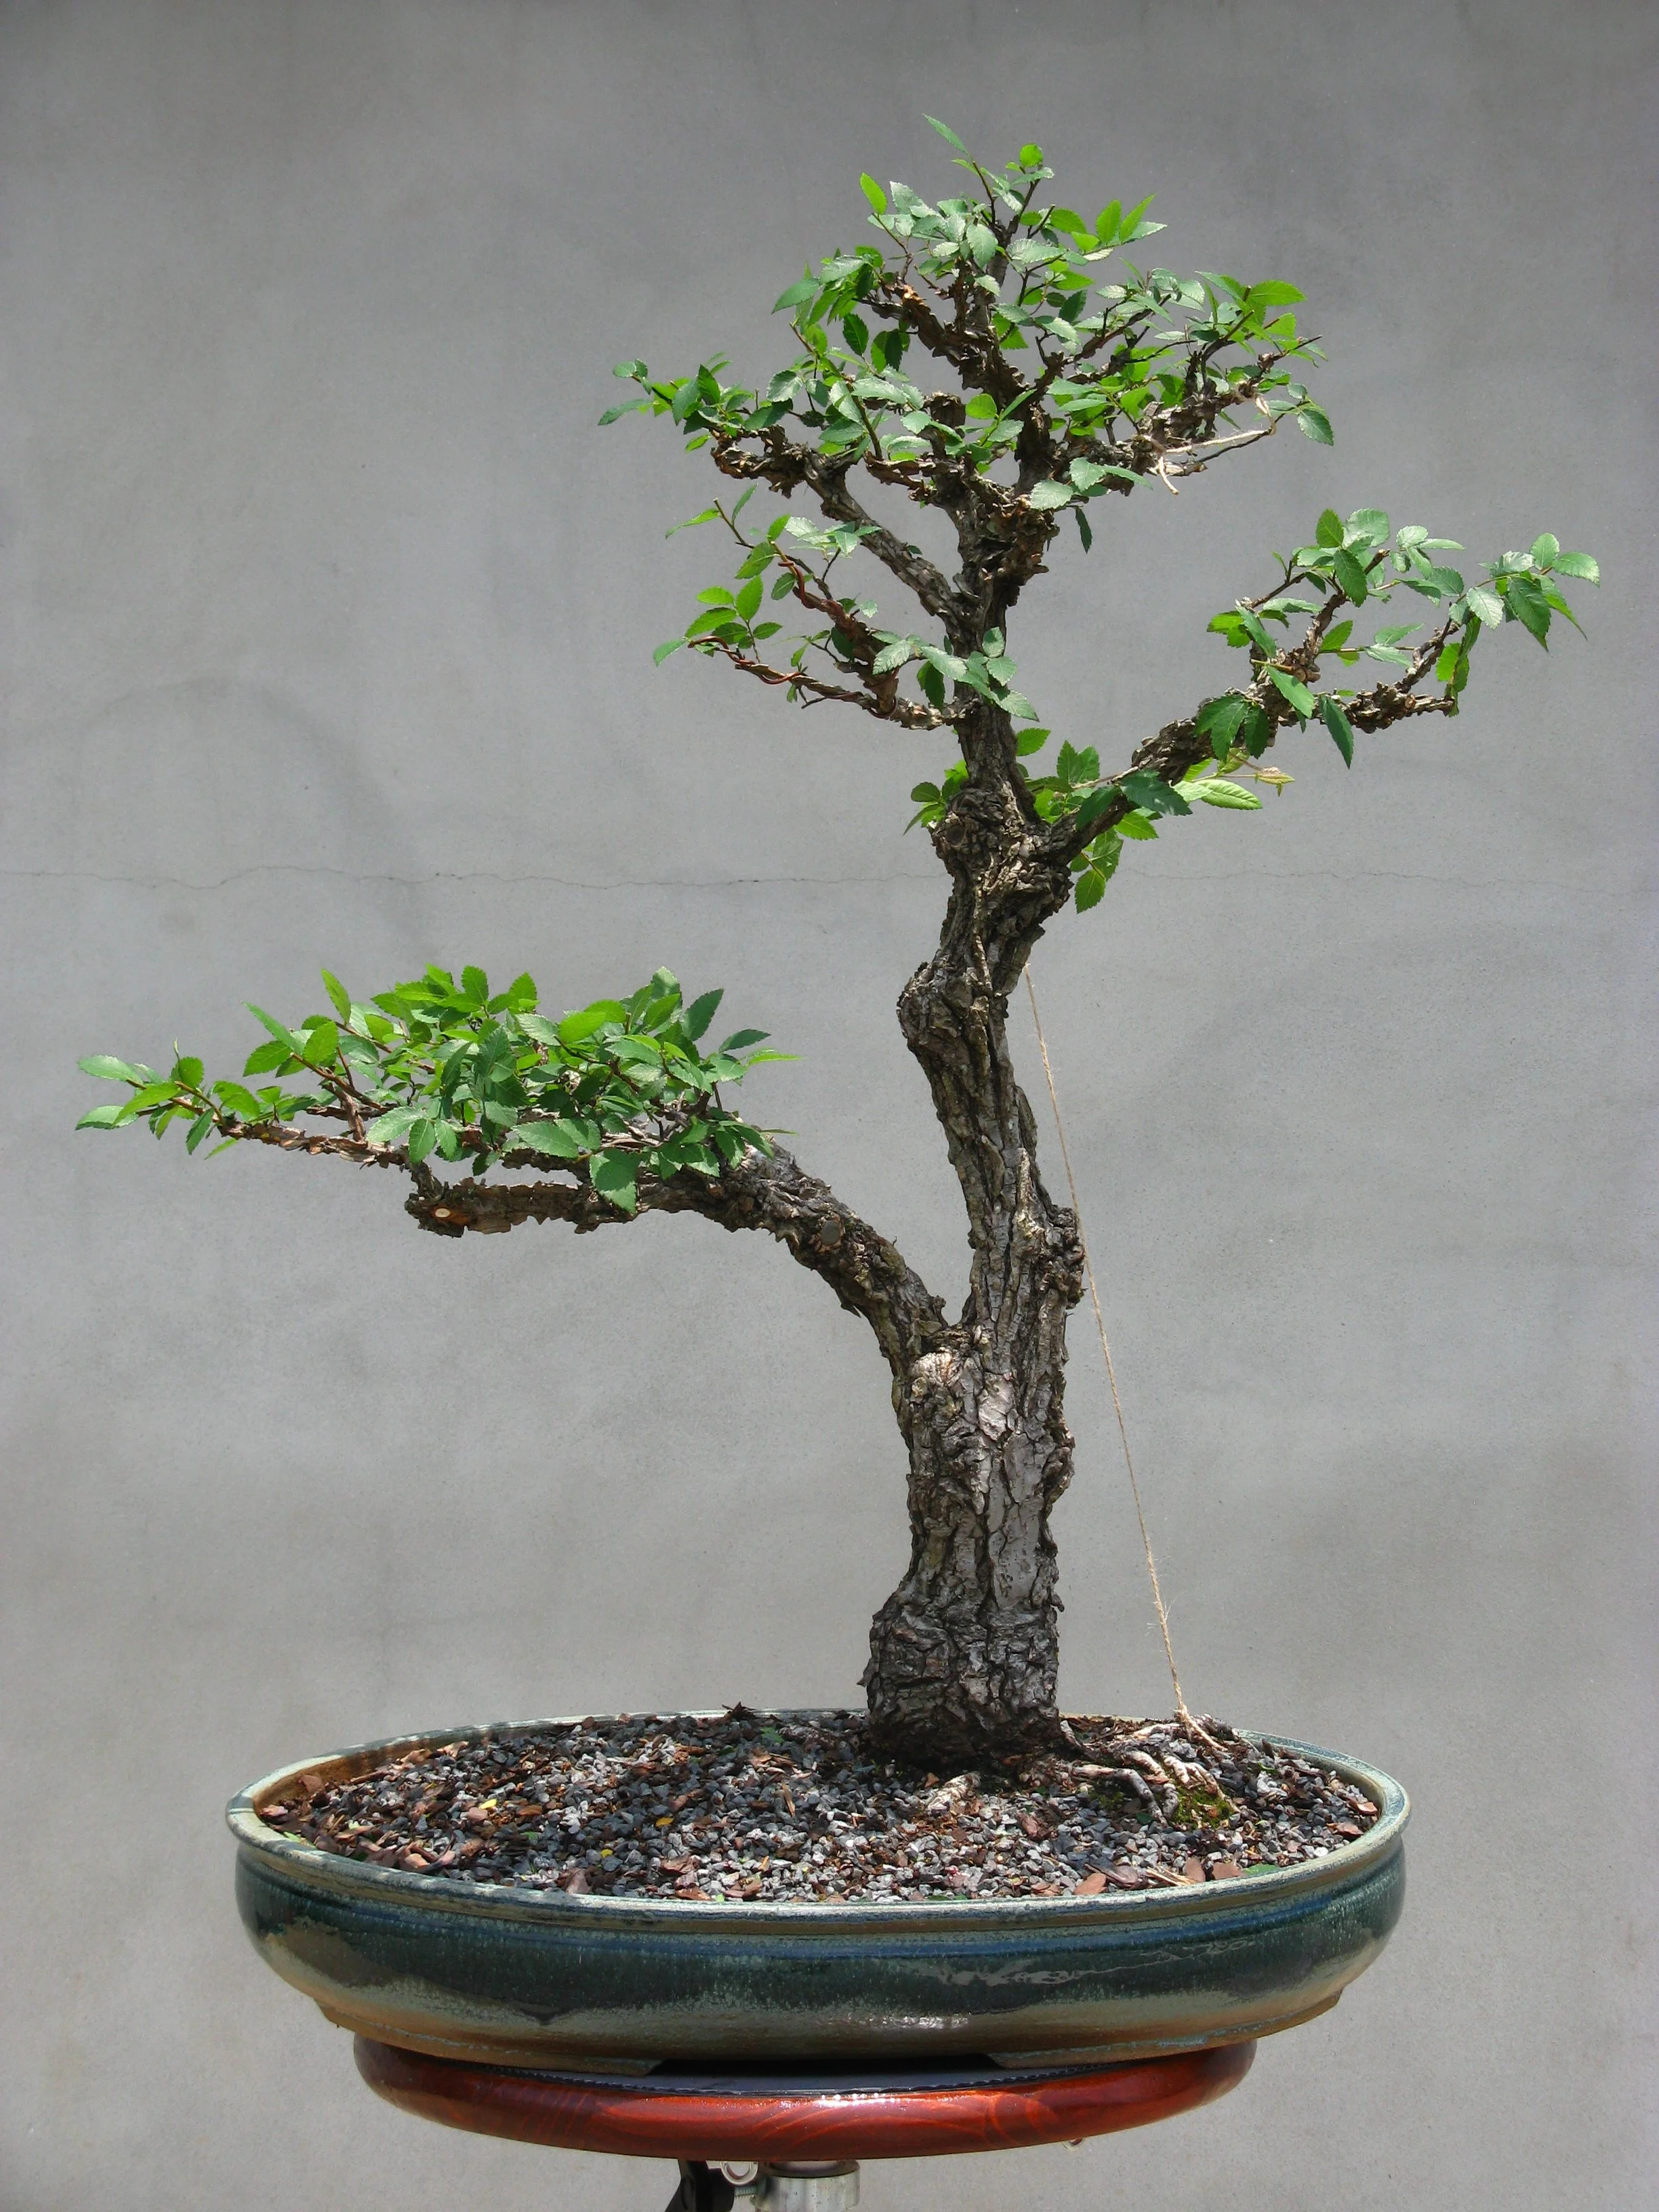
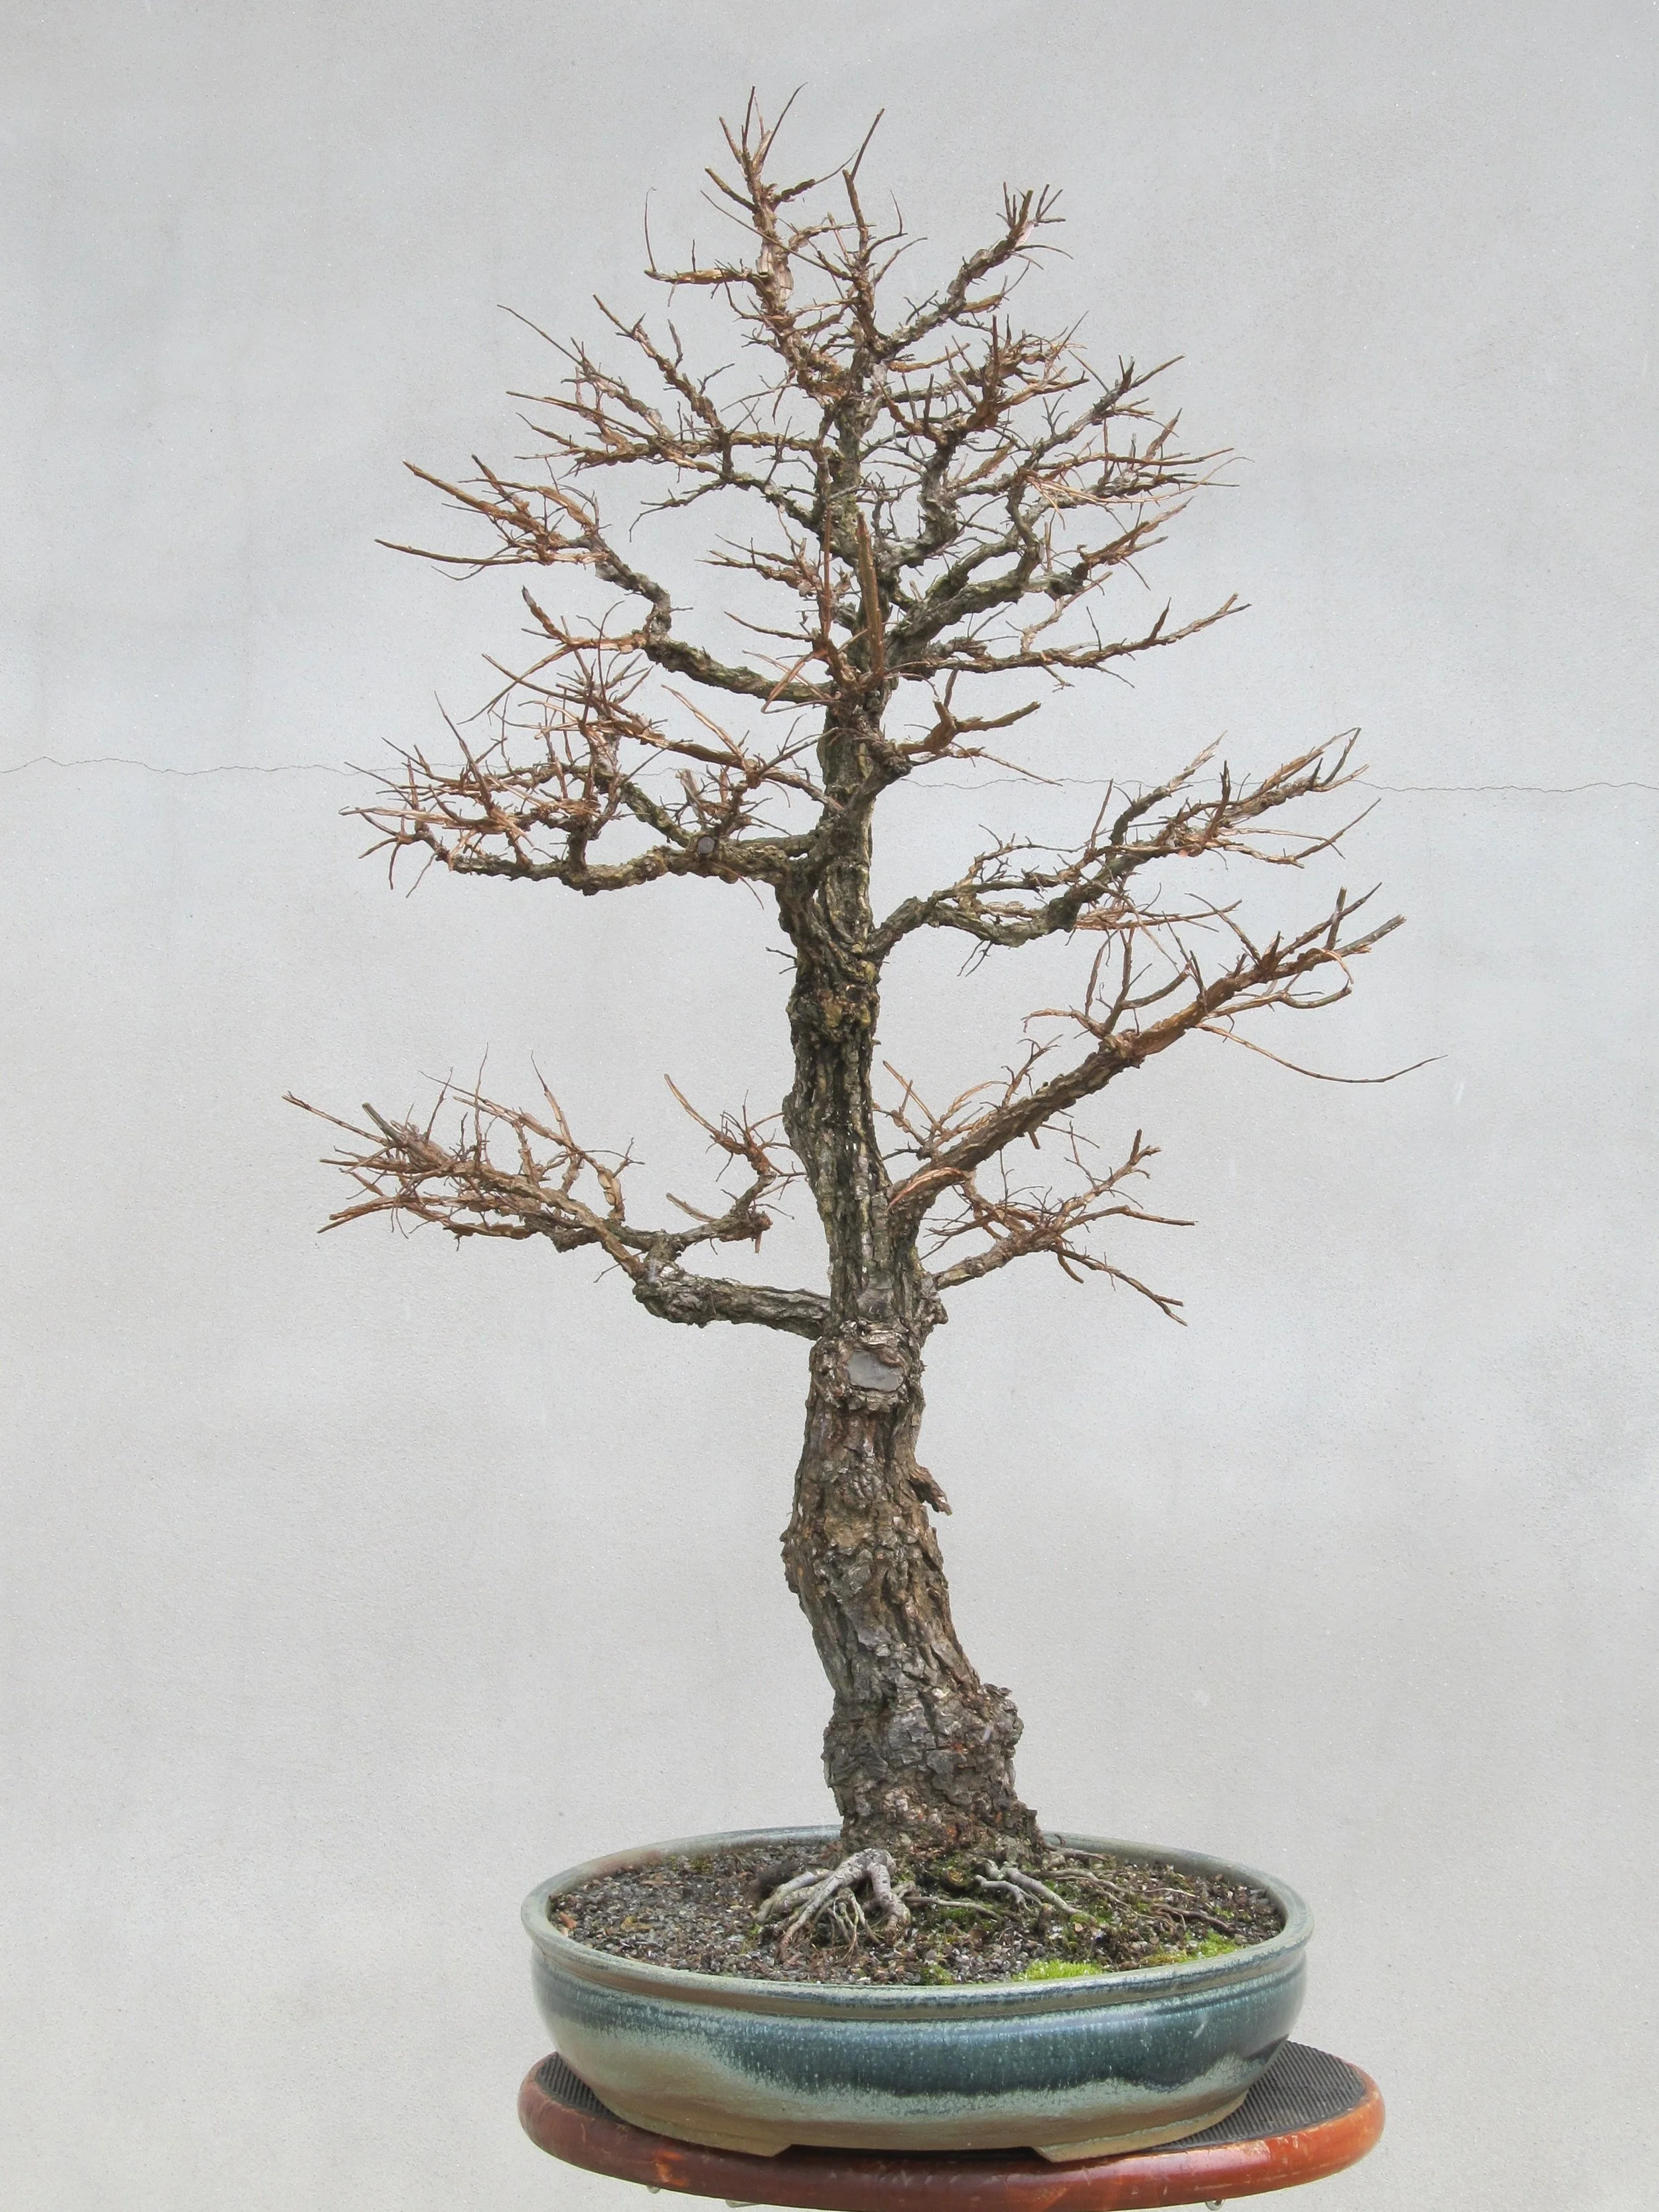
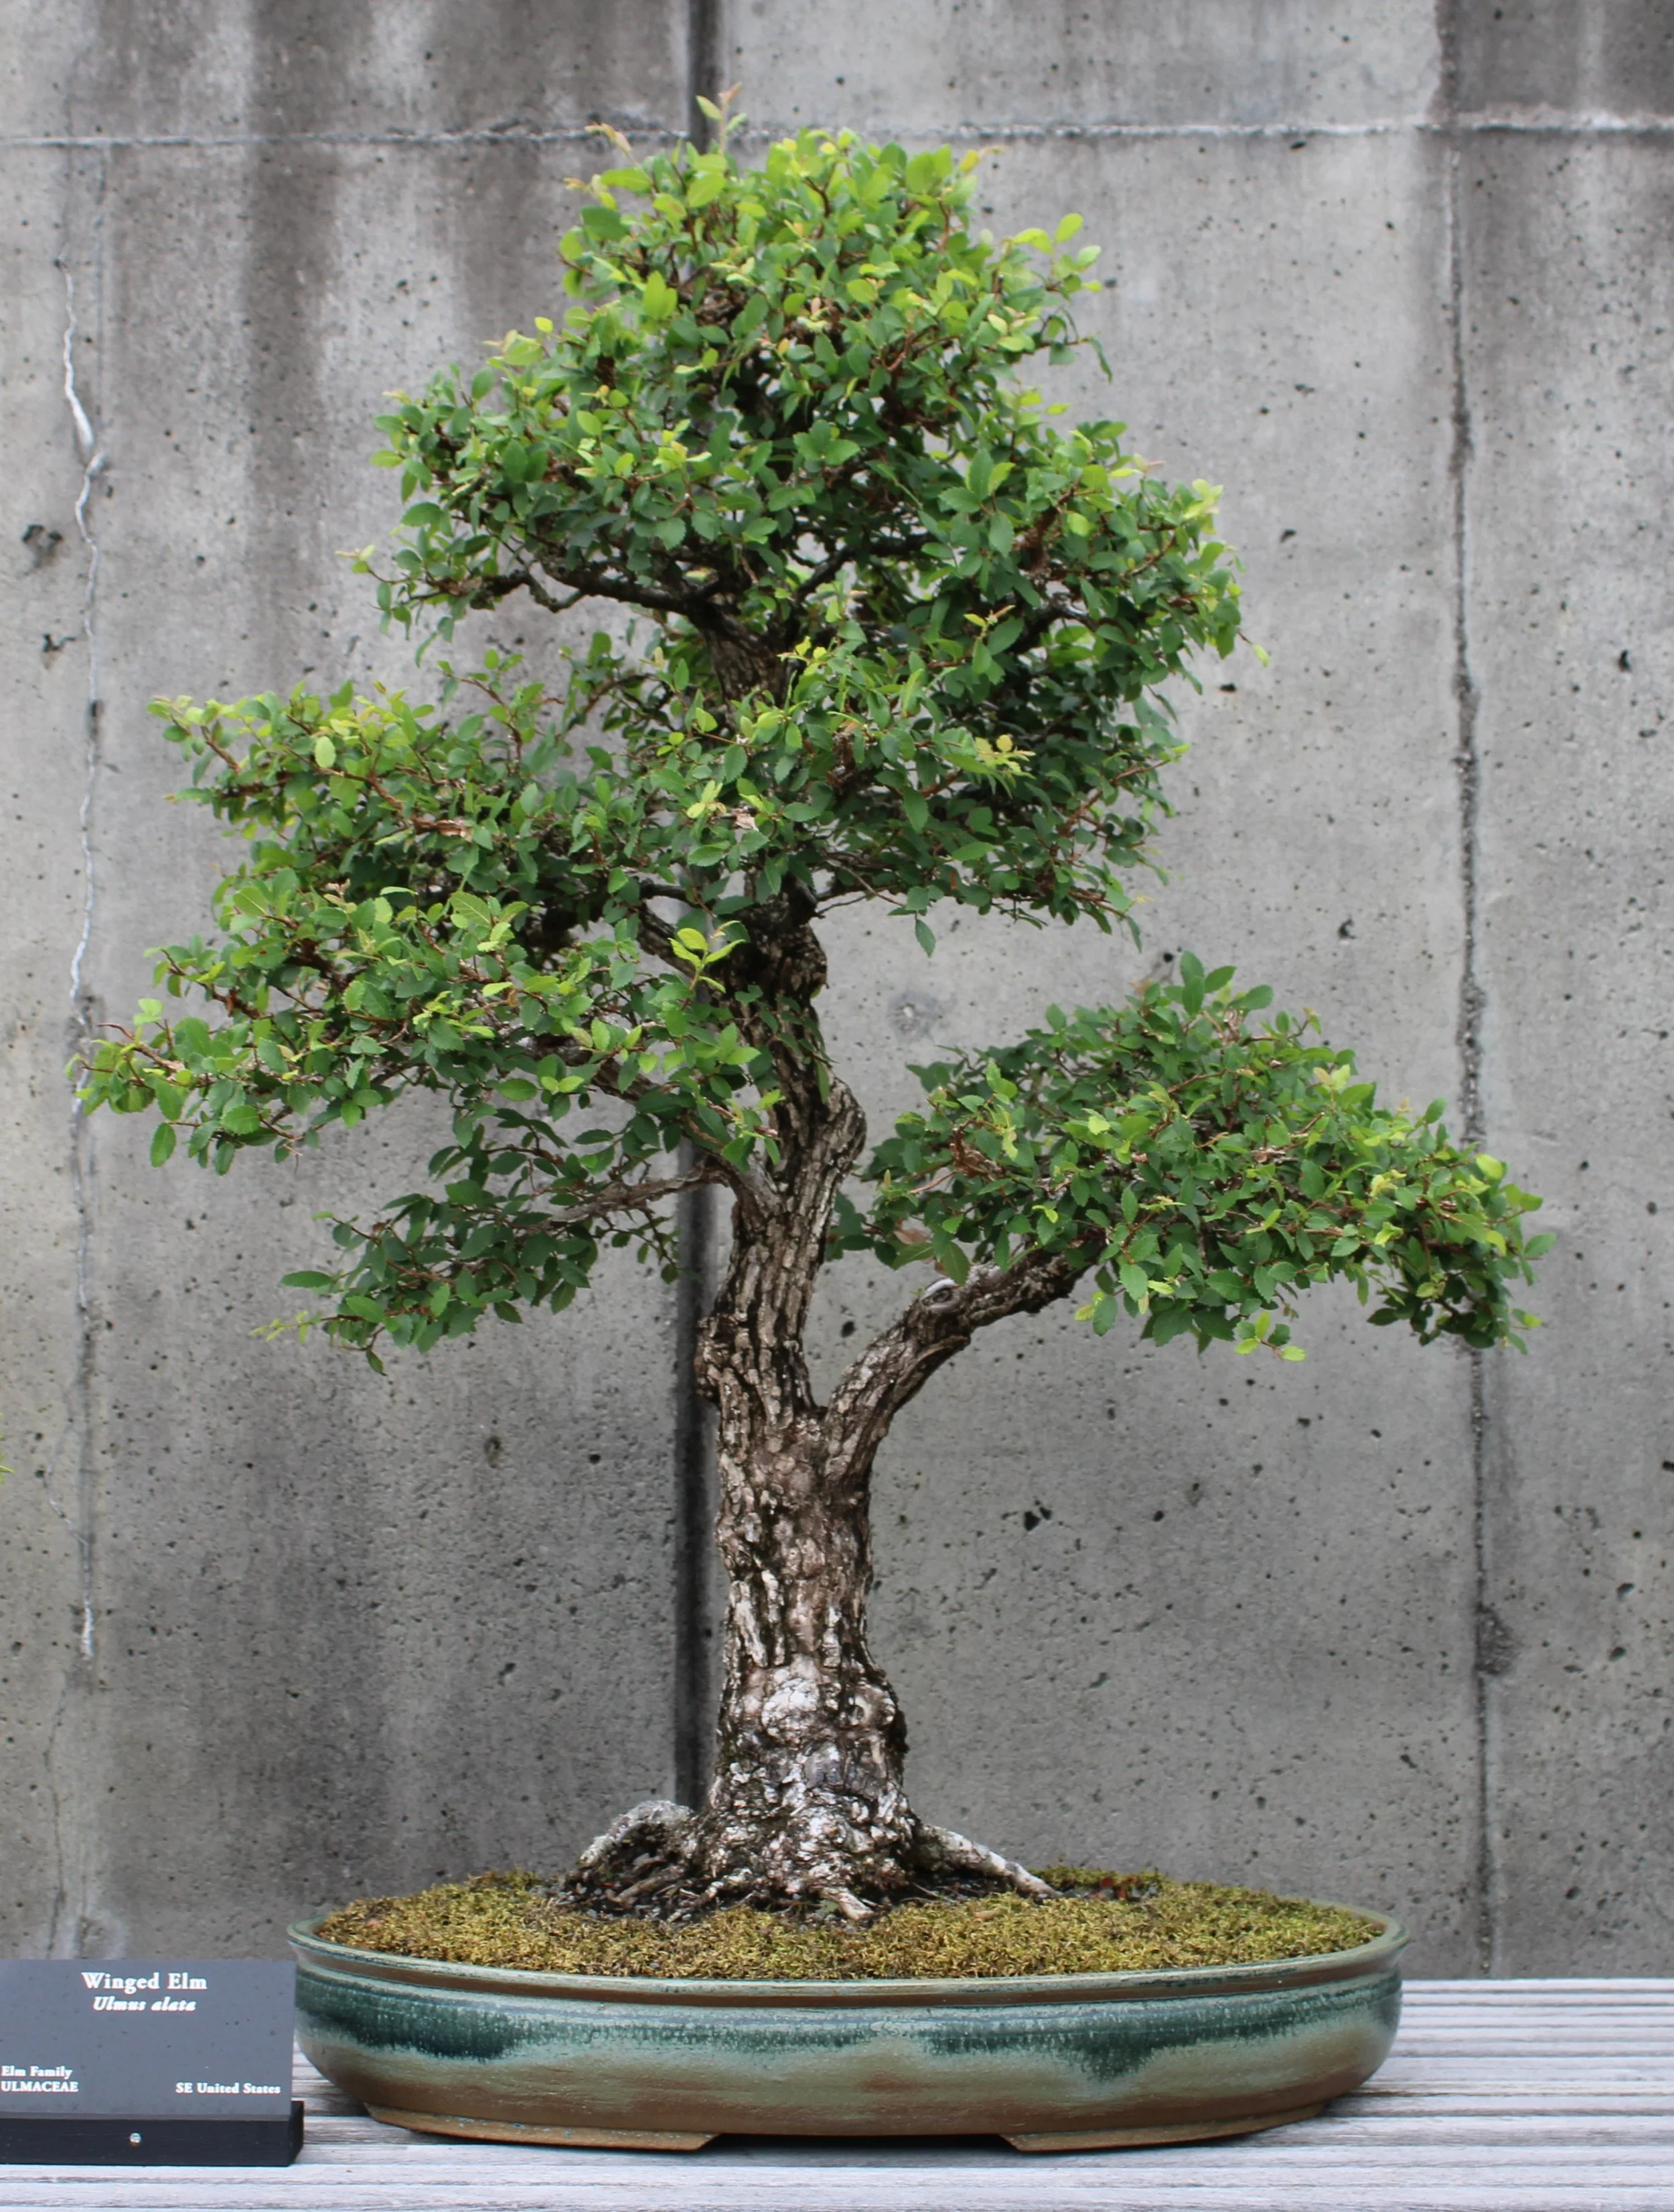
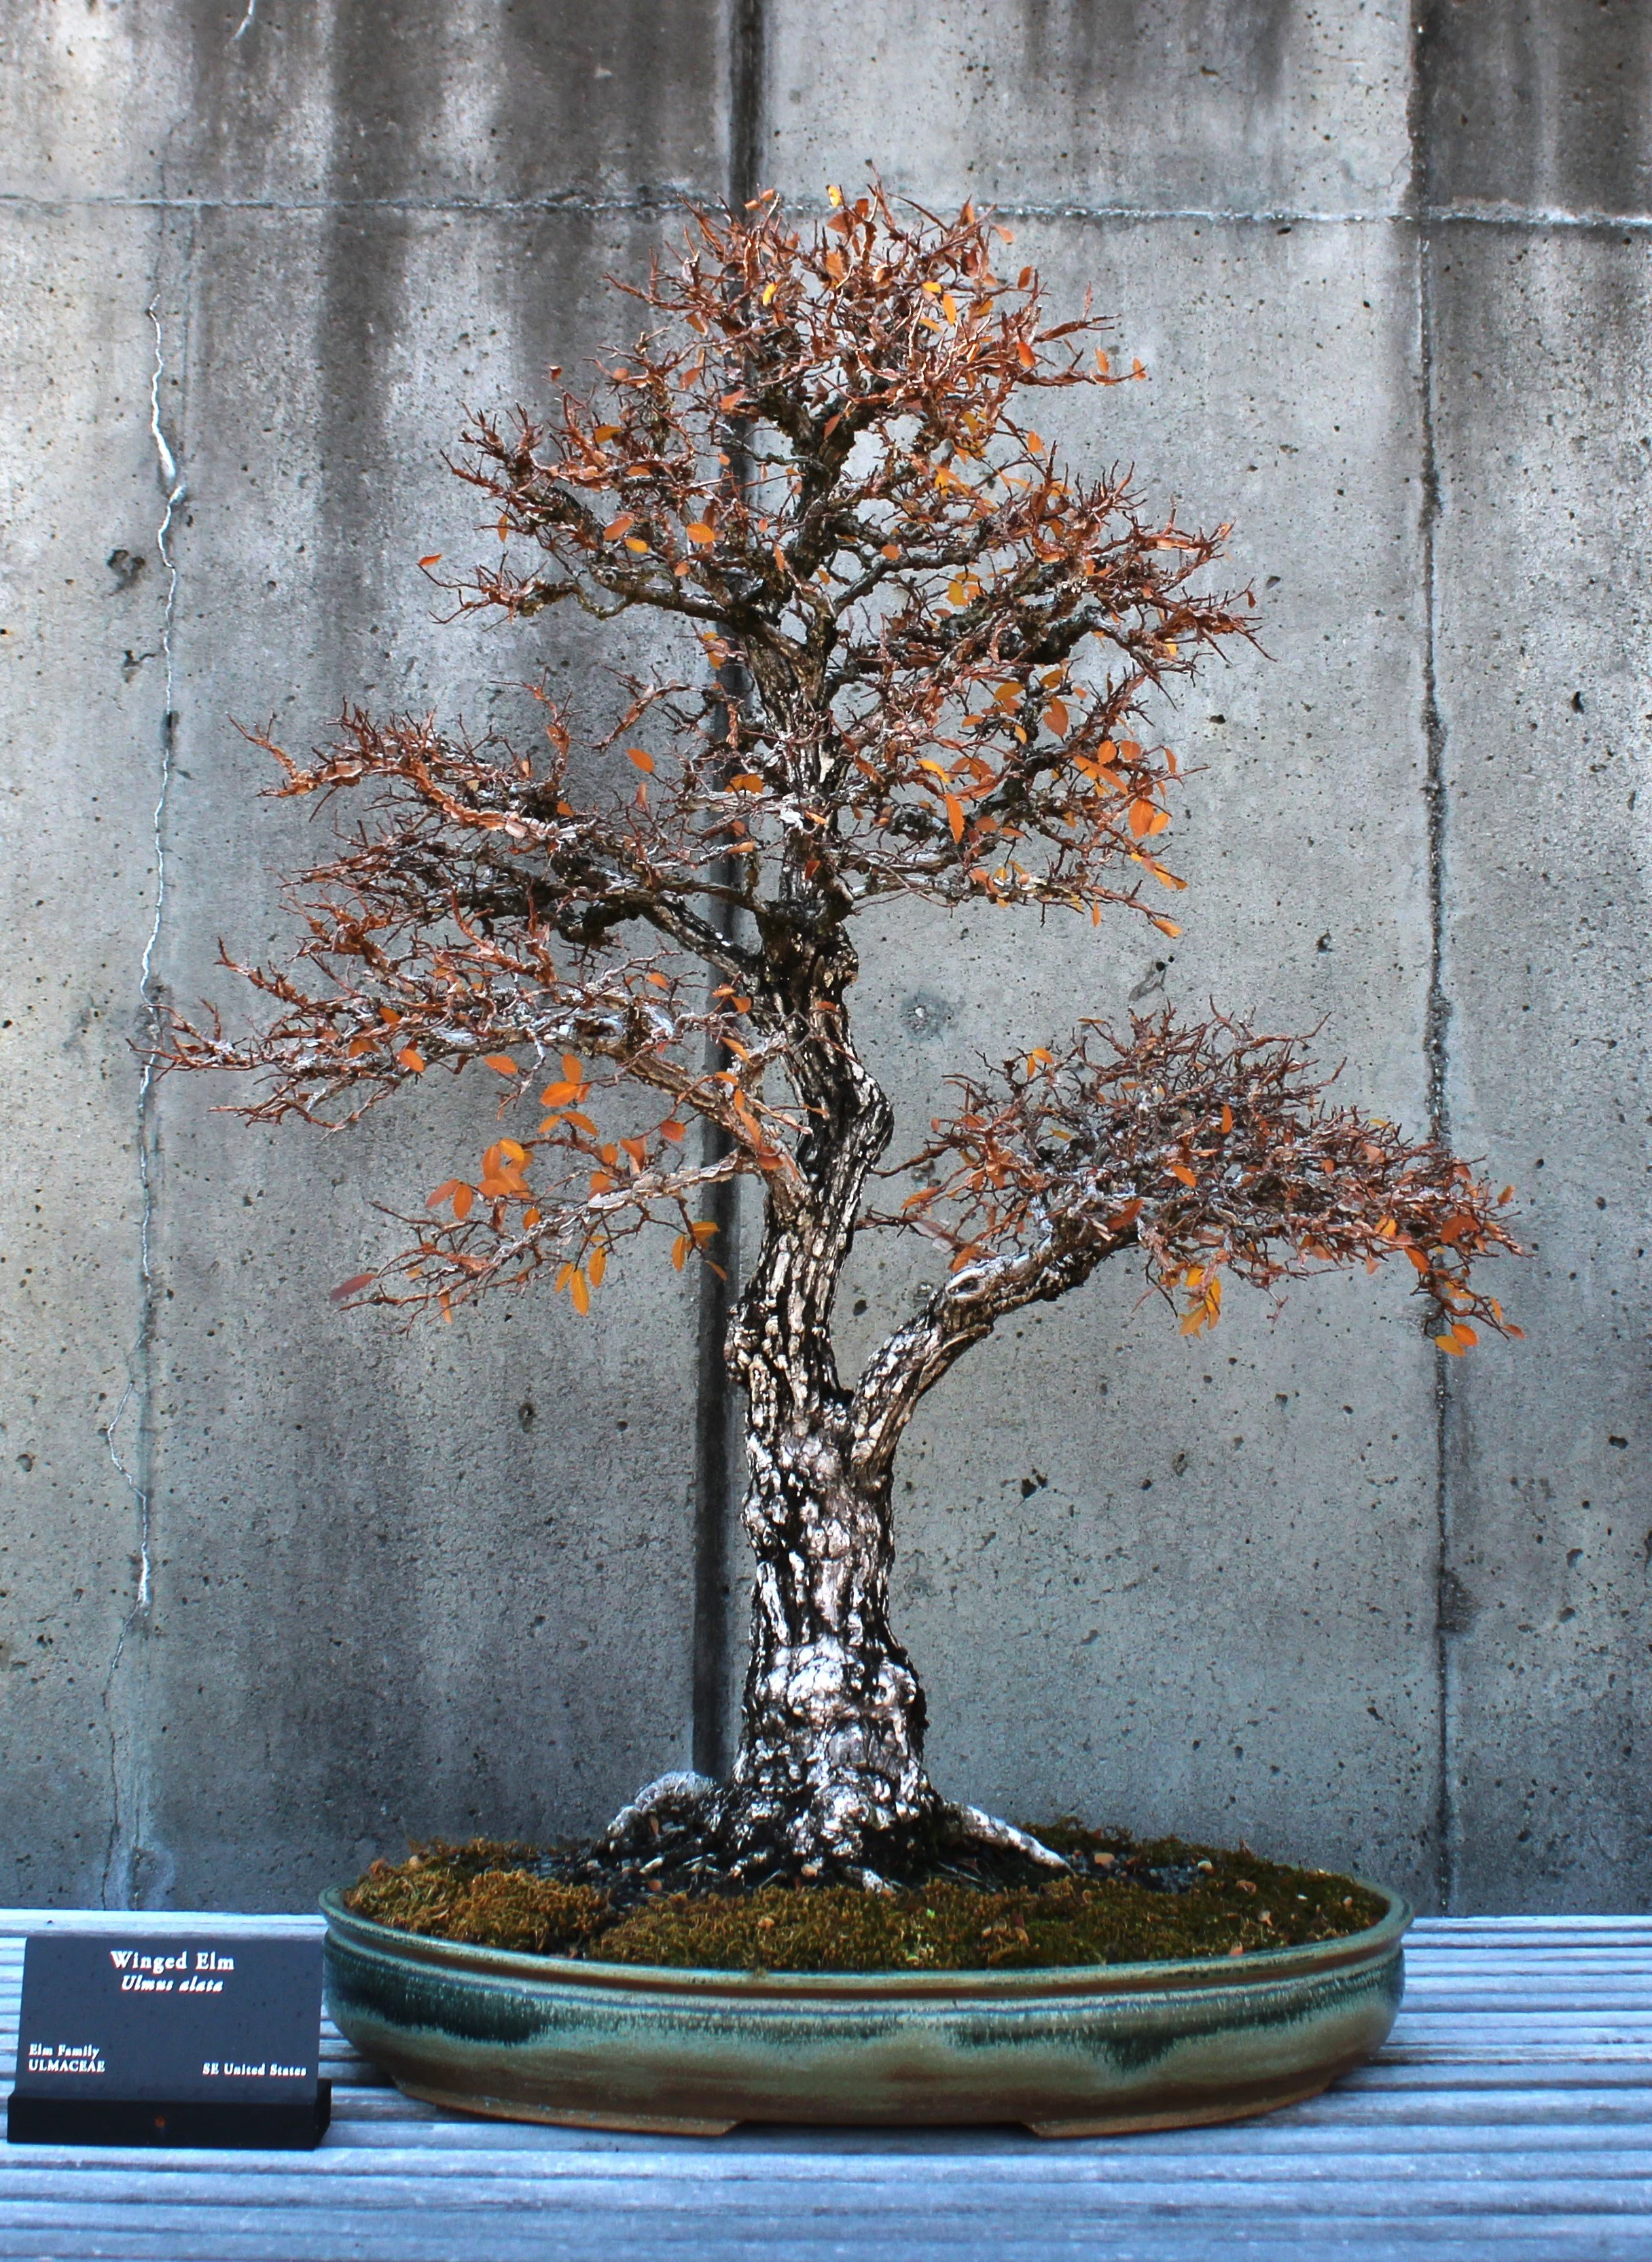
Worth noting in these two images from the following year is that corrective work on the single-leader apex had made a stride forward:
July 2016
July 2016
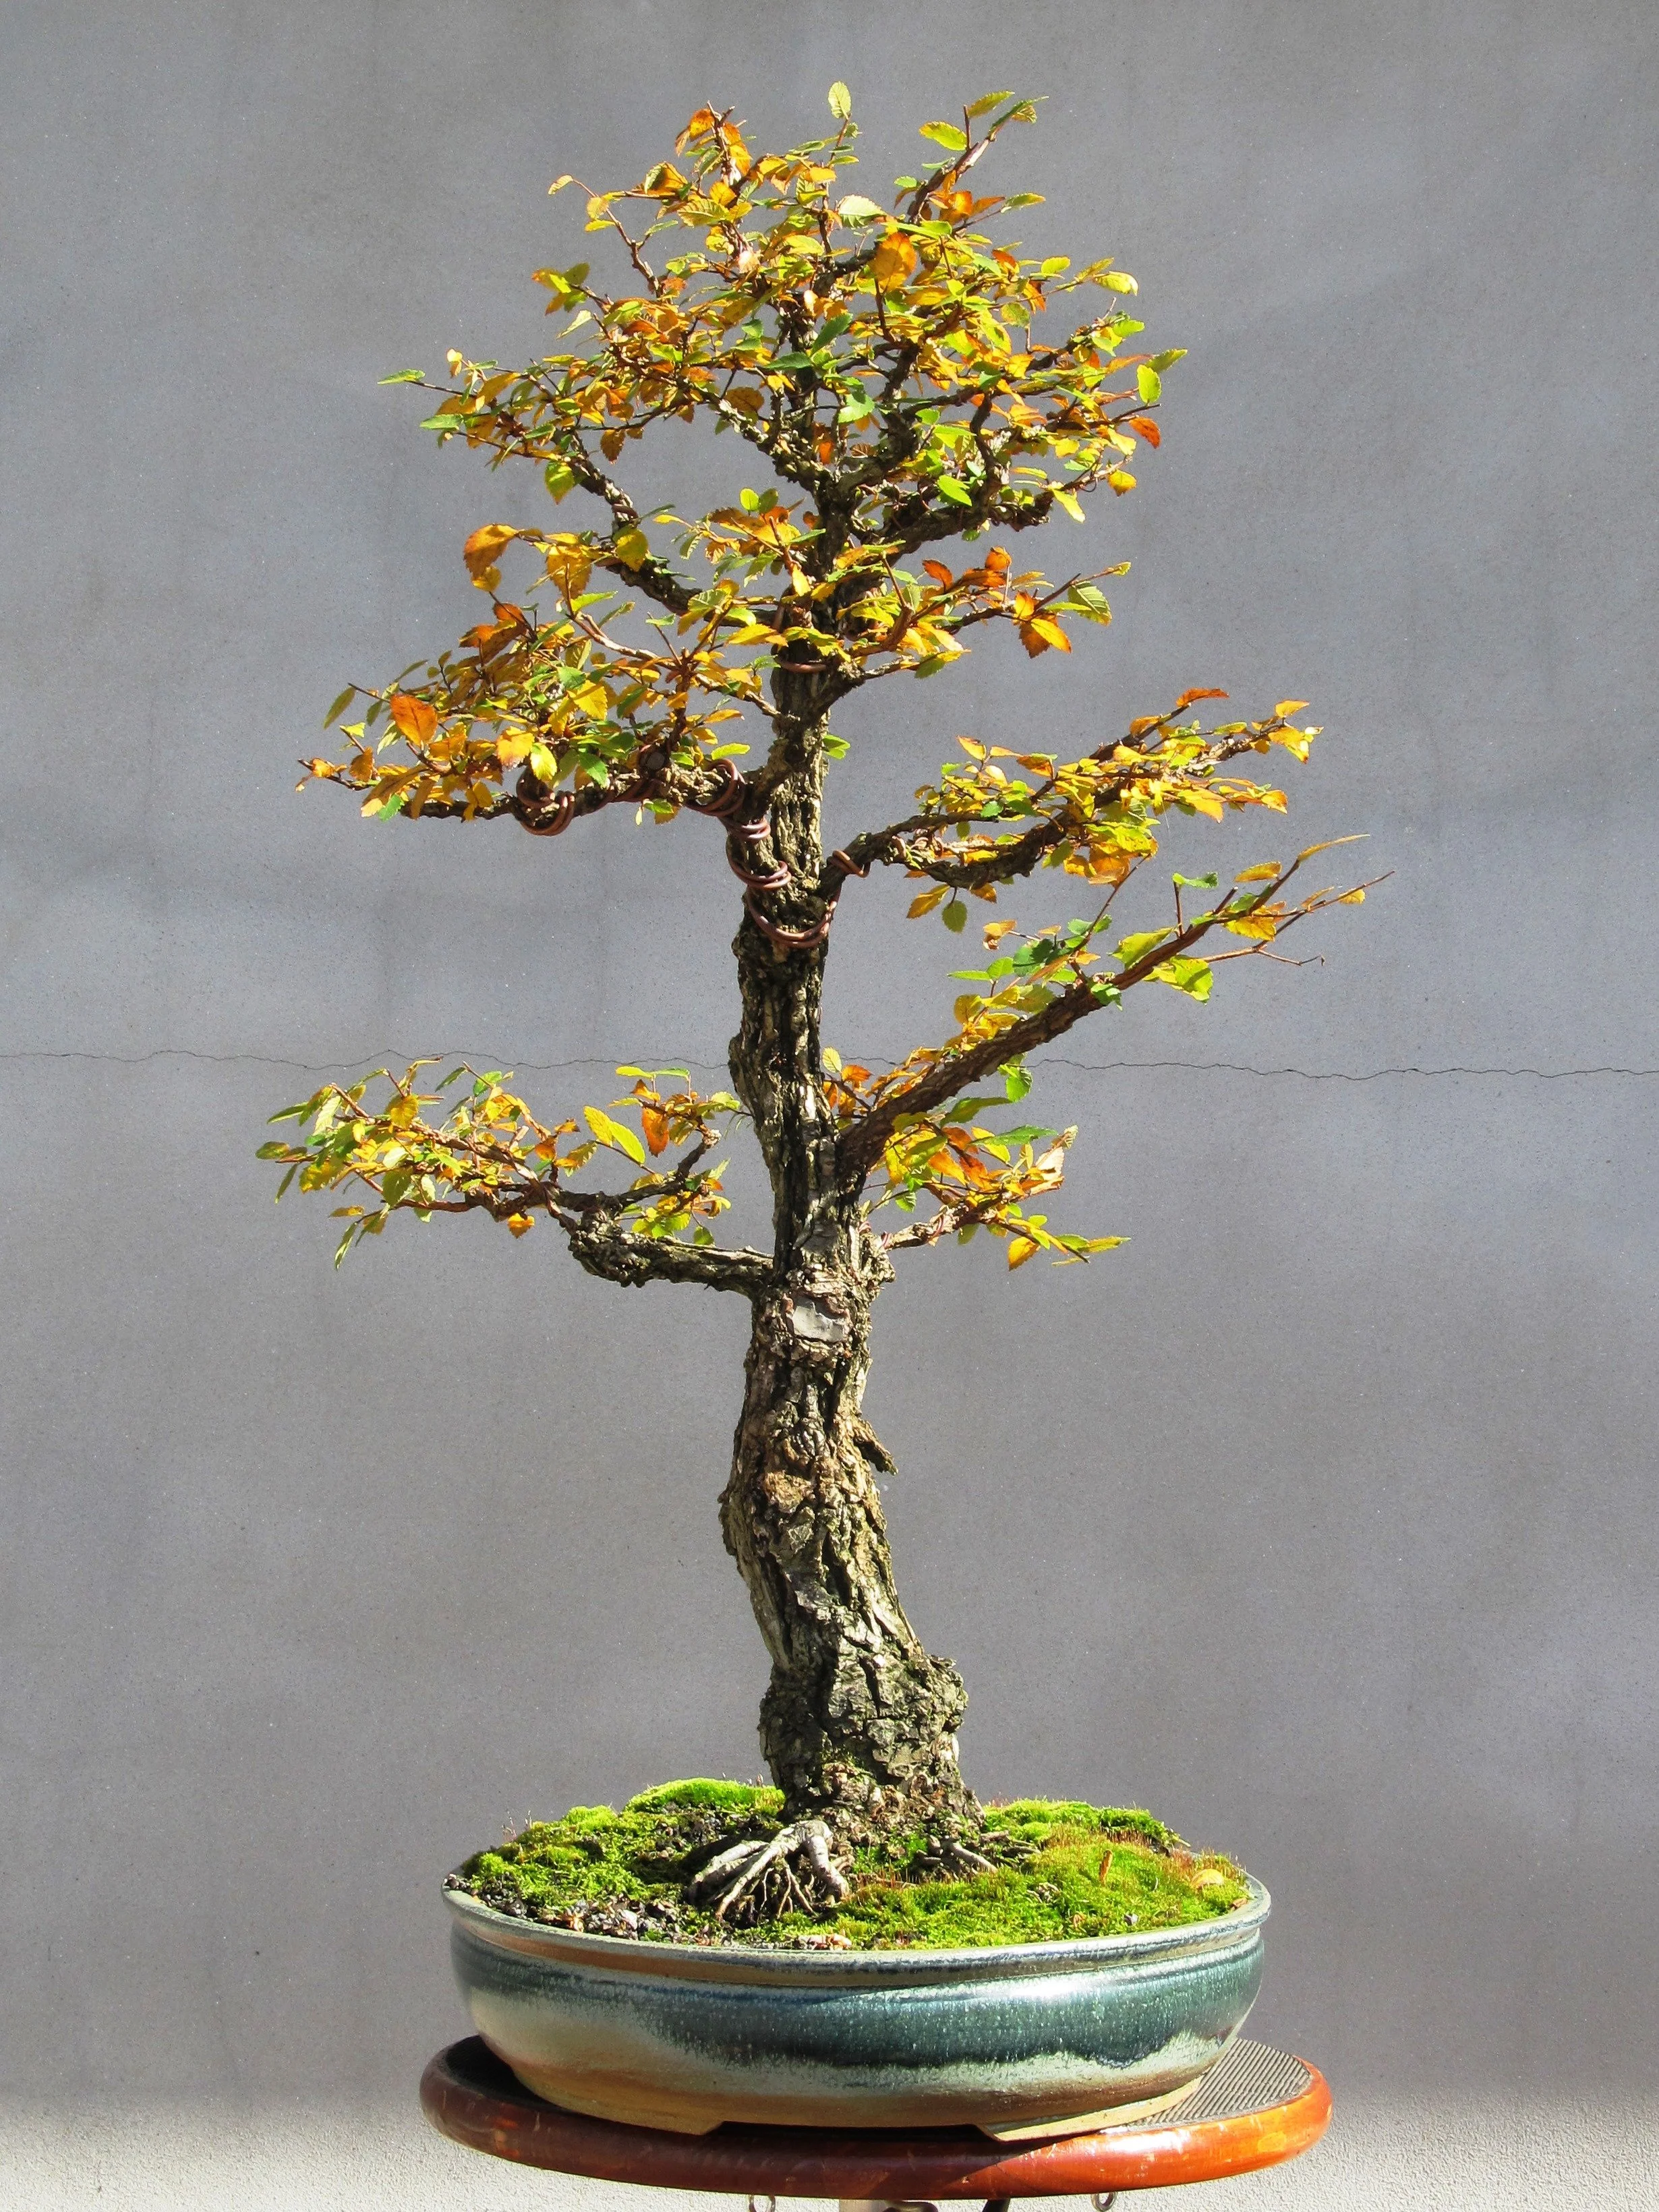
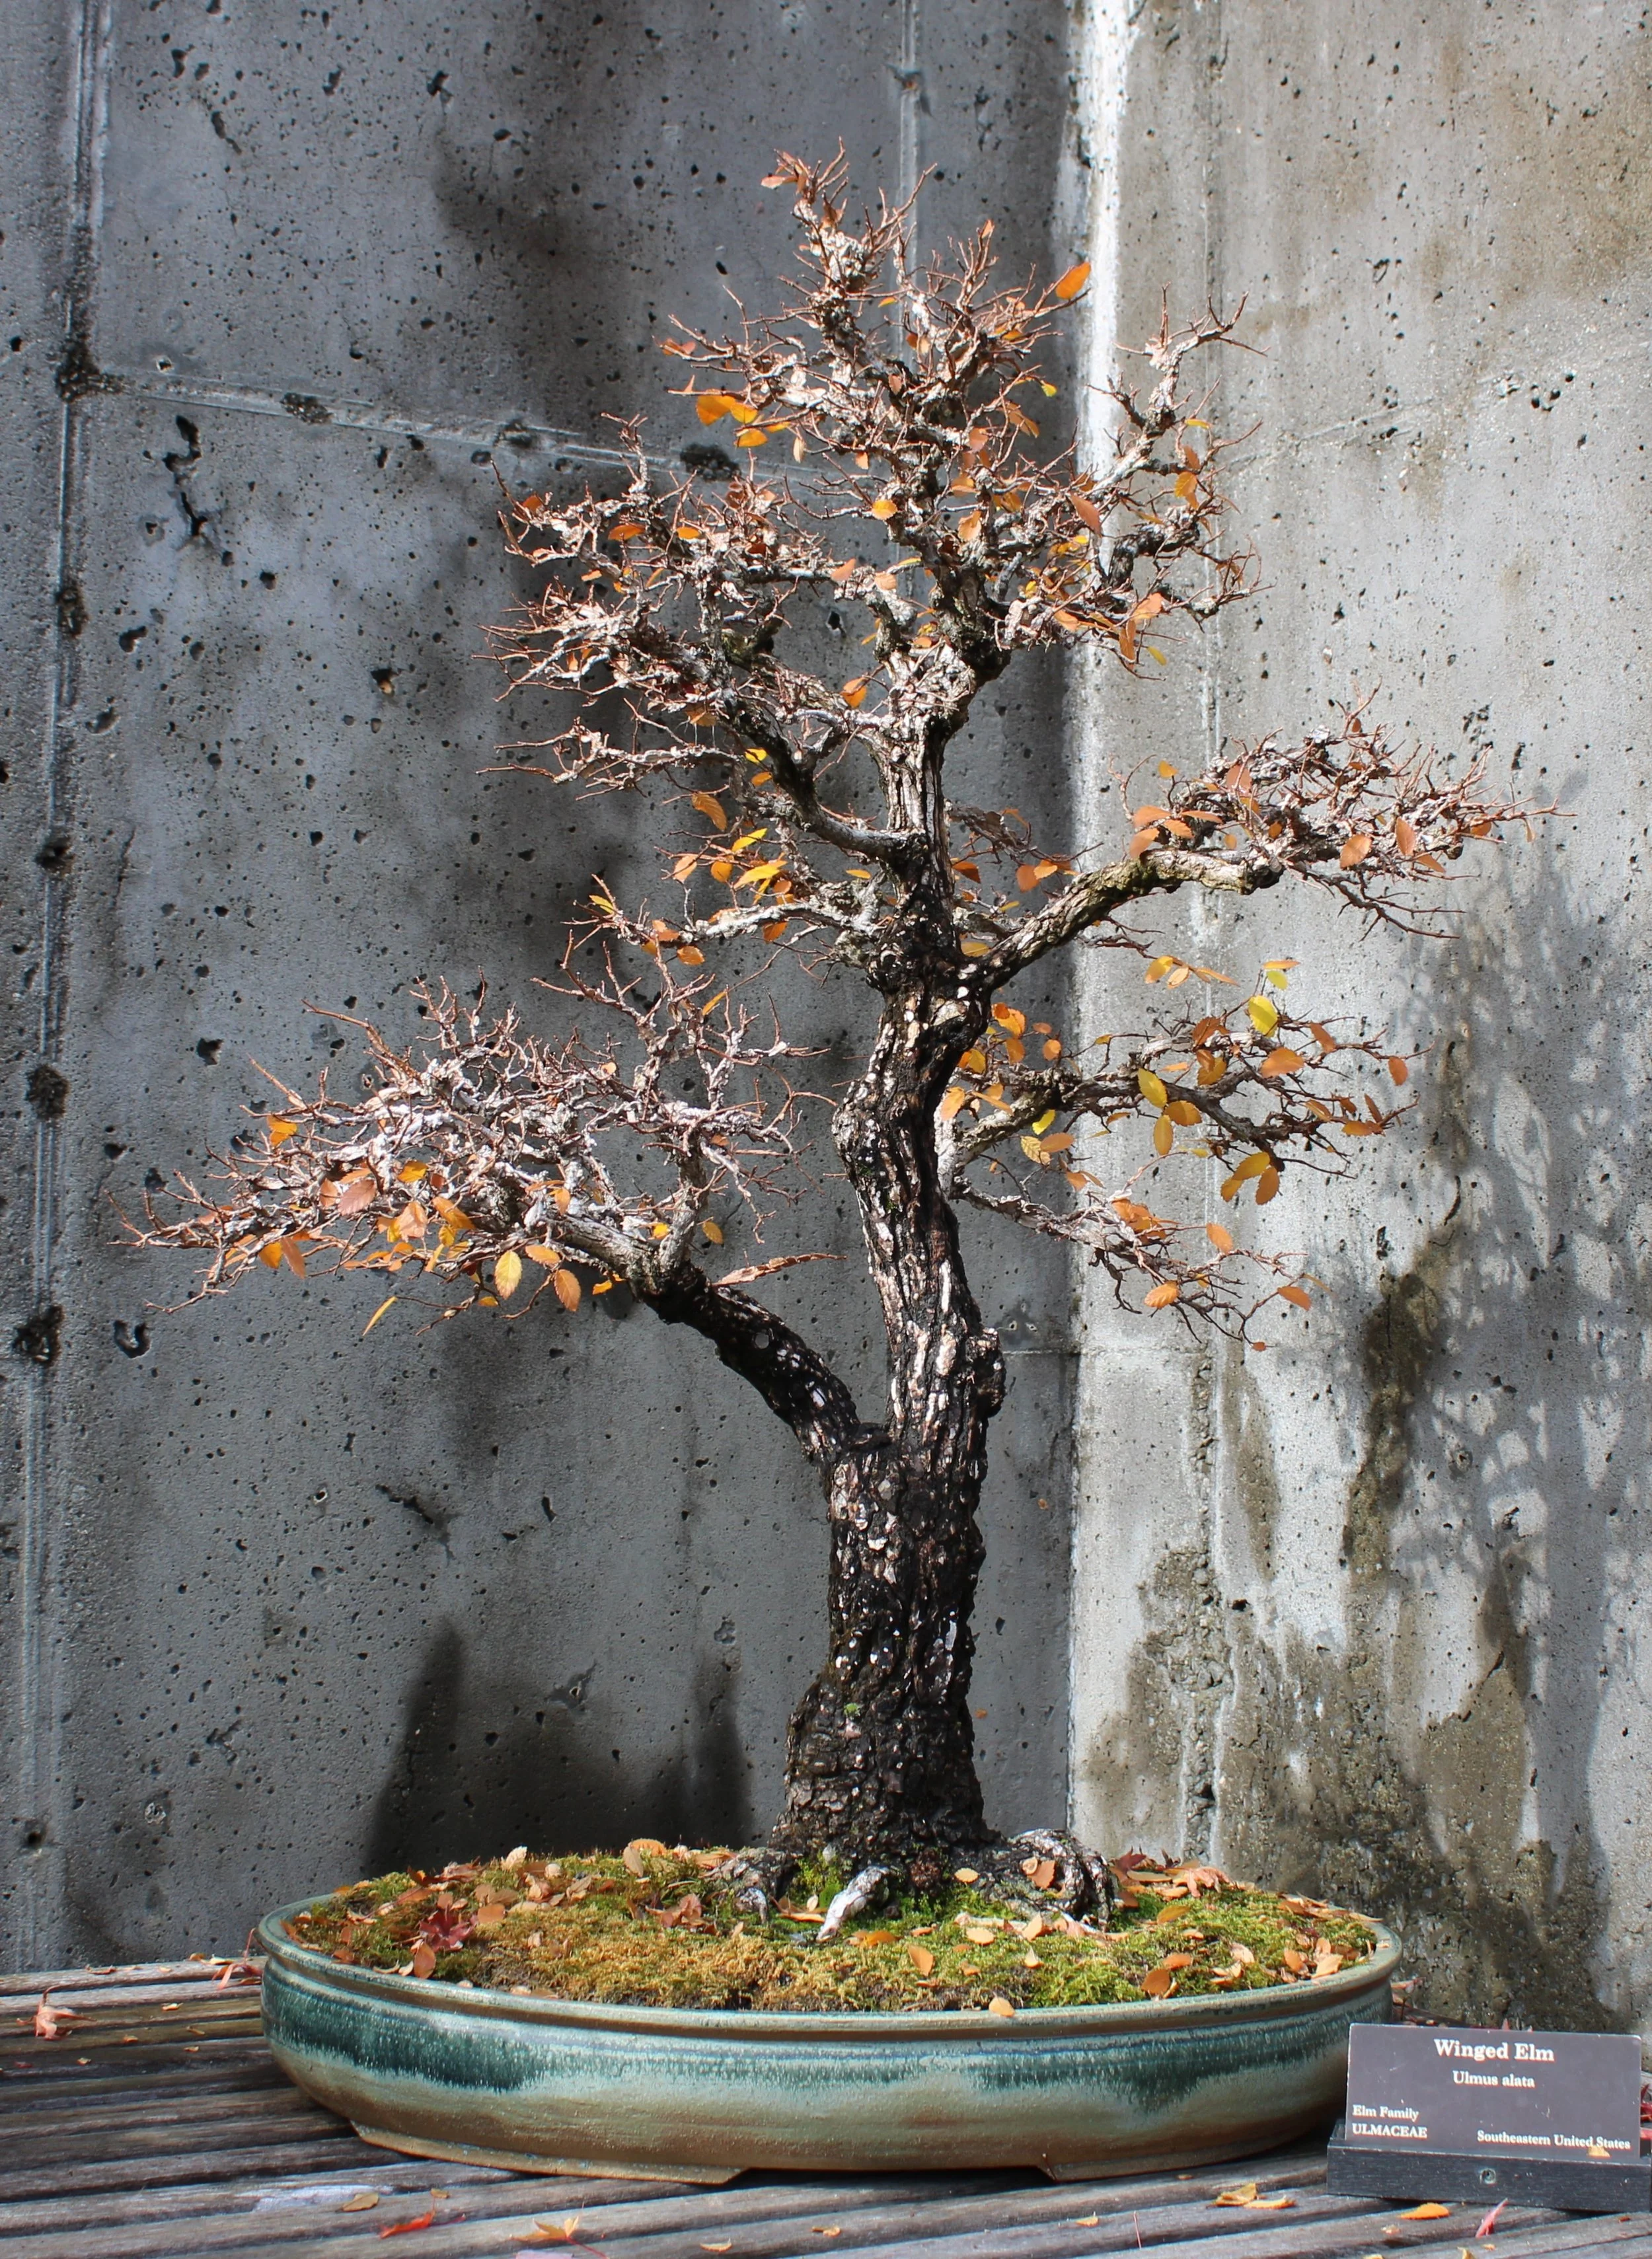
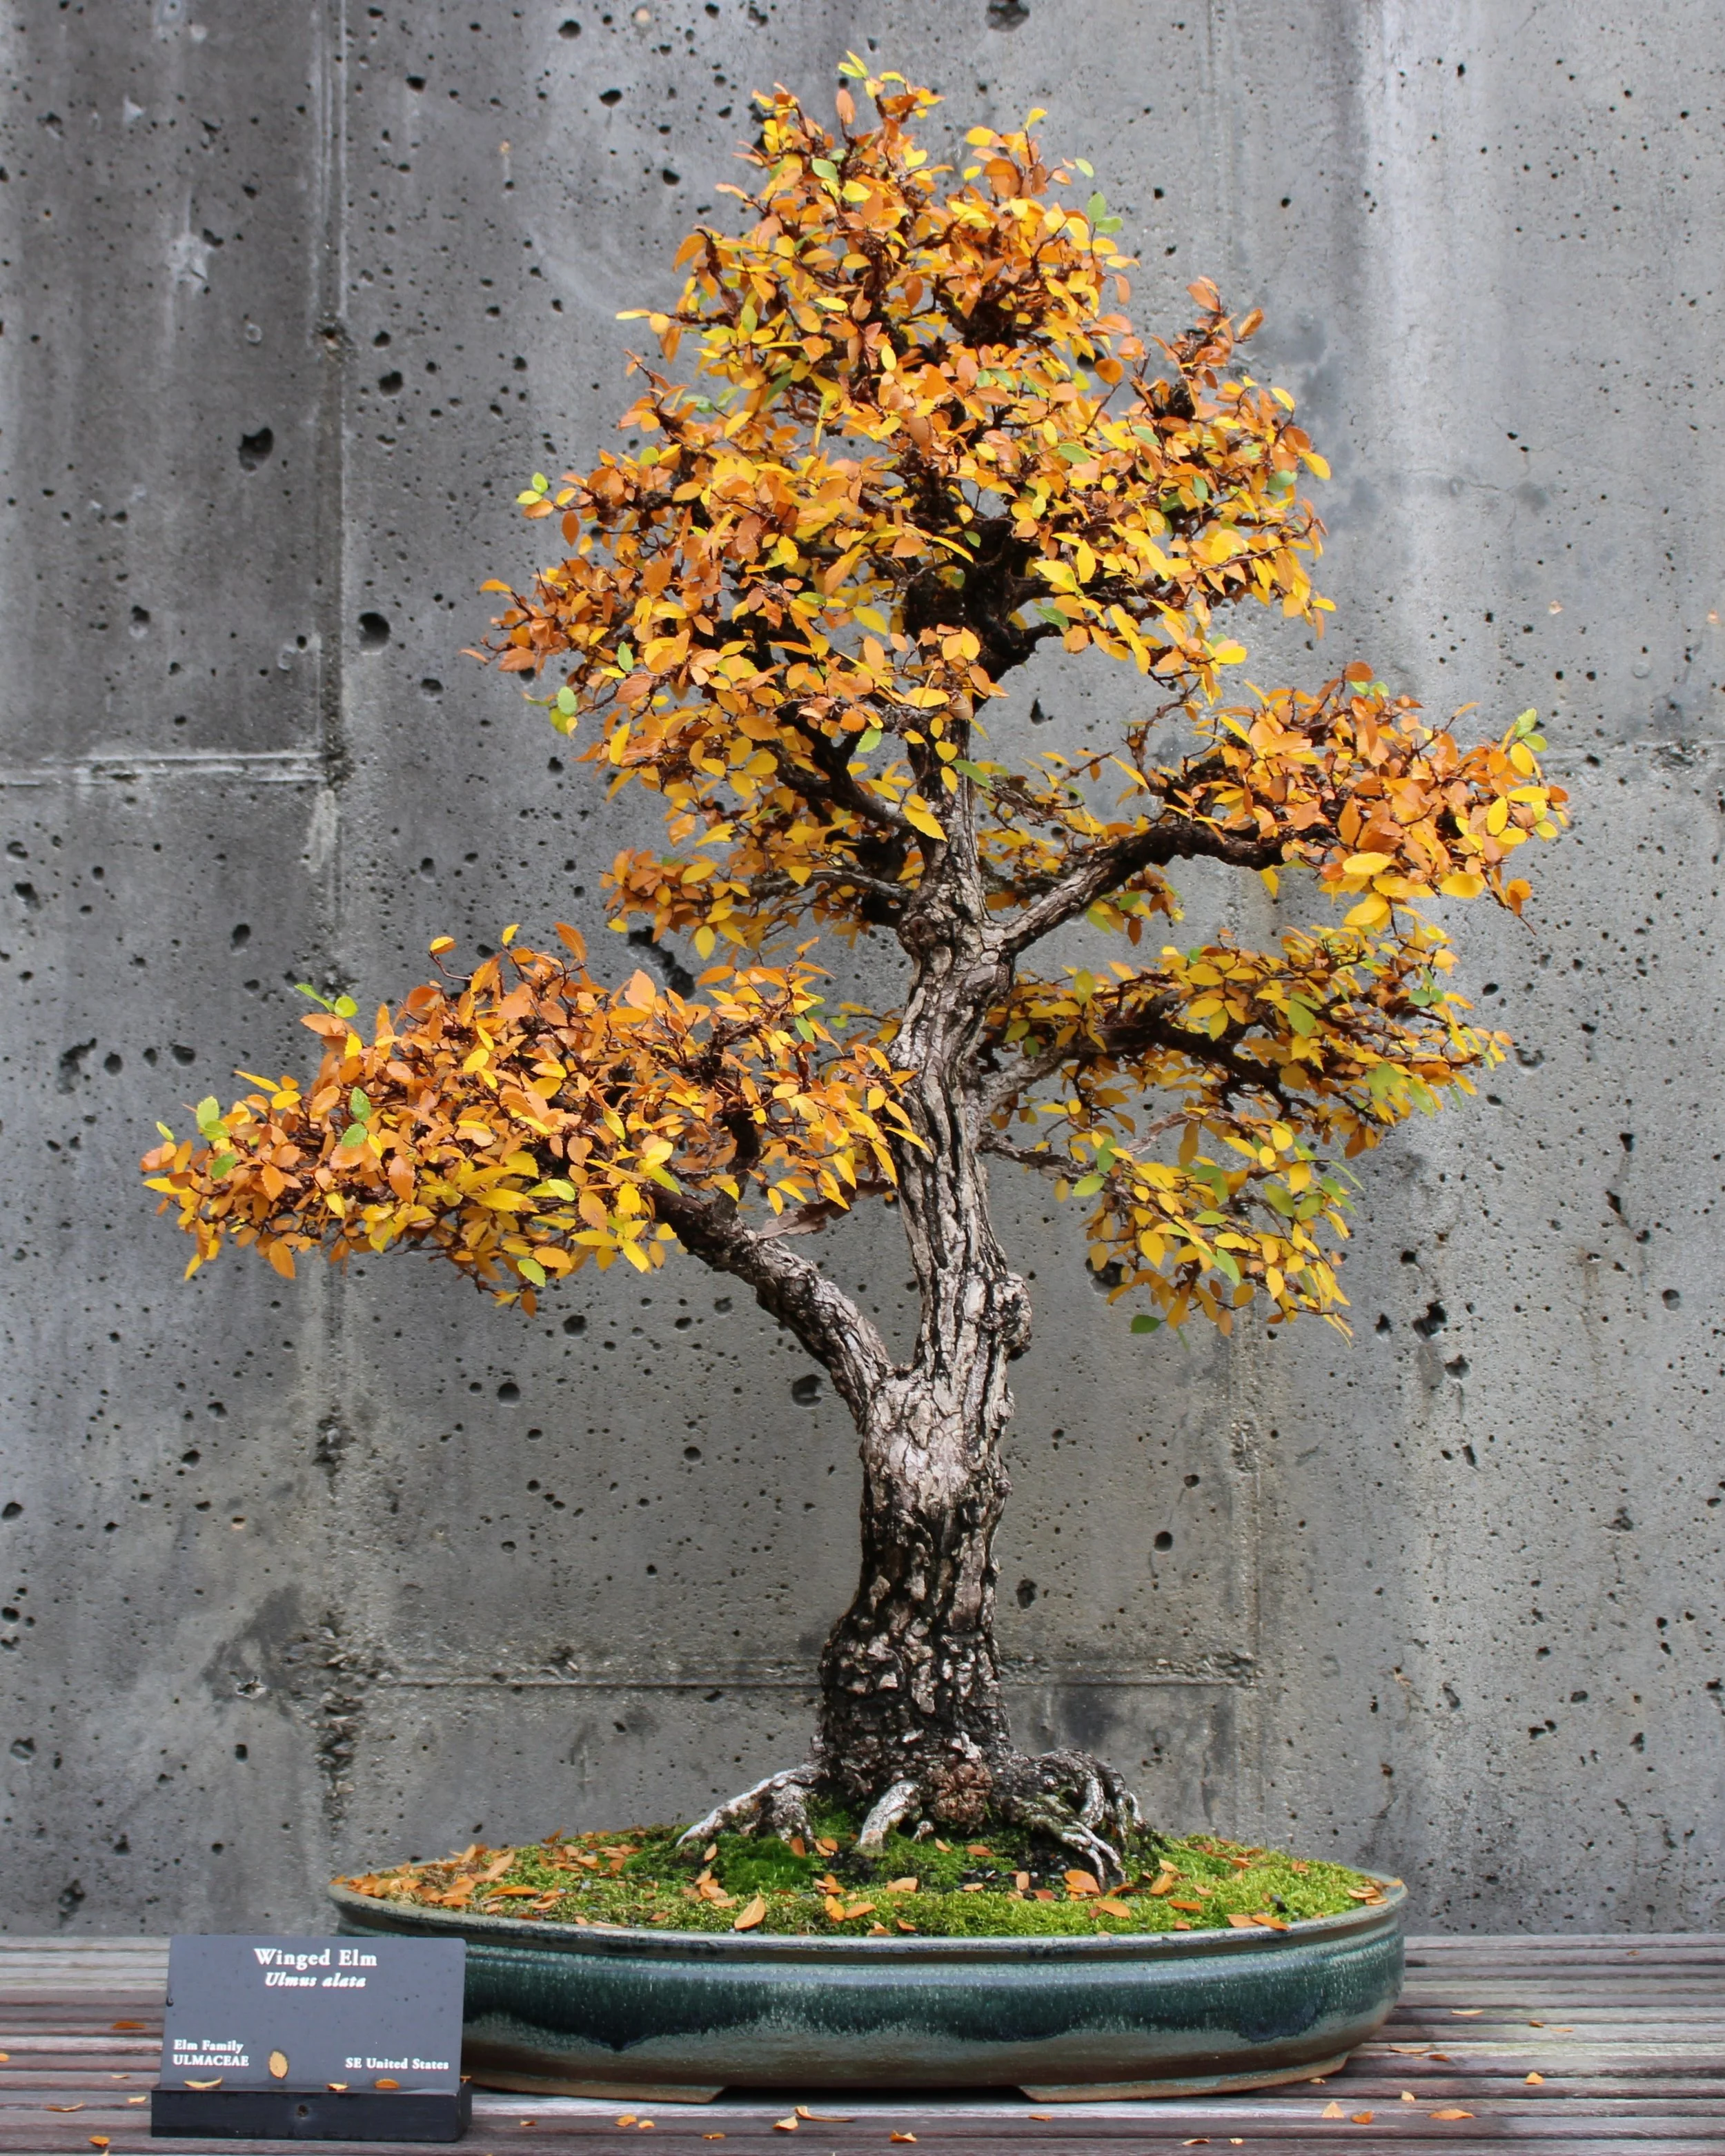
Pictures from another beautiful autumn the following year:
November 2017
November 2017
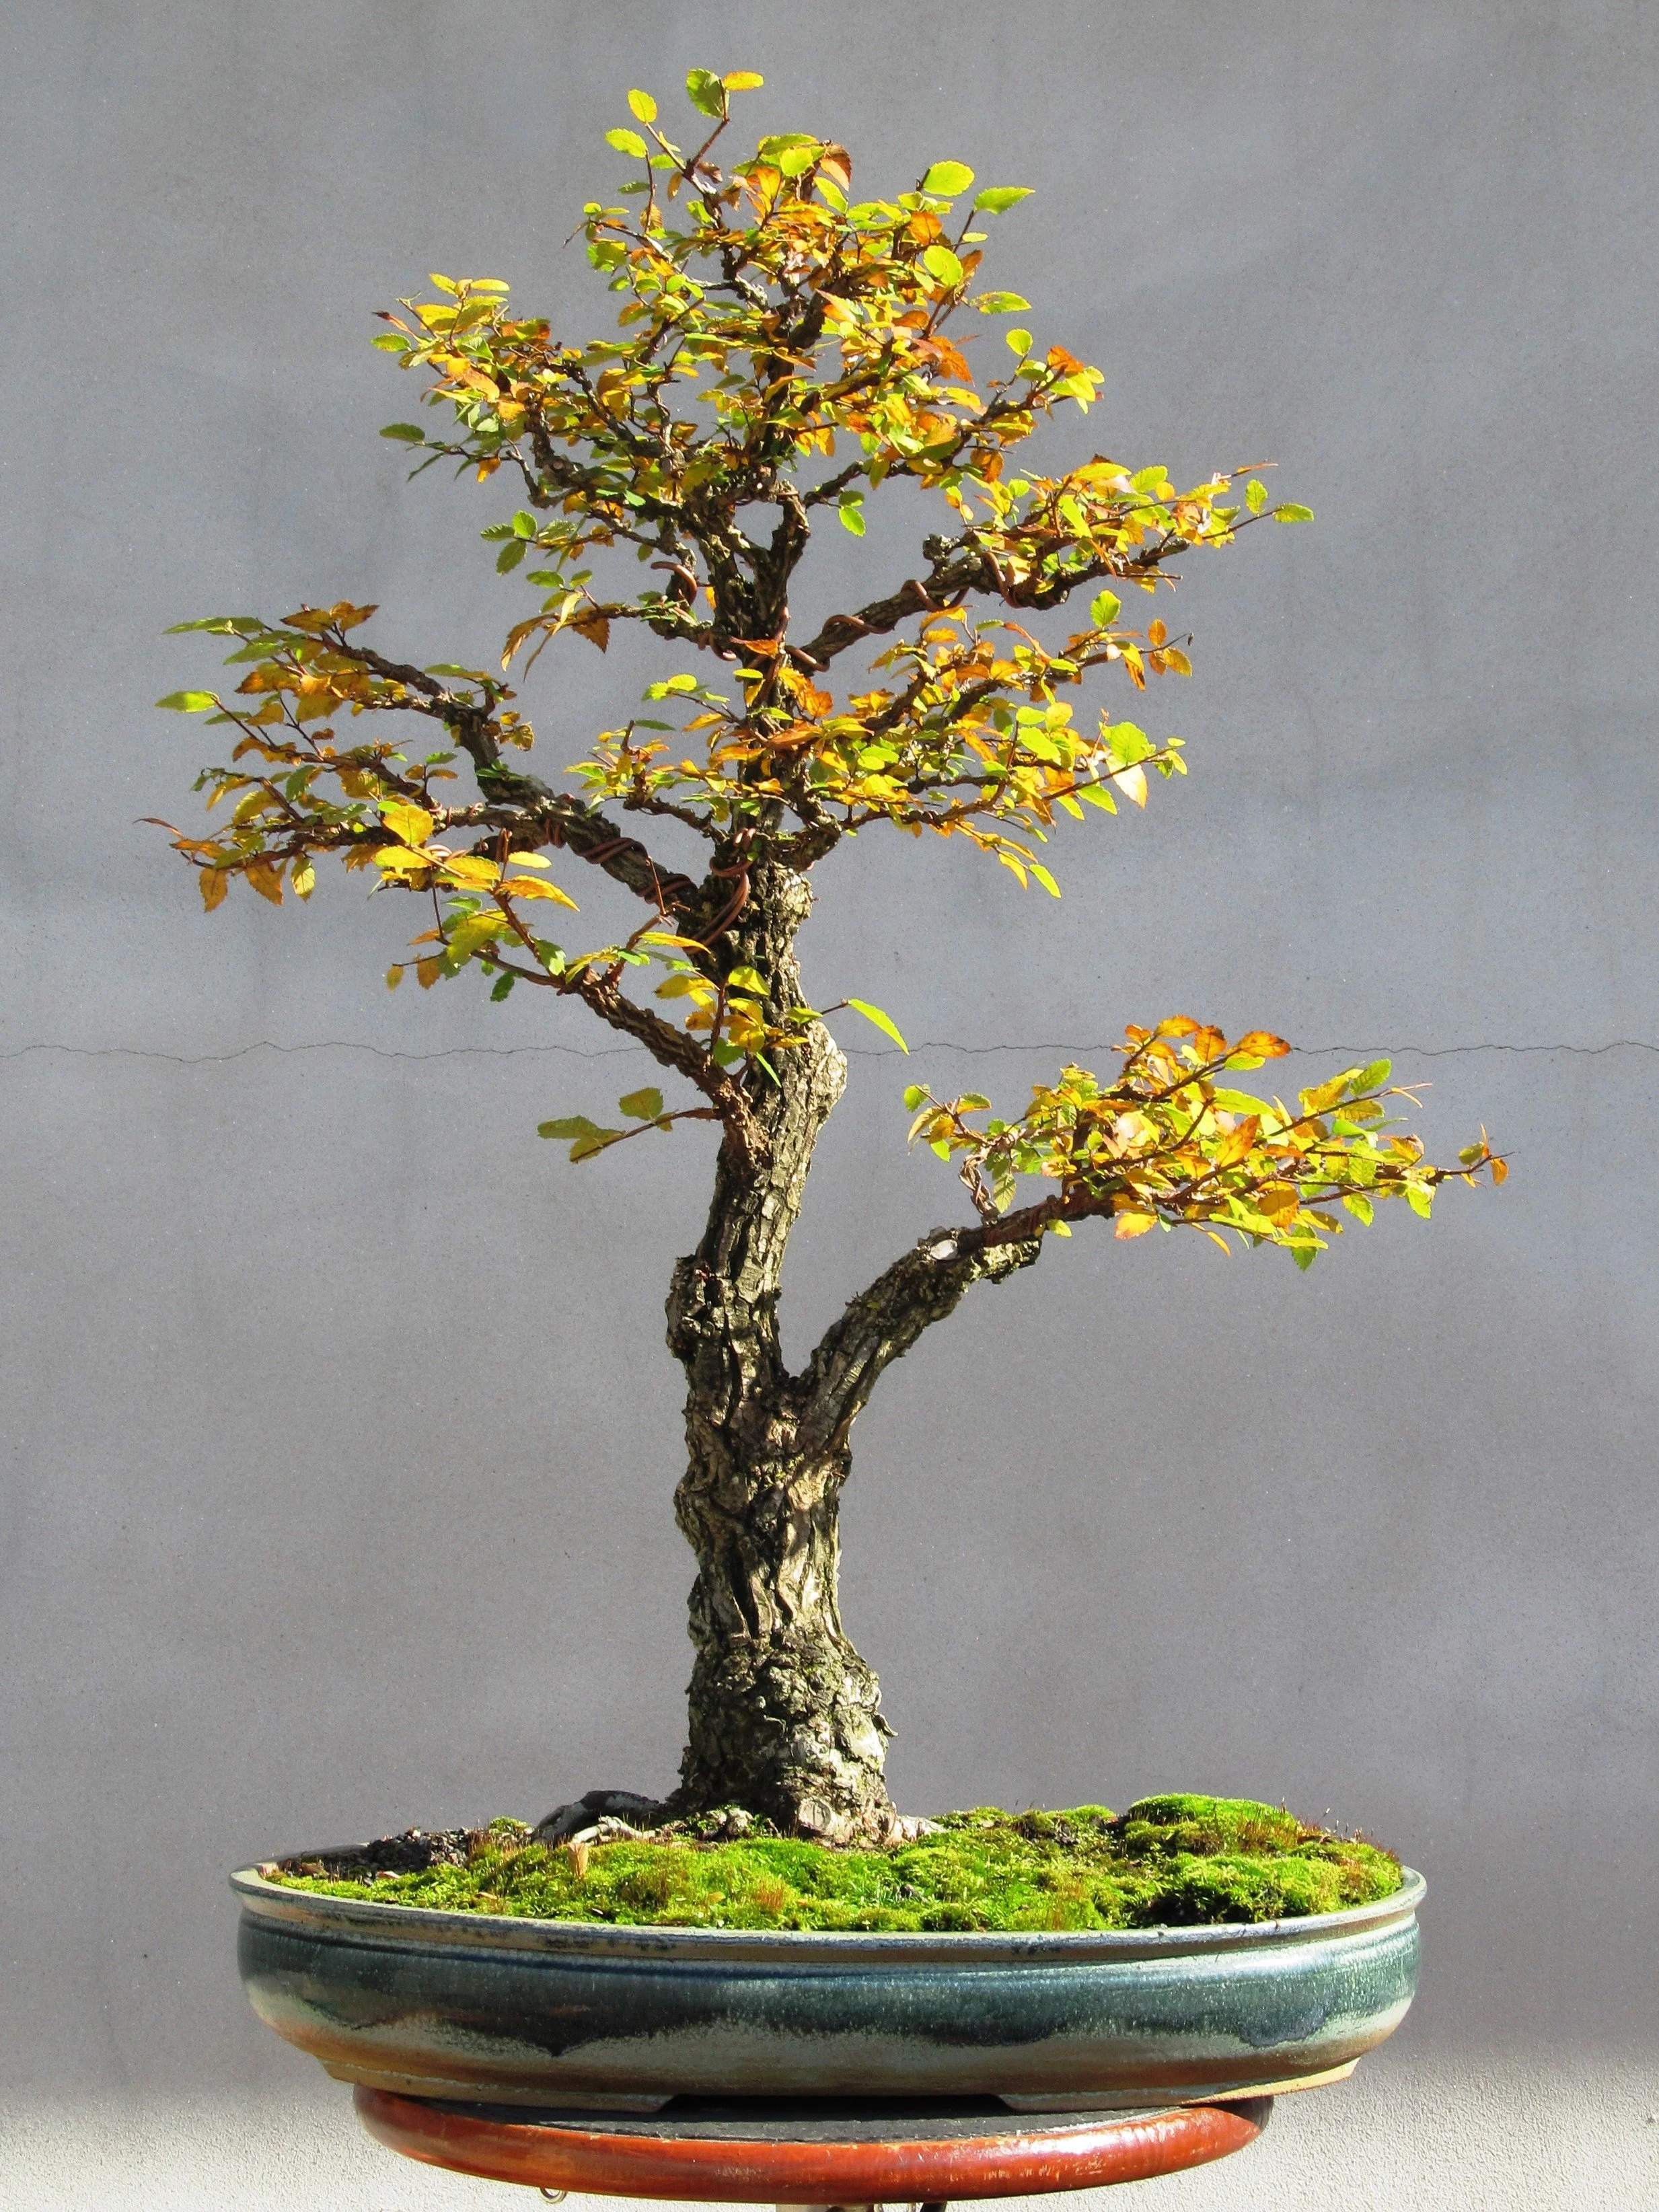
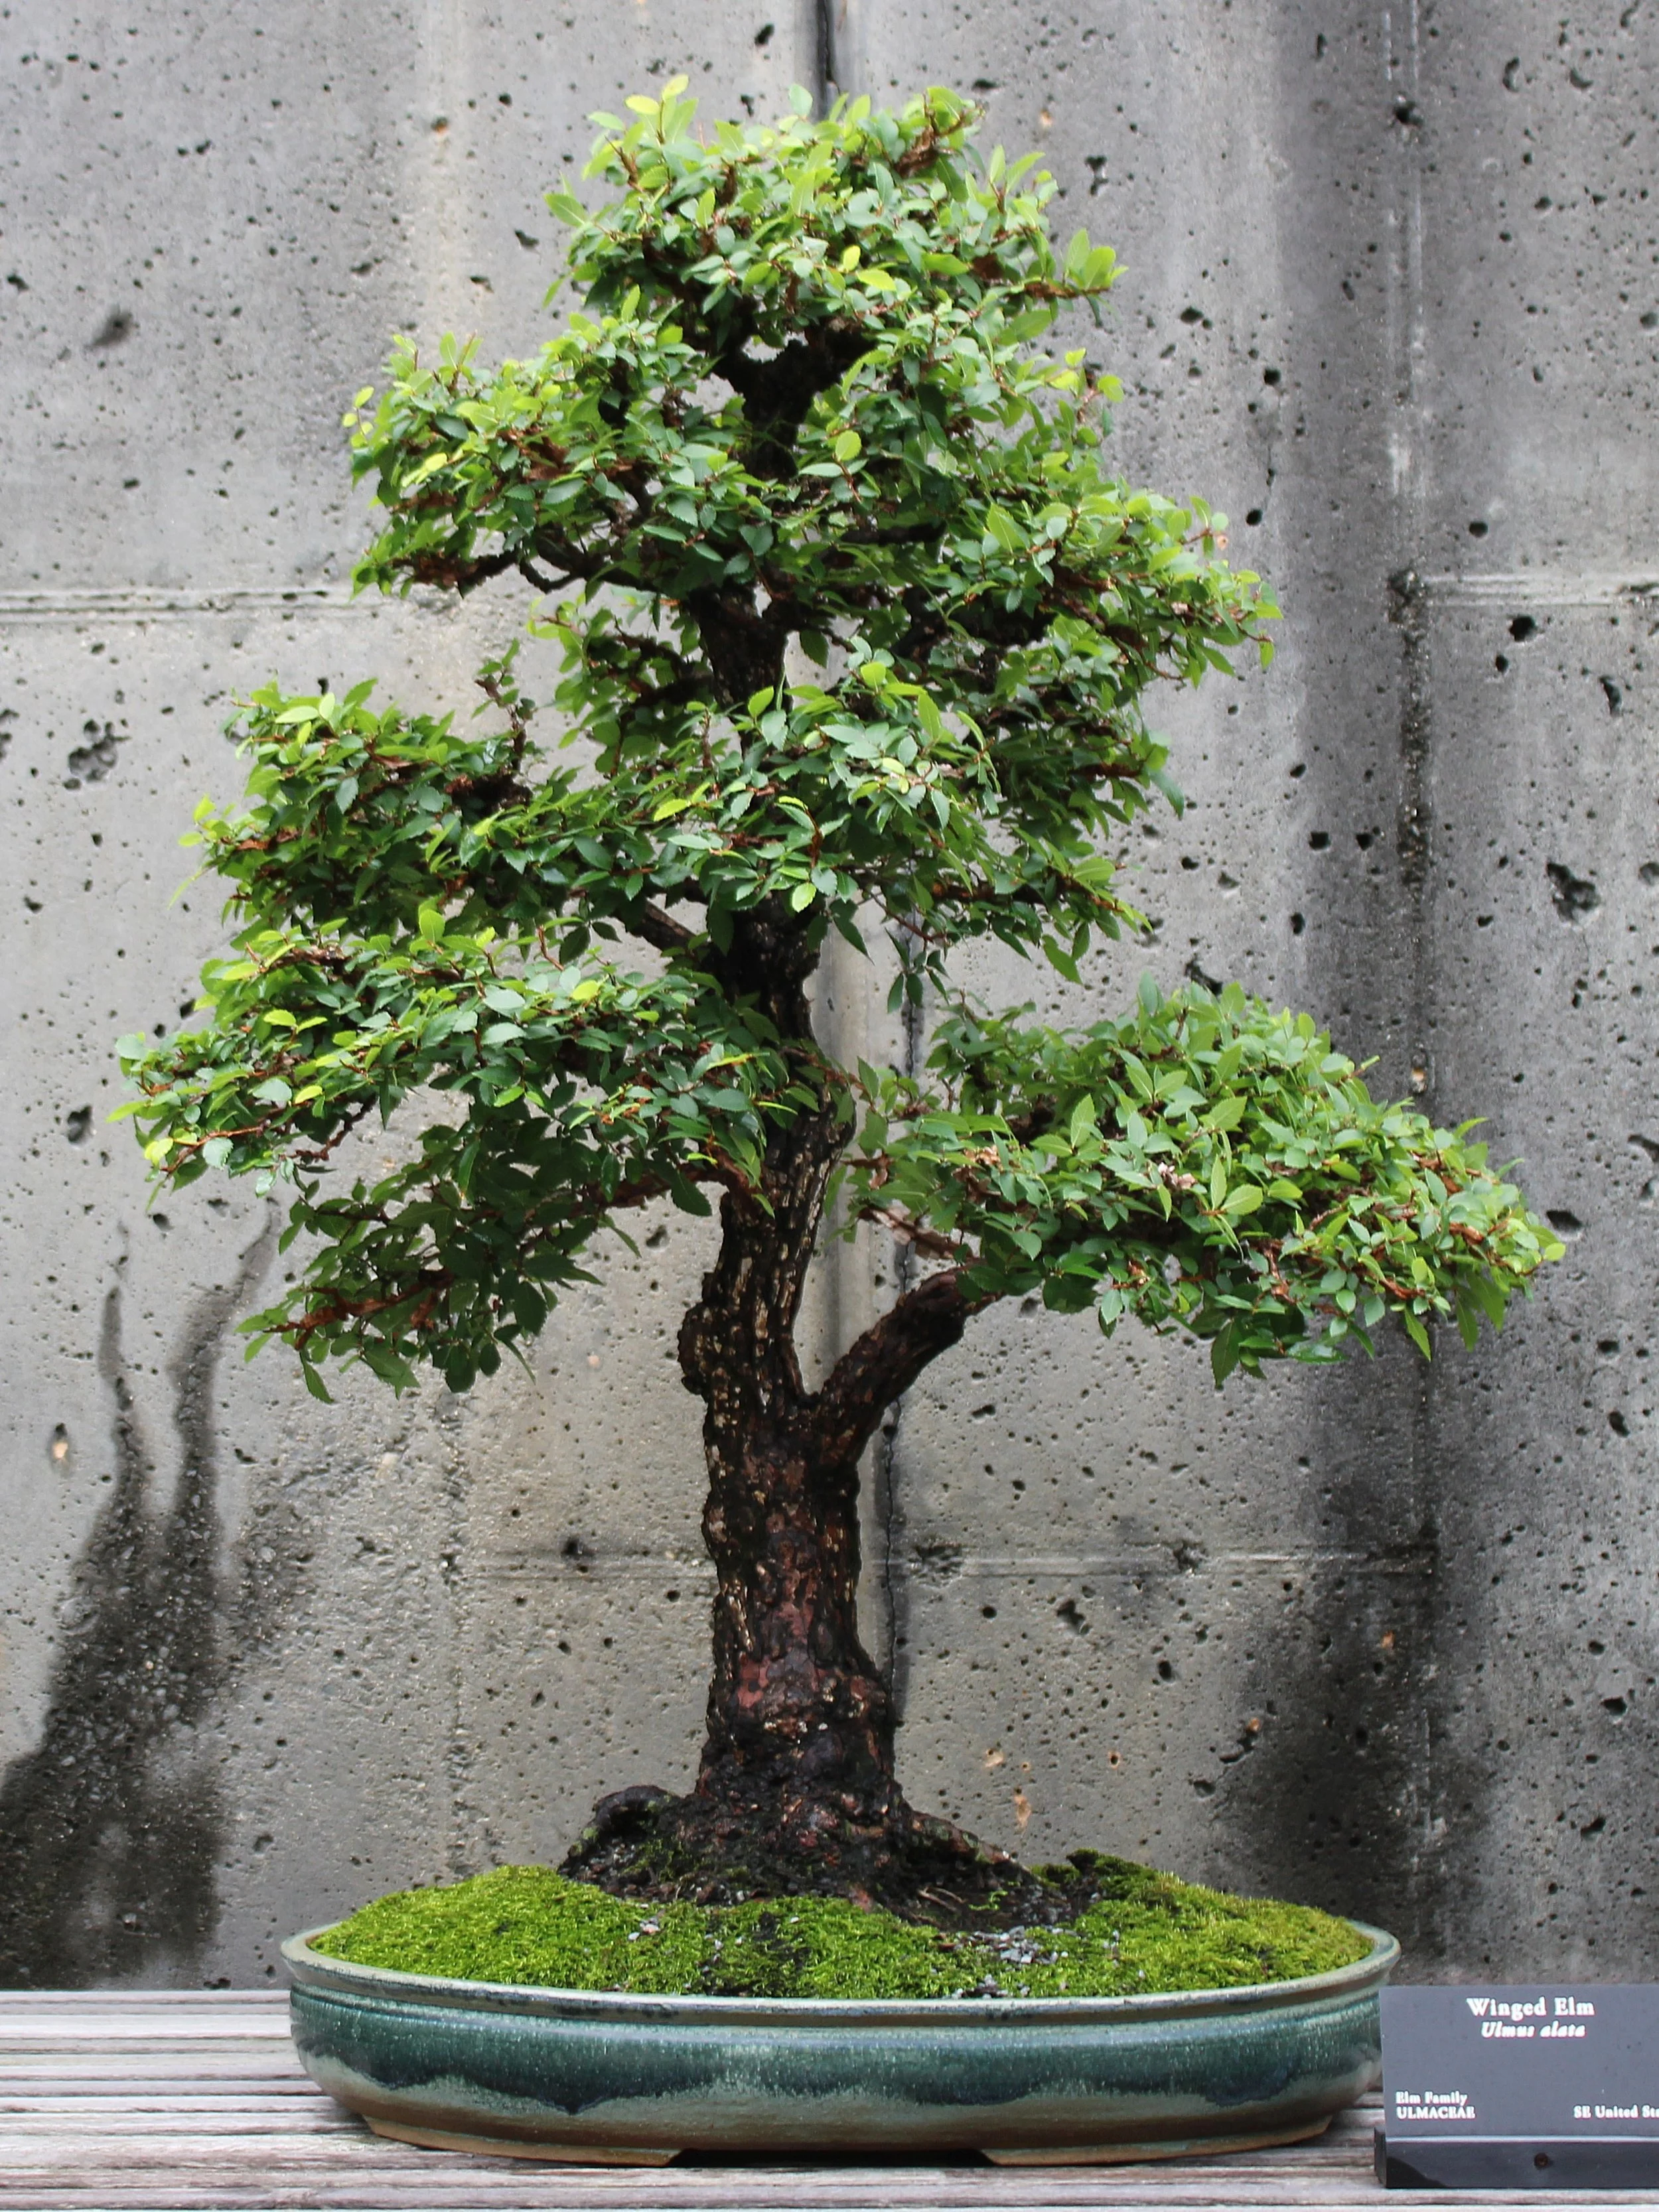
The redesign work I began in 2009 was now largely accomplished. The work had gone well, the fact of the subject being an elm had accelerated the timeline, and even so it had taken about eight years to play out. That is not to say this specimen is finished because it’s still alive, still growing and changing with each passing year. The goal is always improvement. The remaining images track the continued evolution of this winged elm right up to the present day:
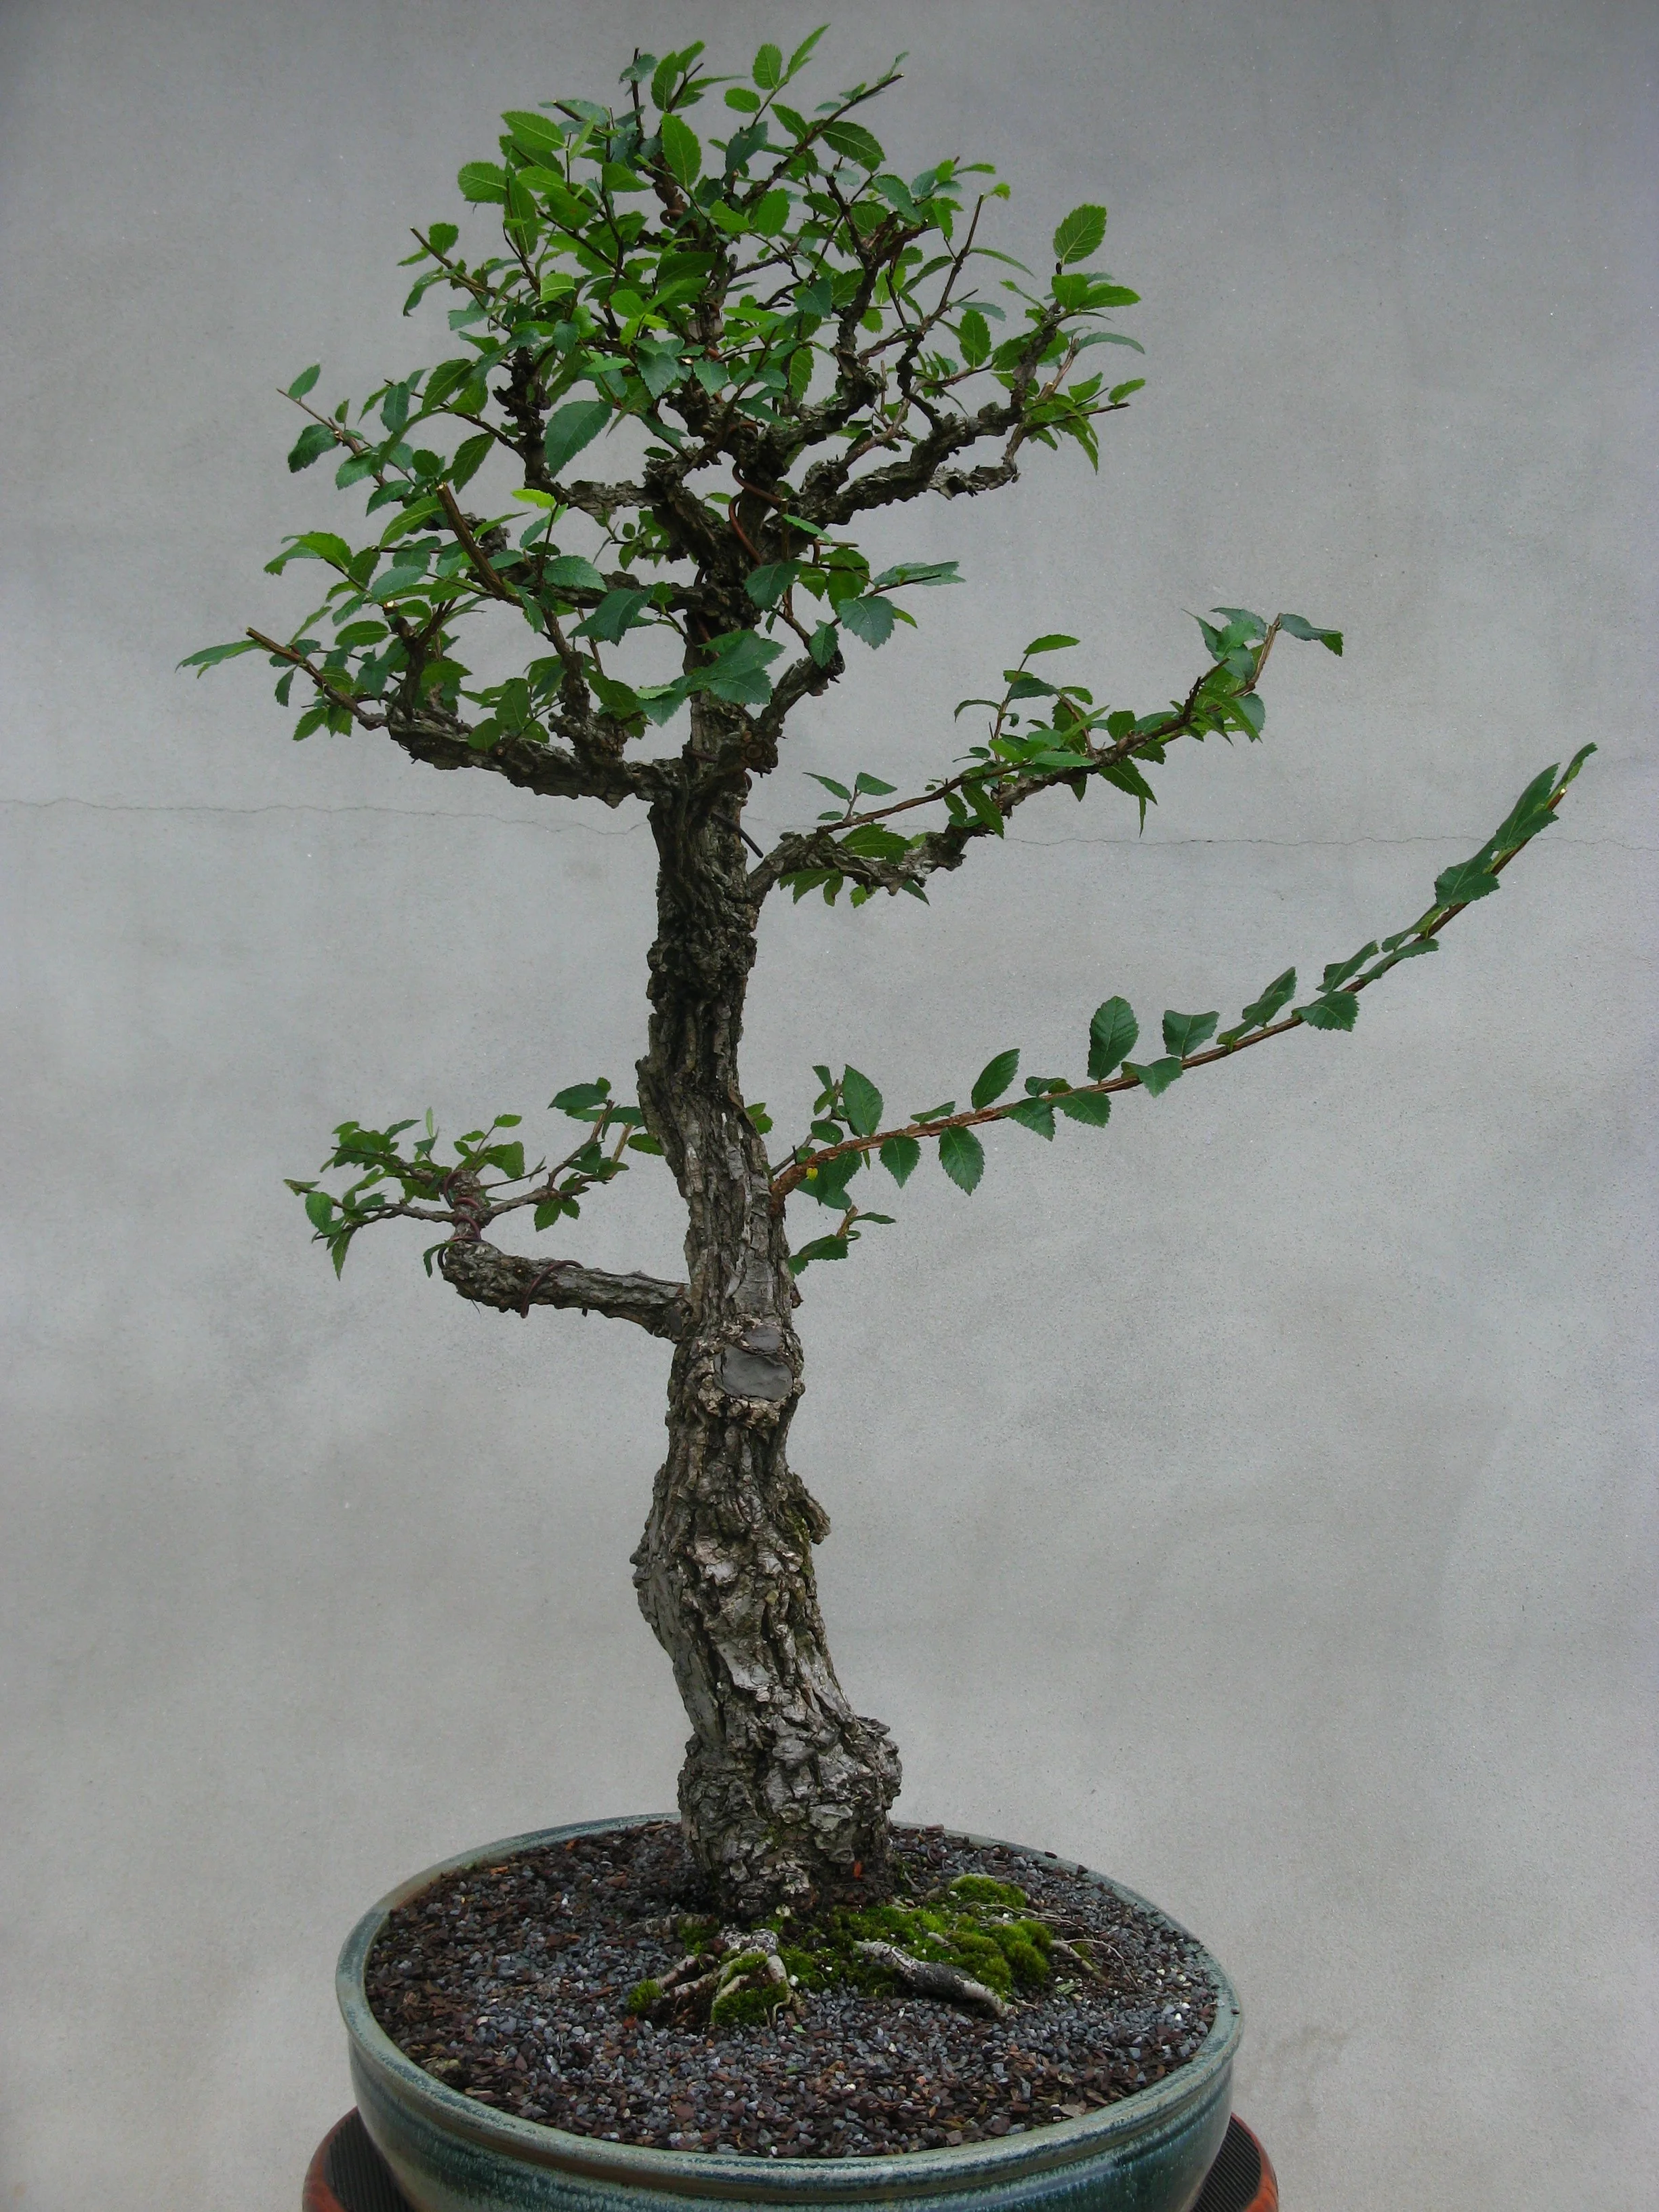
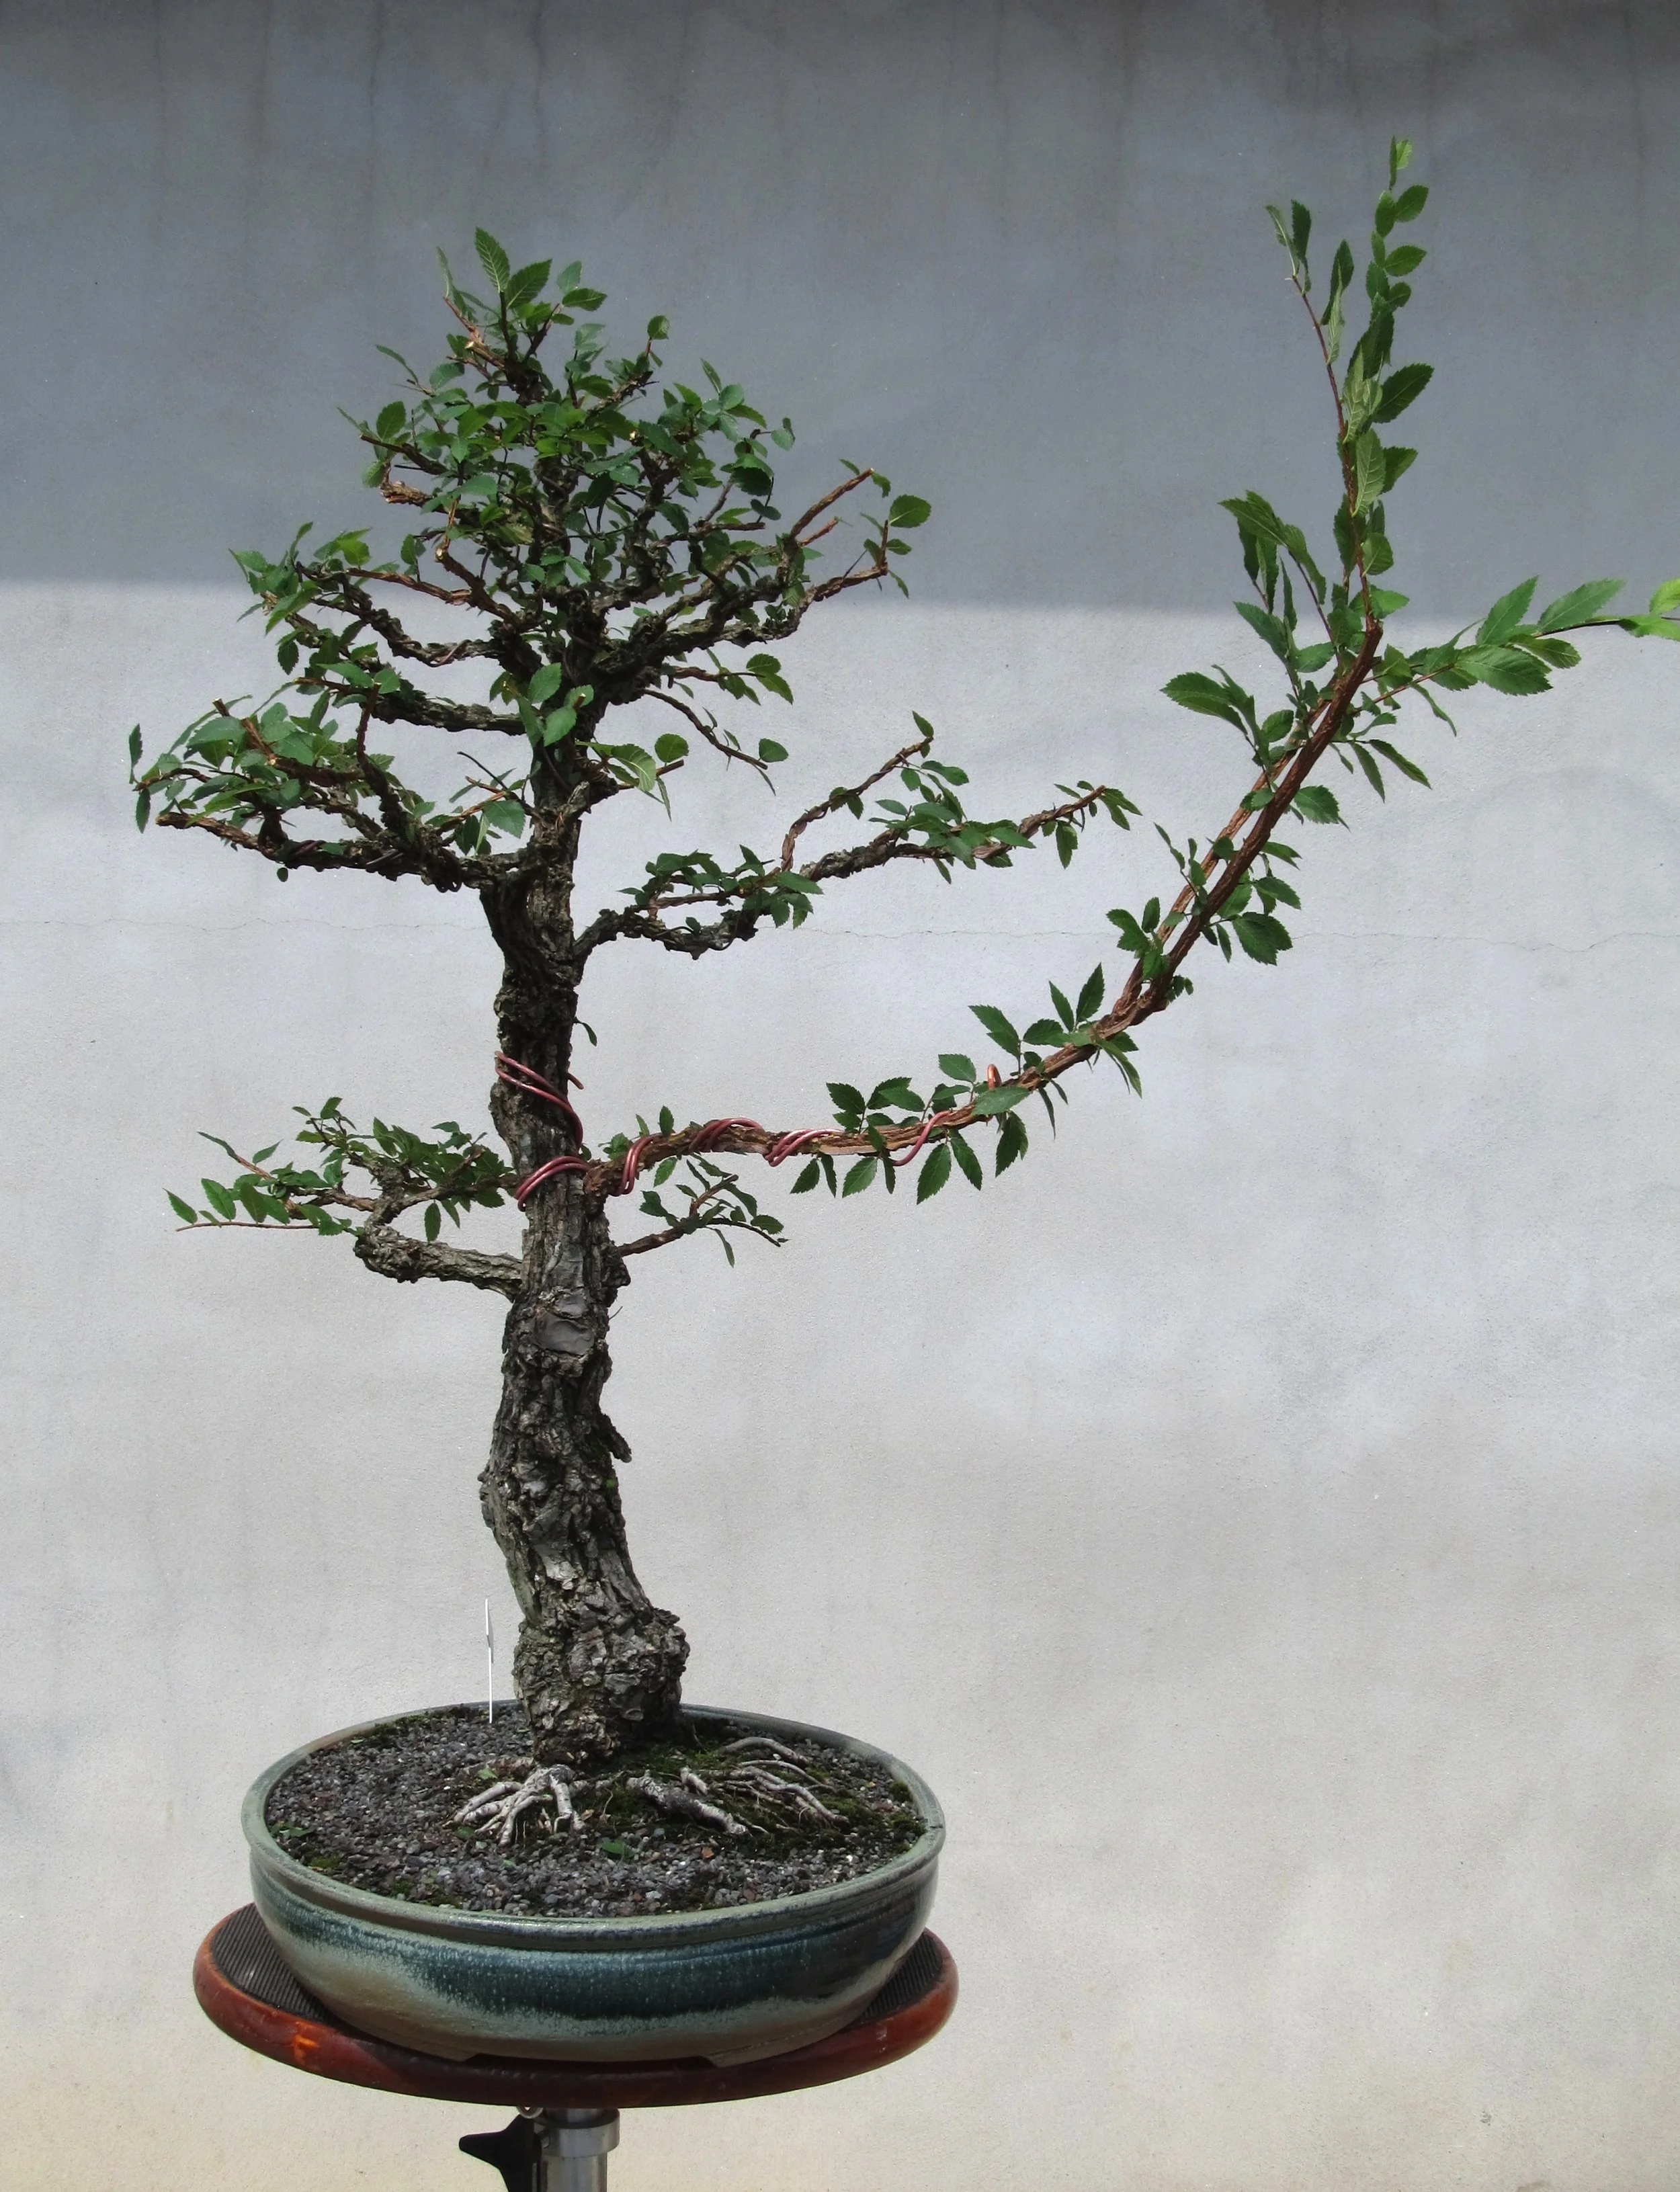
May 2018
July 2018
July 2018

July 2020
November 2020
May 2021
June 2021
November 2021
November 2021
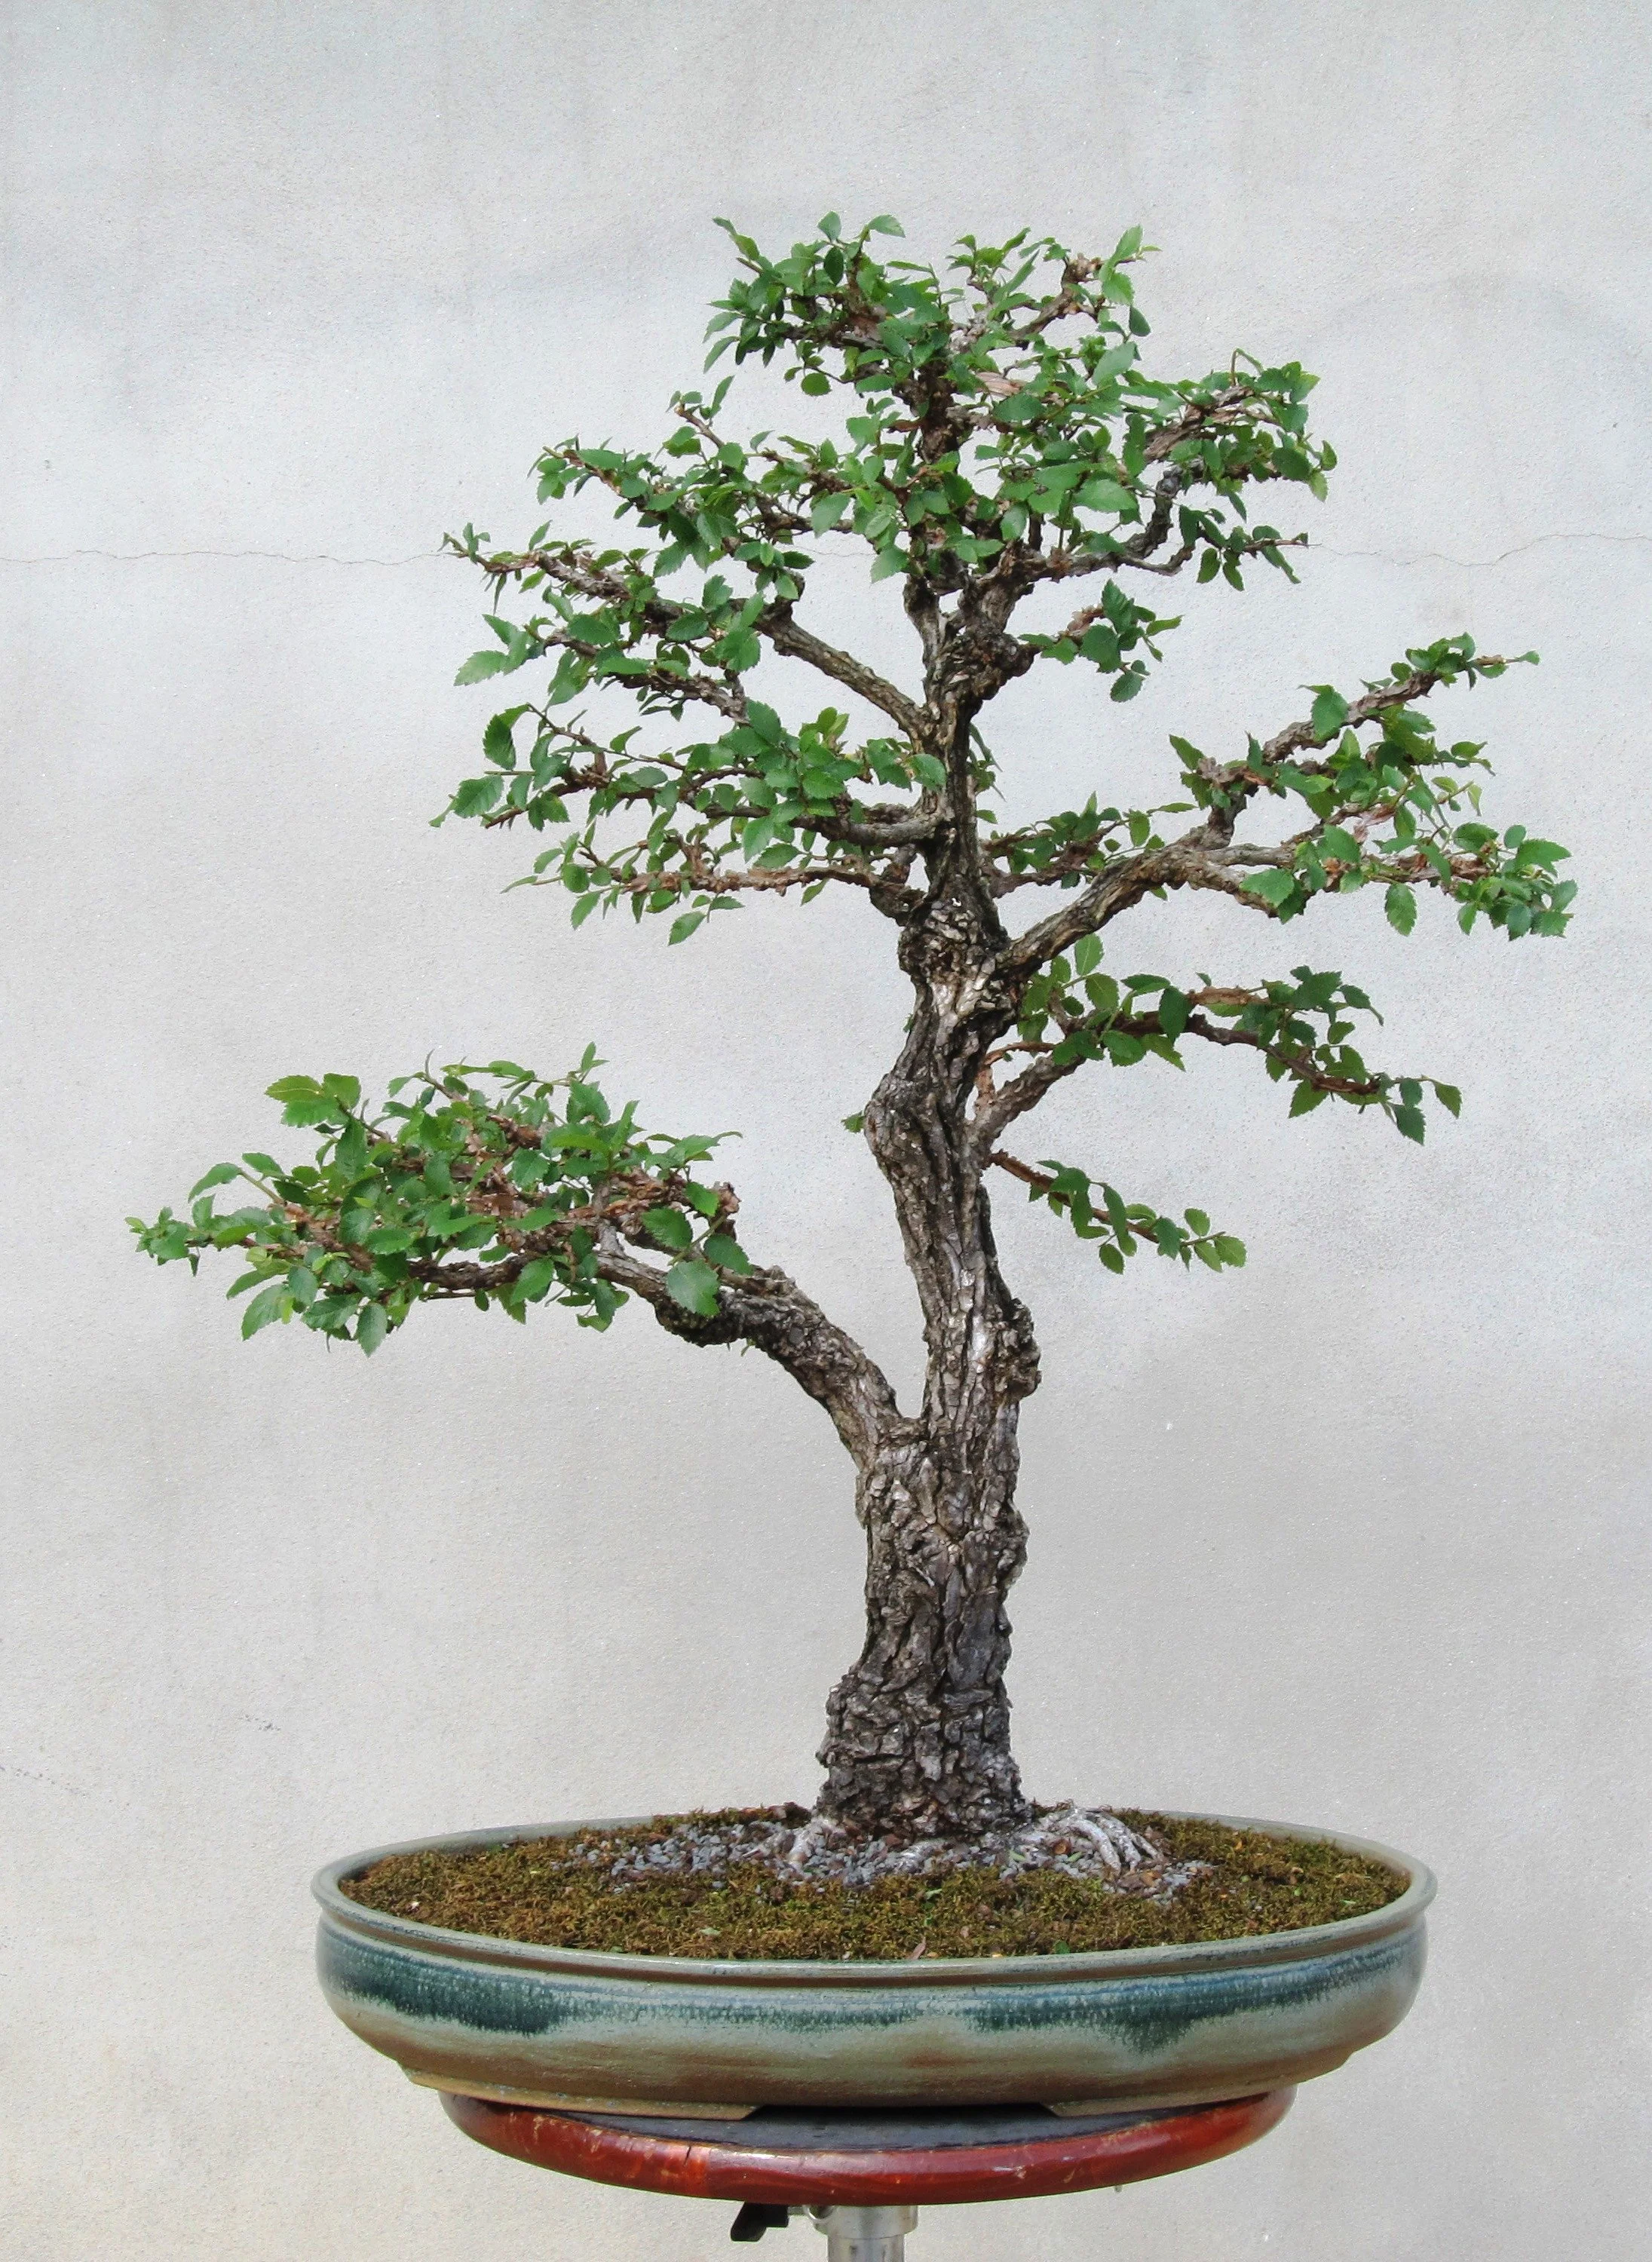
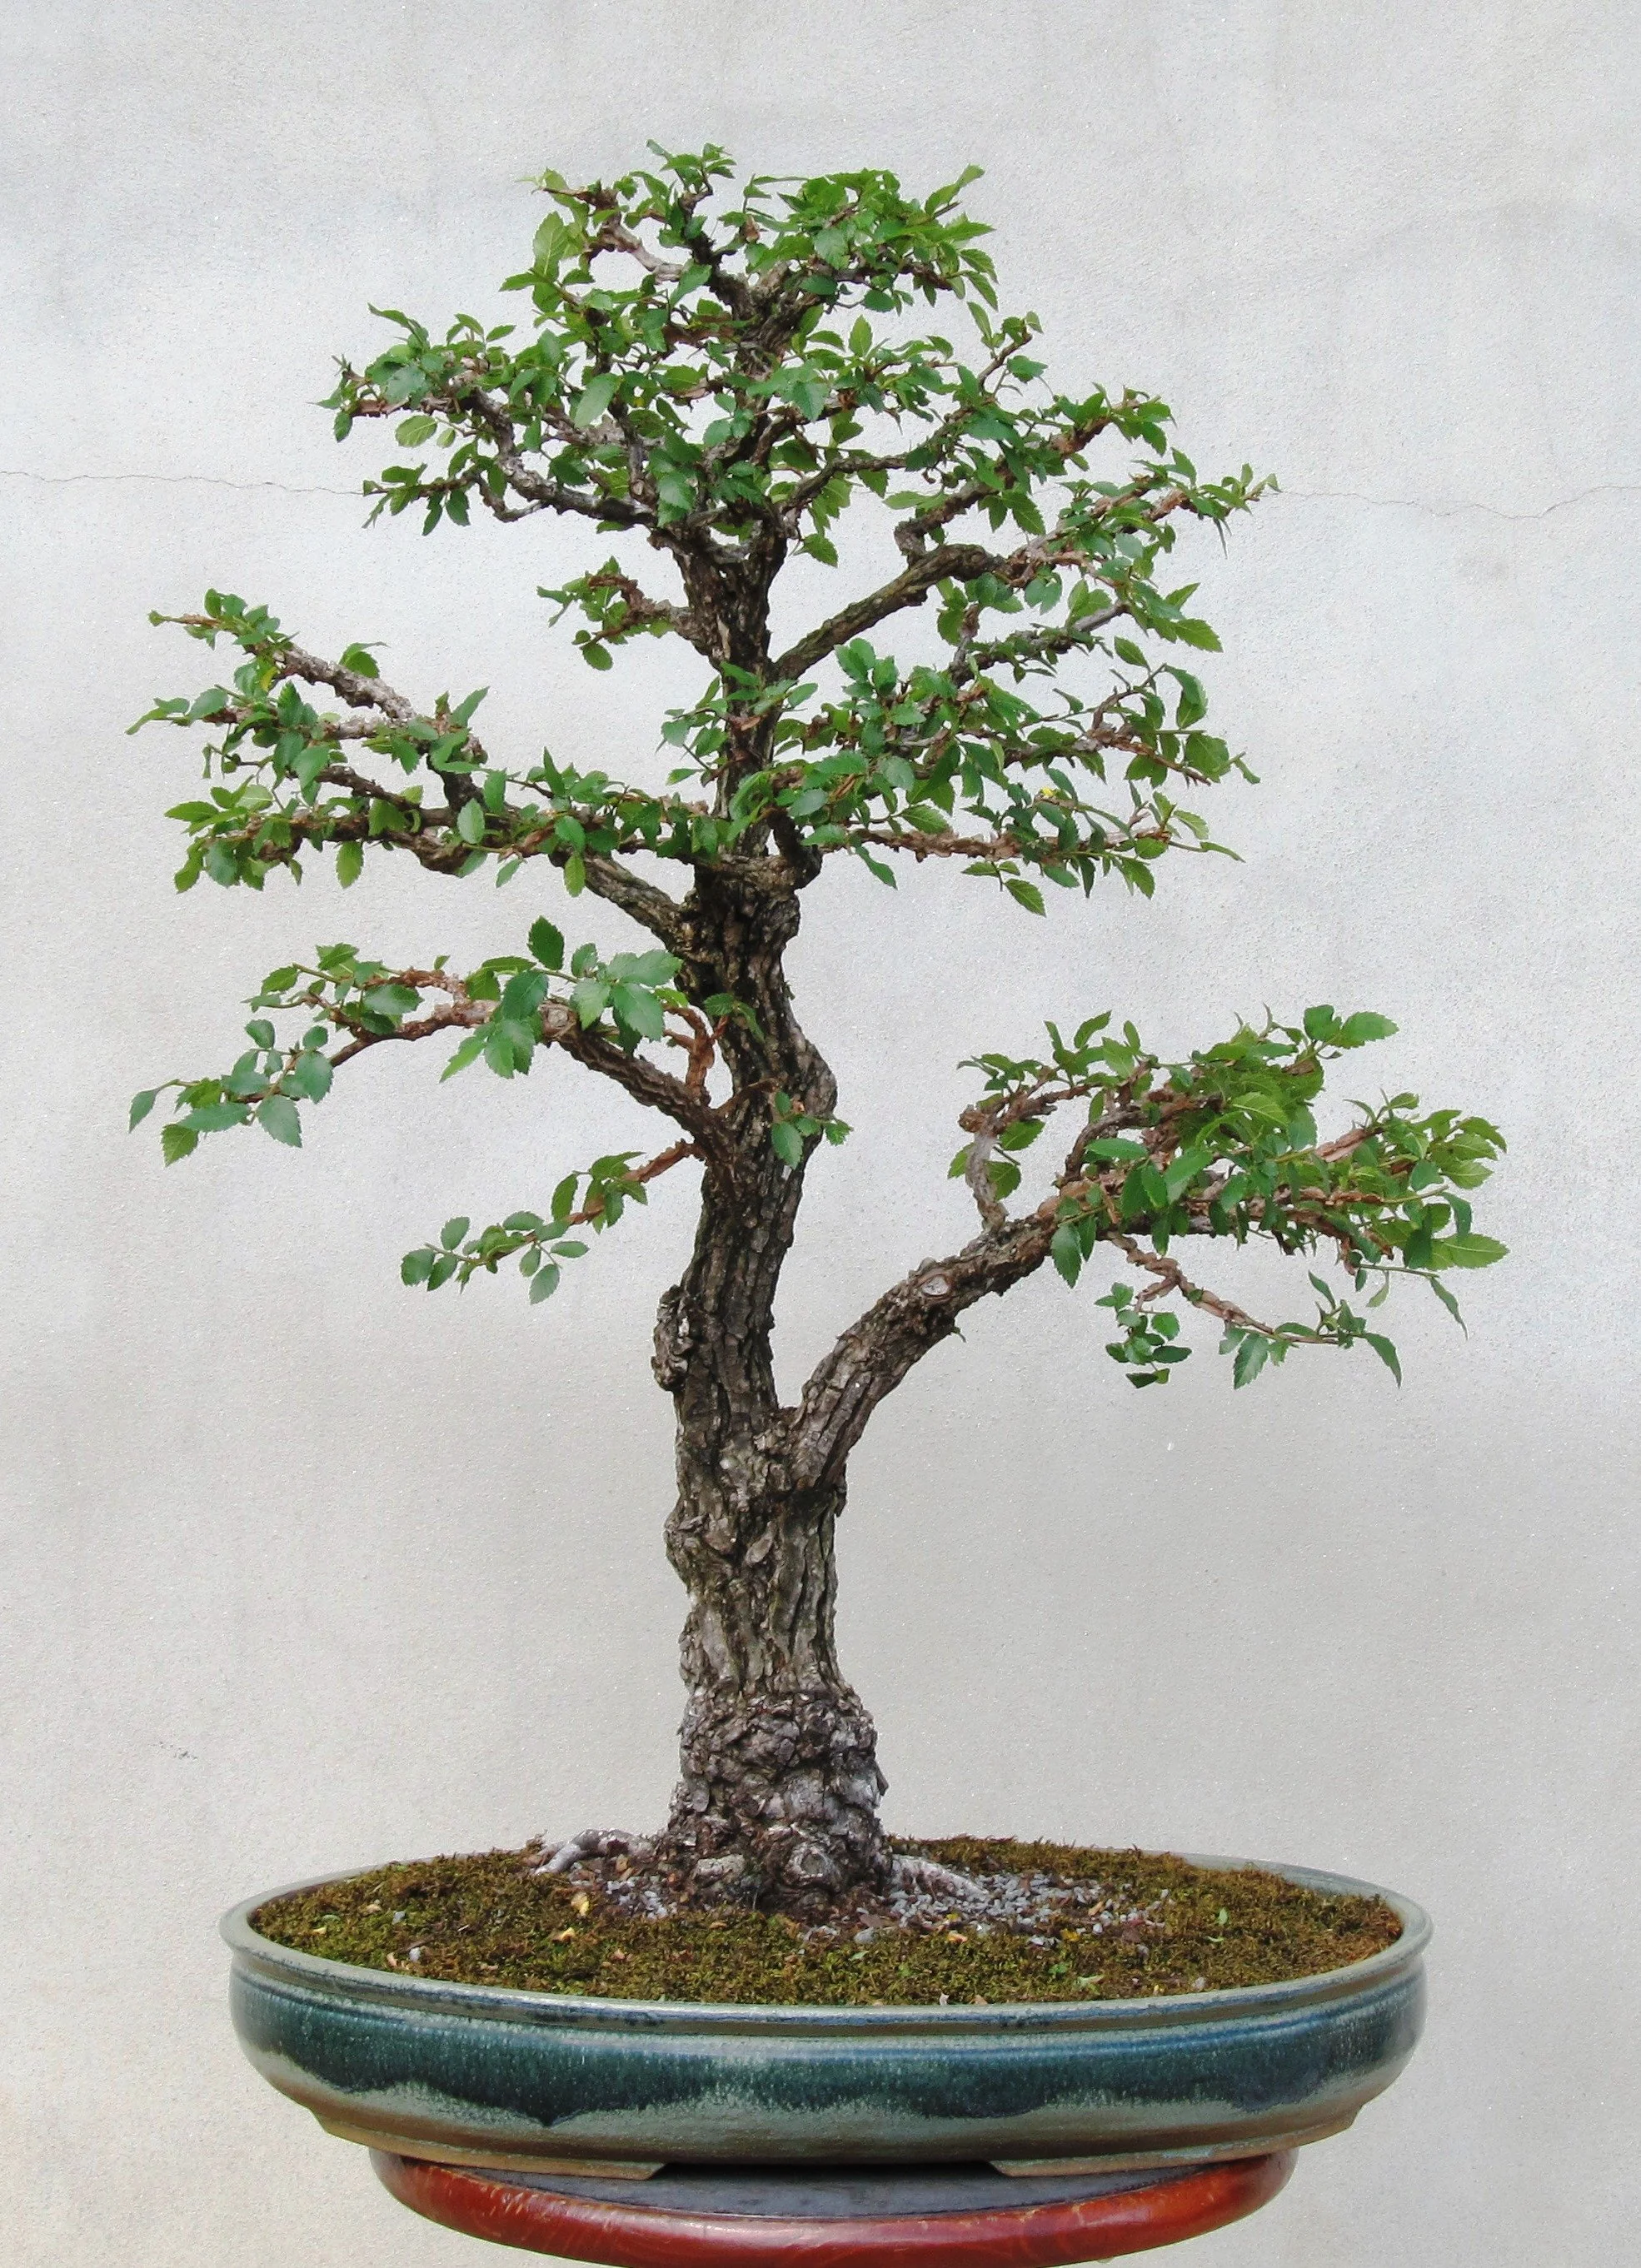
August 2022
October 2022
May 2023
July 2023
October 2023
October 2023
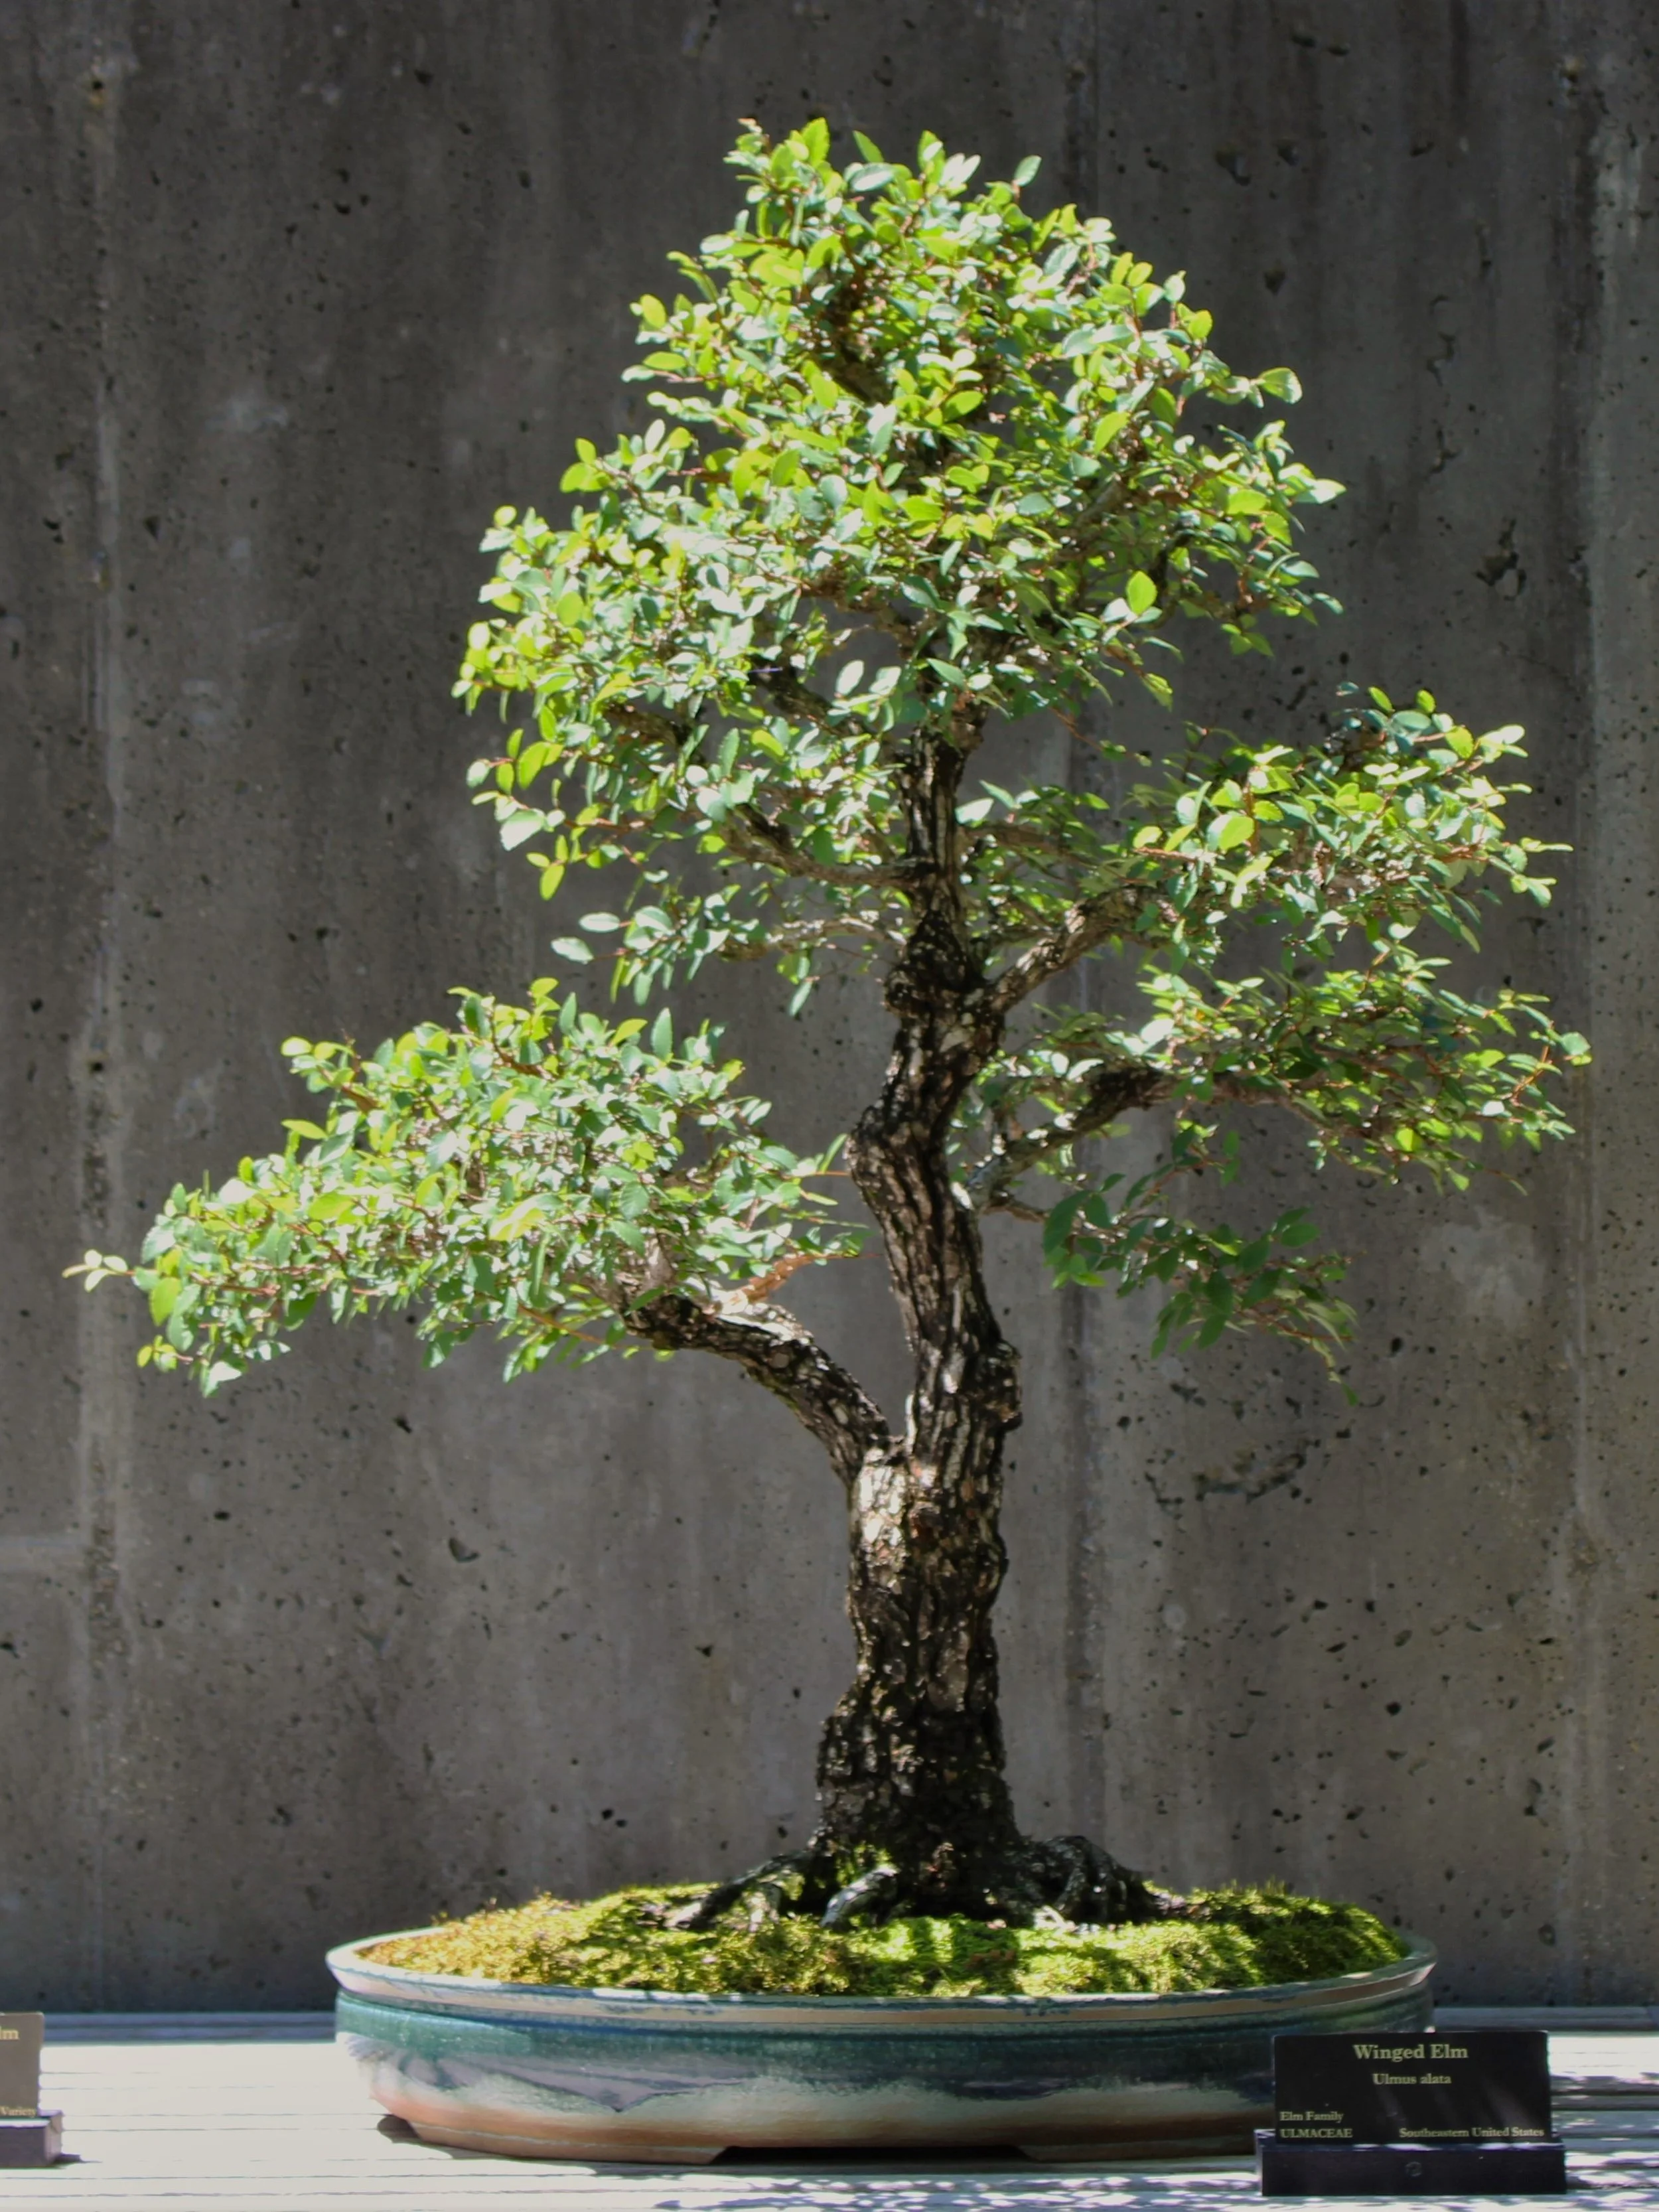
June 2024
November 2024
May 2025
July 2025
August 2025
I’ve lately been in touch with Kathy Walton, after many years without communication. I look forward to her seeing this Journal entry. I hope she will find some validation for her decision to donate her winged elm to the Arboretum, and for her trust in me to do right by the little tree.
Here, in pictorial summary, is how the story went:
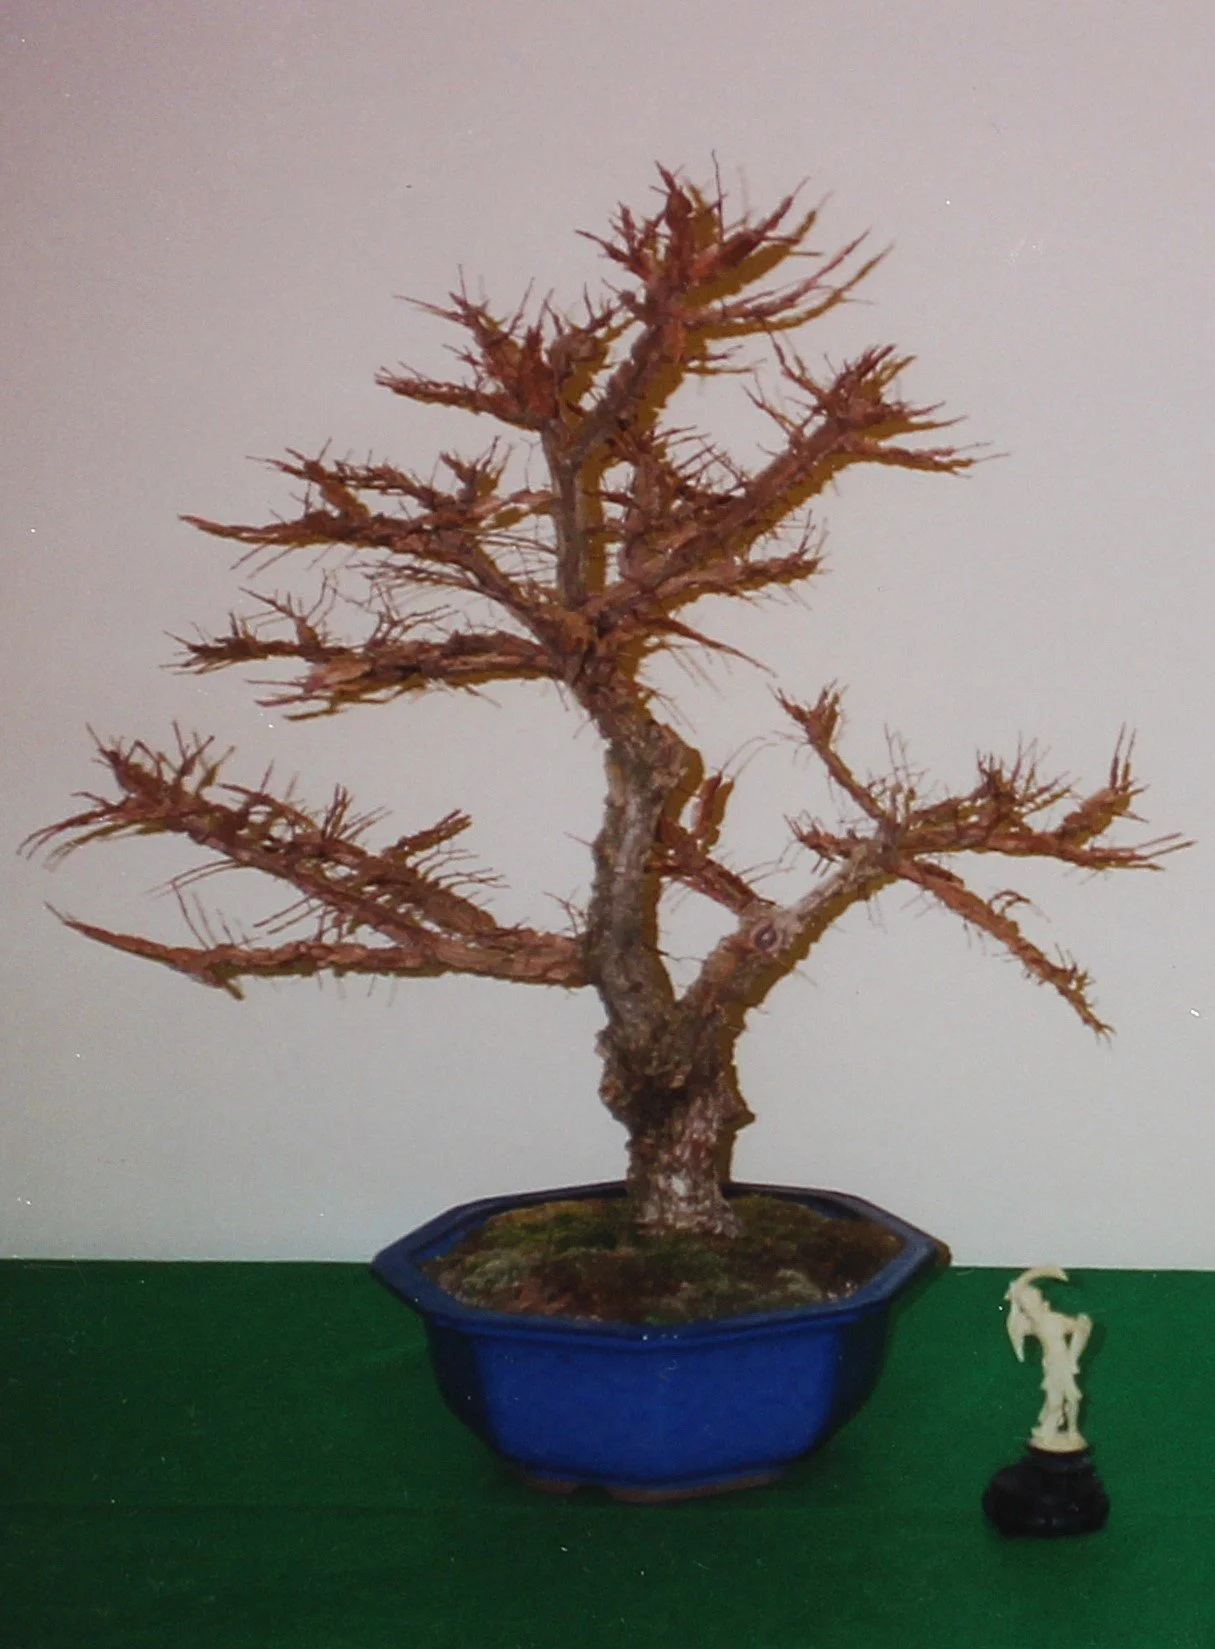
March 2008
May 2025